

MOA Made Simple: What Minute of Angle Is and How to Calculate It
If you’ve ever heard someone mention “MOA” at the range and weren’t quite sure what they meant, you’re not alone. Minute of Angle, or MOA, is one of the most commonly used measurements in shooting — and one of the most misunderstood.
But don’t worry, you don’t need to be a mathematician to understand how it works. Knowing the basics of MOA can help you zero your rifle scope, tighten your groups, and hit more targets, whether you’re shooting at 50 yards or stretching all the way to 600.
In this guide, we’ll break down what MOA is, how it works, and how to use it. Plus, we also created an MOA calculator to make it even easier.
What Does MOA Mean? (Simplified Explanation)
MOA stands for Minute of Angle, which works just like the minute hand on a clock face with 360 degrees. Each “minute” is 1/60th of a degree — think of it like slicing up an hour into tiny pieces. When you’re shooting, even the tiniest angle can send your bullet way off course, so getting your MOA just right is critical for superior accuracy.
MOA helps measure shooting in minutes because bullets fly in an arc rather than a straight line. The farther your bullet travels (usually measured in yards), the more gravity pulls it down and slows it down — this is known as bullet drop. So the farther away your target is, the lower your bullet will hit compared to where you aimed. This drop gets measured in inches, and that’s exactly where MOA comes in handy.
Breaking Down MOA and Target Distance
MOA is an angular measurement. But if you want to turn that into something practical for hitting targets, you’ll need to do a bit of simple math.
Here’s the rule: one MOA equals one inch at 100 yards. (Technically it’s 1.047 inches, but unless you’re shooting extremely far distances, just round it to an inch and save yourself the headache.)
Put simply, when you adjust your scope one minute, you’re moving where your bullet will hit by one inch at 100 yards. And remember — the farther away your target sits, the bigger that one-minute adjustment becomes.
Still scratching your head? Here’s an easy guide:
- 100 yards = 1 inch MOA
- 400 yards = 4 inches MOA
- 600 yards = 6 inches MOA
How to Measure and Calculate MOA
Measuring your shot groups and figuring out your MOA doesn’t have to be rocket science. Here’s a no-nonsense guide to get it done:
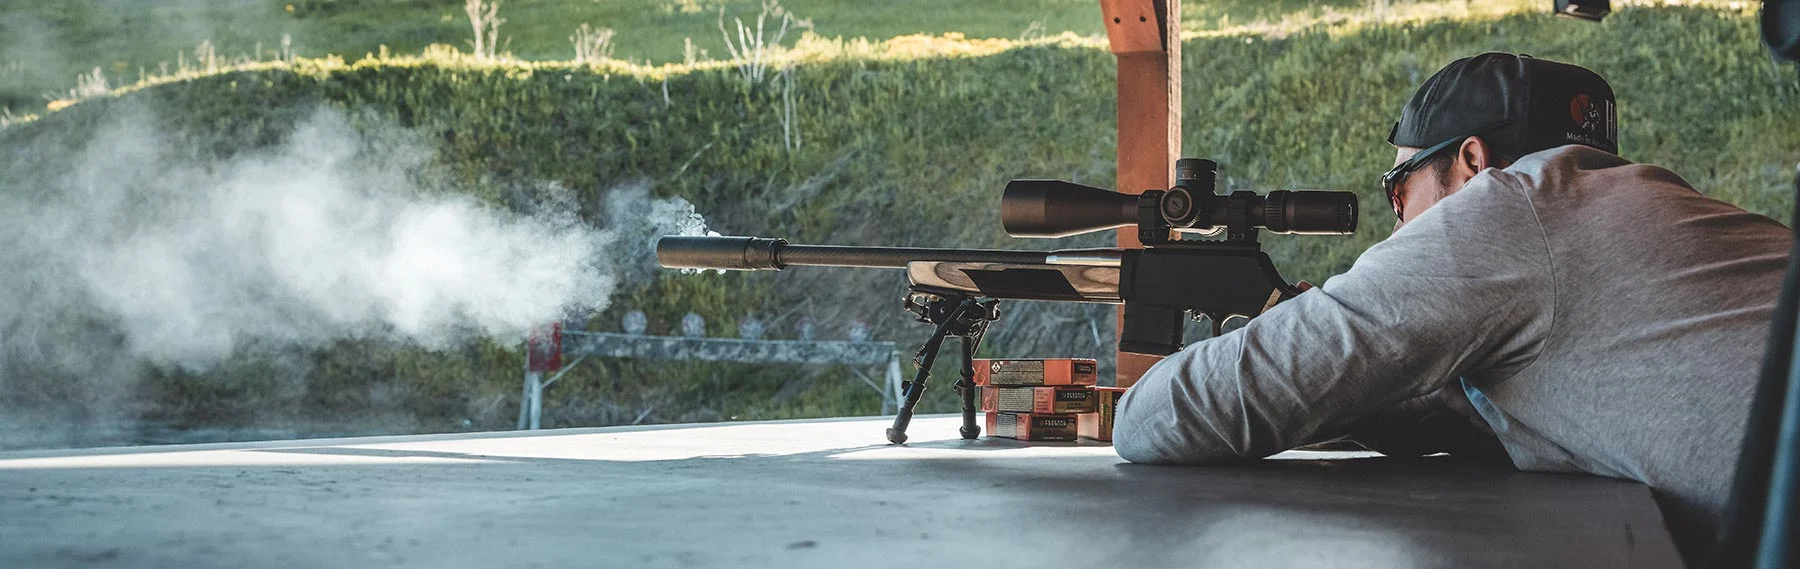
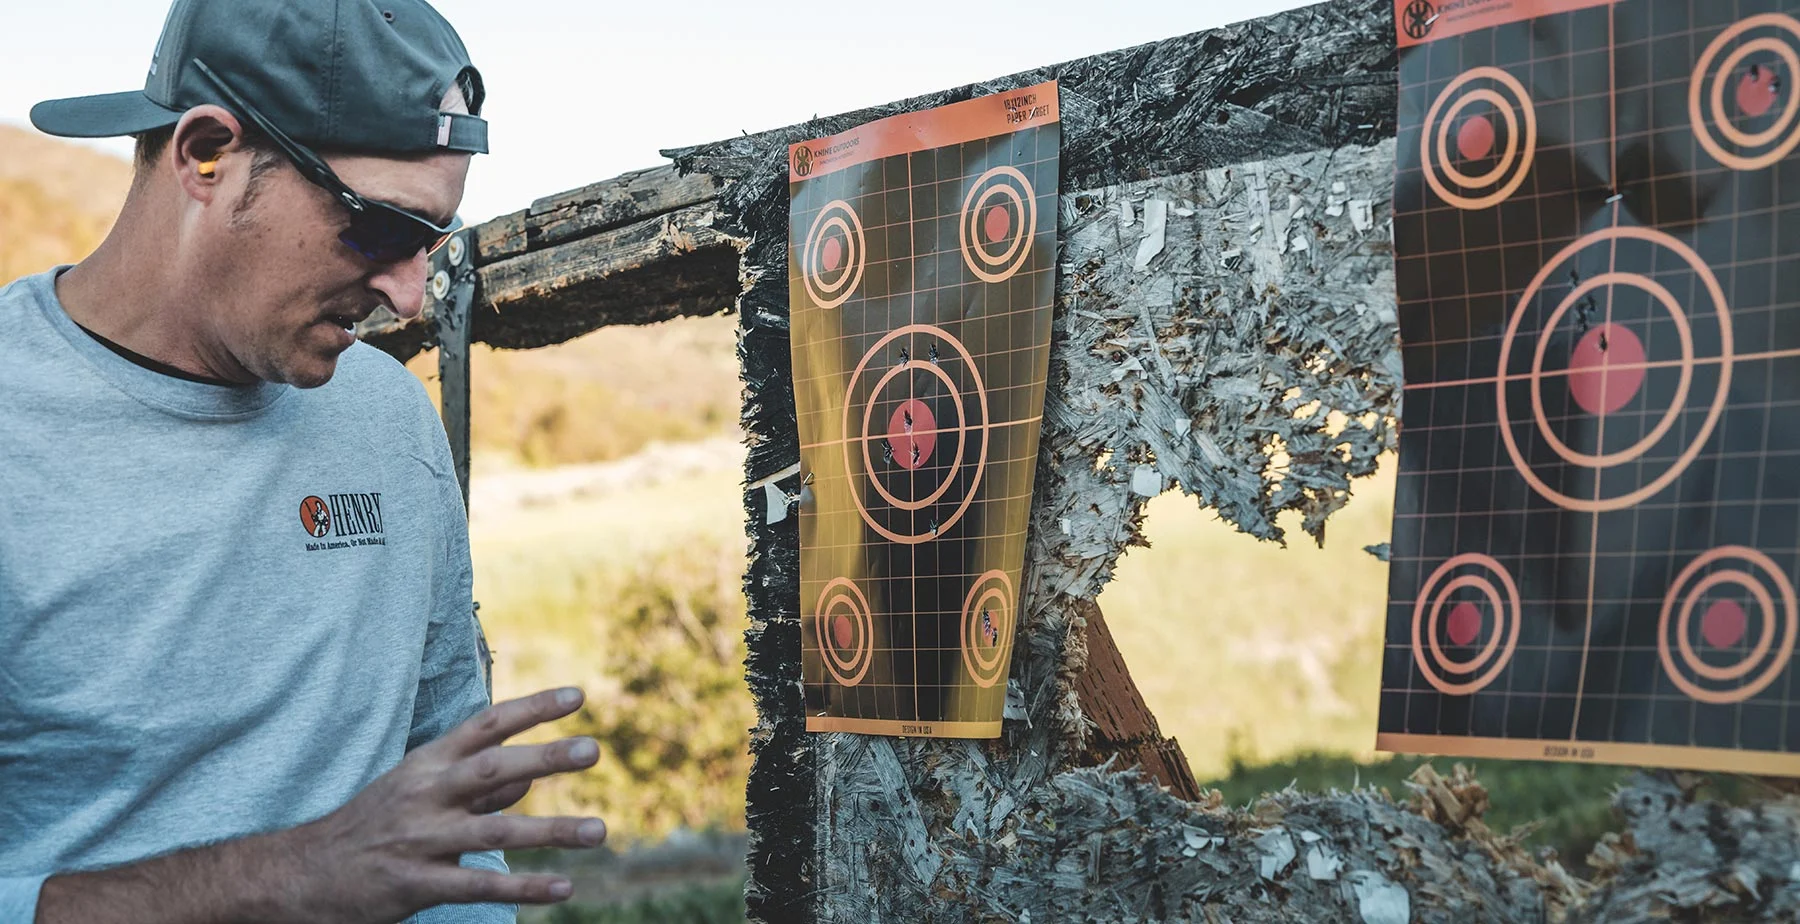
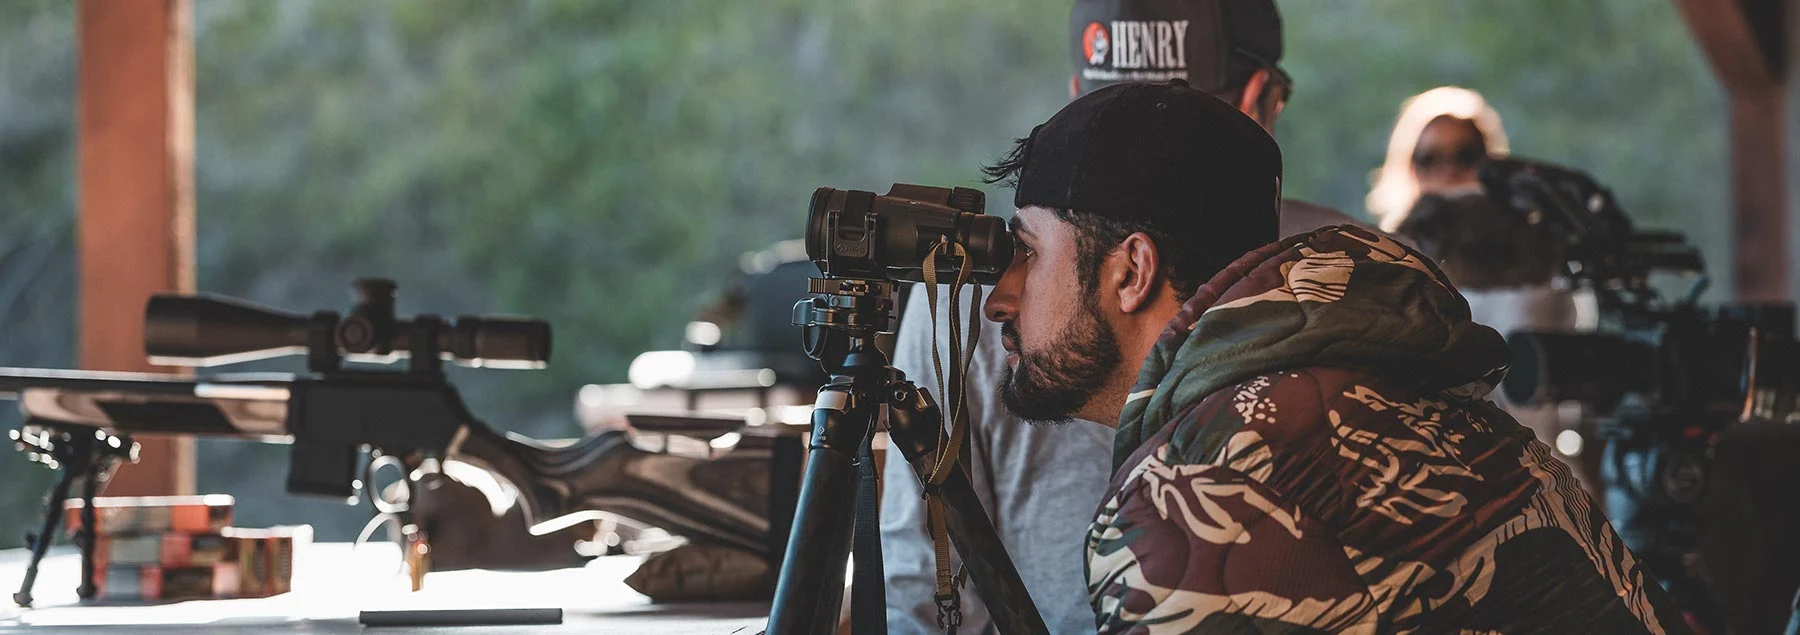
Step 1: Fire and Measure Your Shot Group
Ready to see how good your aim really is? Shoot a three- or five-shot group at a target with a given distance (like 100 yards). Three shots give you a quick snapshot, while five shots tell a more complete story. Next, grab a ruler and measure the widest spread between the centers of those bullet holes in inches. That’s your group size.
Pro Tip: Make sure you’re measuring center-to-center of the farthest holes, not the outside edges. This gives you the true spread of your shots.
Step 2: Use the MOA Formula
Time to do a bit of simple math using this straightforward formula:
MOA = (Group Size in Inches ÷ Distance in Yards) × 100
Let’s say your three shots at 100 yards spread out to 2 inches. Here’s how the numbers shake out:
MOA = (2 inches ÷ 100 yards) × 100 = 2 MOA
That means your rifle and ammo combo is shooting 2 MOA groups at that distance.
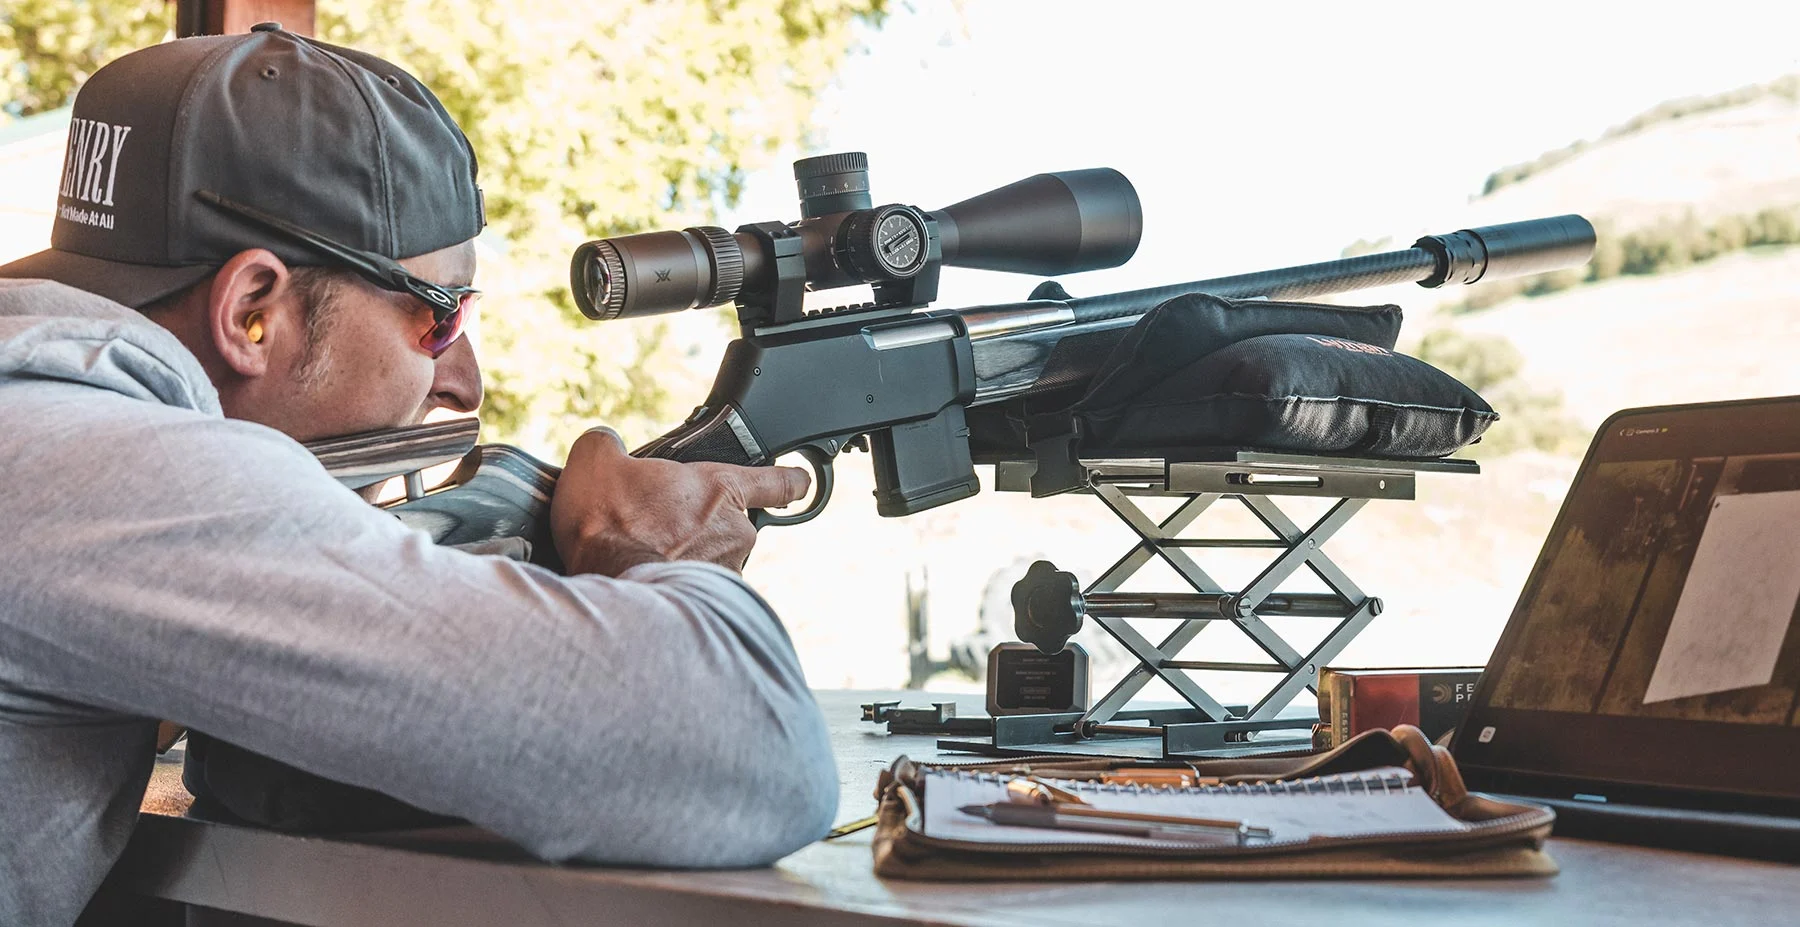
Pro Tip: Keep a small notebook with your range gear to track your MOA results over time. You’ll spot patterns that can help improve your accuracy.
Step 3: Understanding Rifle Accuracy and MOA
What’s a good MOA? Many off-the-shelf rifles shoot somewhere around 1 to 2 MOA with regular ammo. If you invest in a precision rifle and top-shelf match-grade ammo, you’re looking at sub-MOA accuracy (groups smaller than 1 MOA). If you’re into long-range rifle shooting, getting those sub-MOA groups is the gold standard everyone’s chasing.
Pro Tip: Don’t get discouraged if your groups aren’t tiny right away. Your shooting position, breathing, and trigger control affect your MOA just as much as your gear does. Practice makes perfect.
Quick Reference Chart for MOA Measurements
Here’s a quick reference chart to help you visualize MOA at different distances:
| Yards | 1 MOA | 2 MOA | 3 MOA | 4 MOA |
|---|---|---|---|---|
| 100 Yards | 1 inch | 2 inches | 3 inches | 4 inches |
| 200 Yards | 2 inches | 4 inches | 6 inches | 8 inches |
| 300 Yards | 3 inches | 6 inches | 9 inches | 12 inches |
| 400 Yards | 4 inches | 8 inches | 12 inches | 16 inches |
| 500 Yards | 5 inches | 10 inches | 15 inches | 20 inches |
MOA Calculator
Even with the formula, calculating this can still be complicated. To make this easier, use our MOA Calculator below to convert between group size and distance in minutes of angle — or figure out how many inches a given MOA value represents at a specific range.
Result: Accuracy:
Common Myths and Misunderstandings About MOA
MOA is one of the most commonly referenced units of measure in shooting, but it’s also one of the most frequently misunderstood. Let’s break down a few common myths and clear things up.
Myth: A 1 MOA Rifle Means I’ll Hit the Bullseye Every Time
Owning a 1 MOA rifle doesn’t automatically guarantee perfect accuracy. It simply means the rifle is capable of producing 1-inch groups at 100 yards under ideal conditions. However, hitting the bullseye consistently still depends on your shooting fundamentals, environmental factors, quality ammunition, and optics setup. MOA reflects mechanical precision — not shooter performance.
Myth: MOA is Just for Long-Range Shooting
While using MOA is essential for long-distance precision, it’s equally useful at closer ranges. Understanding how your shot group size scales with distance helps with everything from sighting in a handgun to checking consistency on a hunting rifle. Whether you’re 25 yards or 500 yards out, this concept offers a universal way to track accuracy and make informed MOA adjustments.
Myth: Scope Adjustments Are the Same as Group MOA
Although both use MOA as a unit, there’s a difference between your group’s size (accuracy) and how you adjust your scope. Scopes often move the point of impact in ¼ MOA clicks. These adjustments align your bullet impact with your point of aim, while group MOA tells you how tight your shots land relative to each other. Understanding both helps you zero more precisely and shoot more consistently, regardless of your scope’s features.
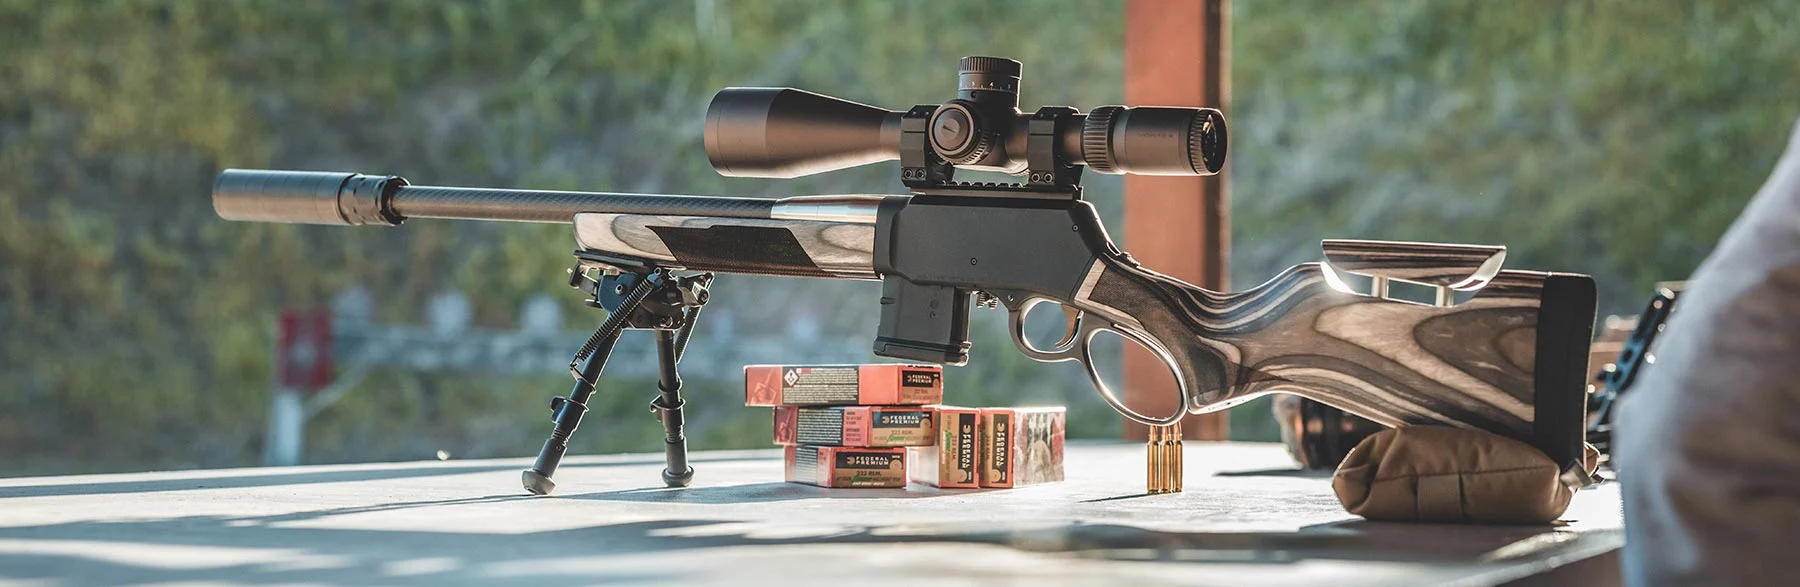
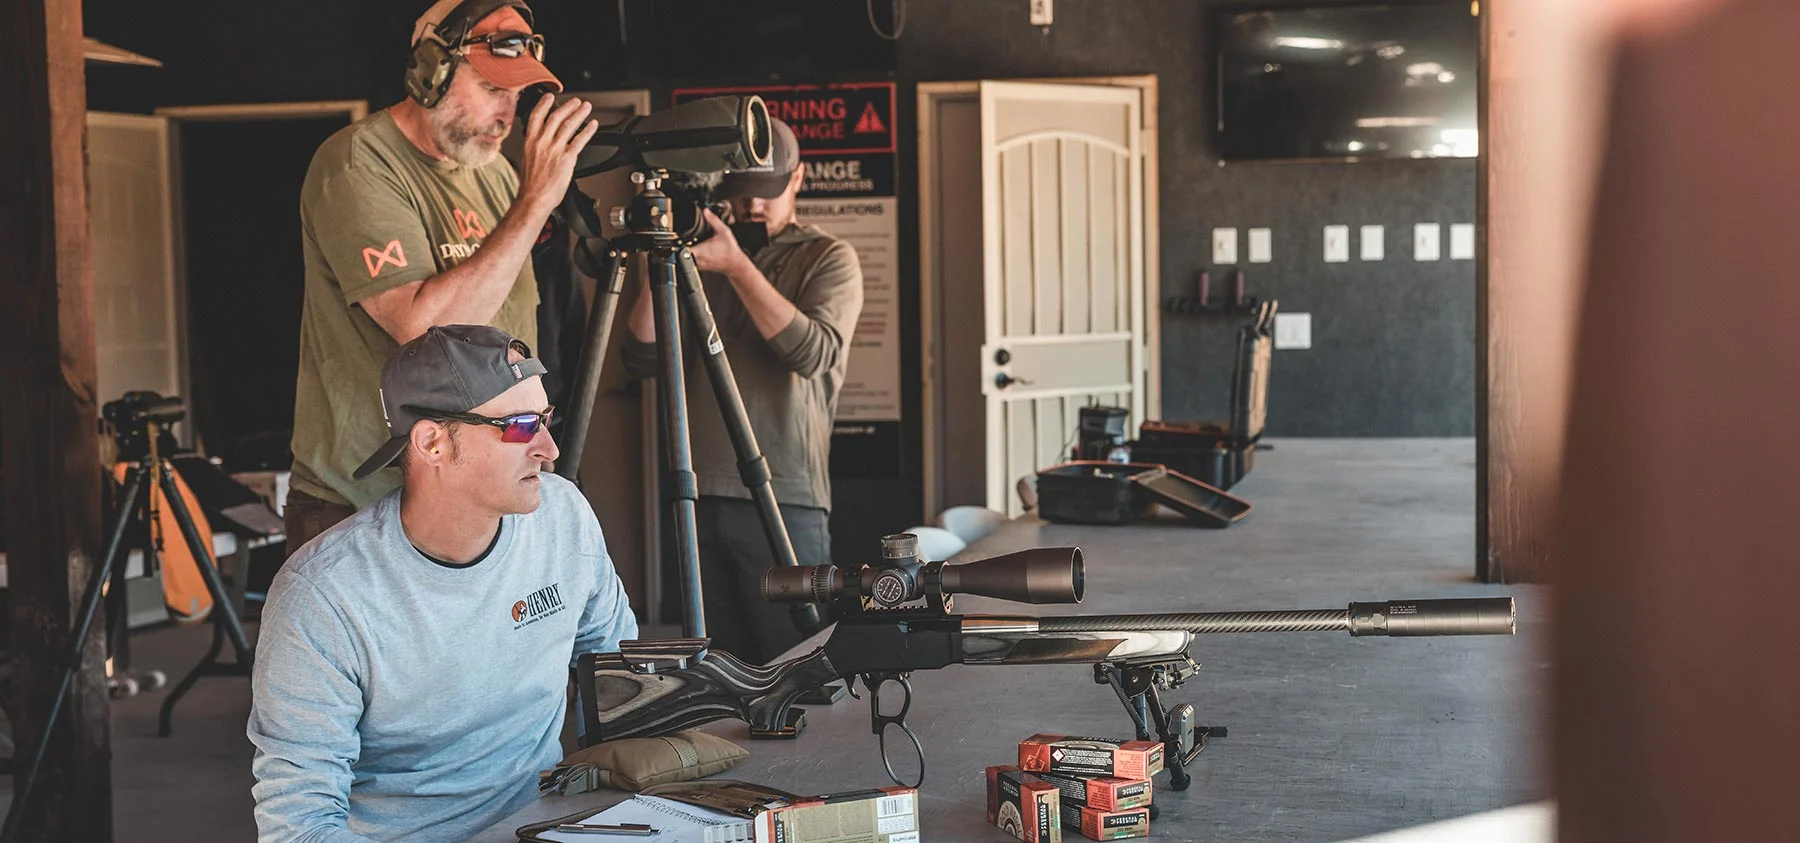
The Role of Your Firearm in Shooting Accuracy
Good shooting starts with skill, but the firearm you use makes a big difference, too. A well-made rifle or revolver gives you the consistency and precision needed to shoot tight groups, whether you’re at the range or out hunting. Factors like build quality, barrel fit, and trigger feel all play a part.
Henry firearms are built for real-world performance. No flashy features you don’t need — just solid American craftsmanship and dependable accuracy you can count on every time you pull the trigger.
Improve Your Shot With a Henry Firearm
We’re all about offering guns built for dead-on accuracy and rock-solid performance. Whether you’re after long-range precision or need something that shoots straight no matter the distance, we’ve got options that’ll help you hit any target.
See our full selection of Henry firearms and find a dealer near you.