

Author: Jono Reduker
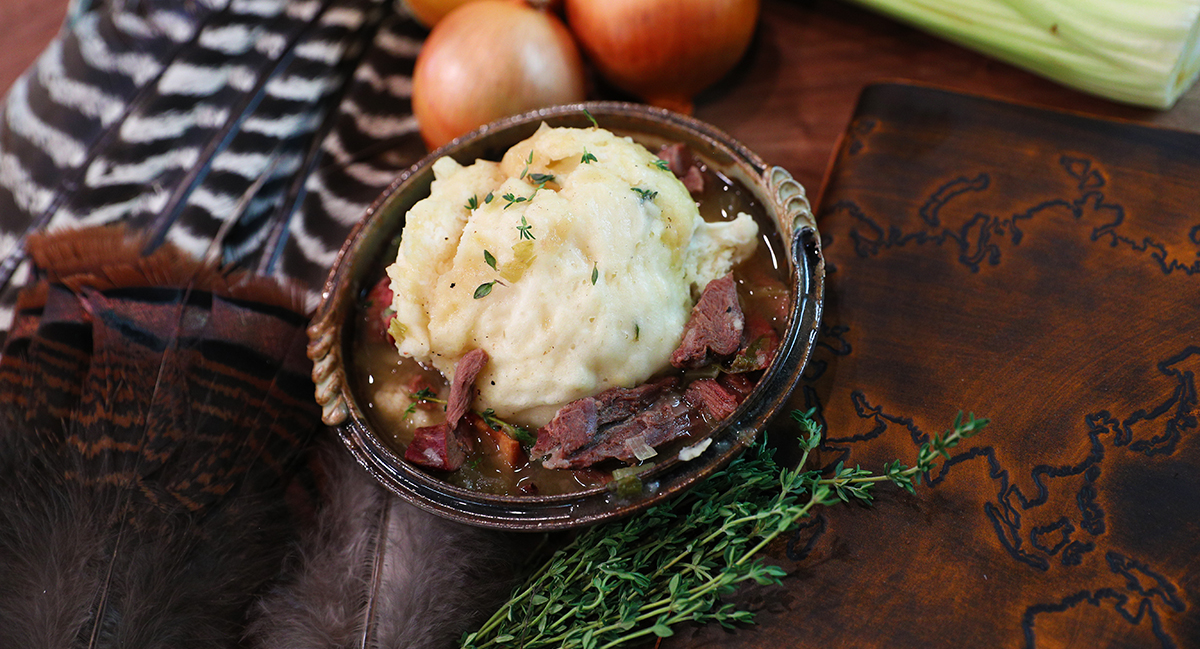
Smoked turkey legs. Bacon. Dumplings. These things are very, very good on their own, but combining them all into one dish? Heavenly. This is a rib-stickin’ meal that will put your hard-earned turkey harvests to the best possible use. Smoked turkey can tend to get dry if not properly utilized, especially if it’s an older bird, which is what makes this recipe particularly genius. By making a broth with the smoked legs, the meat comes out incredibly tender and flavorful. As if we needed another reason to enjoy turkey season. Chow down!
Recipe written by The Outdoors Chef. For more great recipes, hunting live streams, and cooking shows follow The Outdoors Chef on Facebook.
INGREDIENTS
- Smoked Turkey Legs- 2pc
- Carrots – peeled, trimmed, quartered lengthways, and medium slice- 1cup
- Celery Heart and Ribs – trimmed and sliced lengthways, and medium slice- 1cup
- Onion – trimmed, peeled, and medium slice- 1cup
- Leek – trimmed removing dark green tops, trim root end, quarter lengthways, and medium slice- 1cup
- Fresh Bay Leaves- 3pc
- Bacon – sliced into ½ “- ½lb./225g
- Flaked Sea Salt- to taste
- Fresh Ground Black Pepper- to taste
- All Purpose Flour – plus more for dusting- 5cups
- Baking Powder- 2tbsp
- Baking Soda- 1tsp
- Buttermilk – plus more if needed- 1½cups/375ml
- Fresh Thyme – rinsed and leaves stripped (optional)- 1tbsp
TECHNIQUE
Smoked Wild Turkey
- Preheat smoker 30-45 minutes before cooking, soak hickory chips in water before smoking
- Position rack in center of barbecue, preheat charcoal or hardwood smoker to 200-225°F (95-110°C)
- Prepare smoker for offset smoking with heat on one side and turkey legs on the other
- Season turkey legs with salt and pepper, place in the smoker for 60-90 minutes, remove
- Place legs in a large heavy-bottom stock pot or cast-iron Dutch oven over medium heat, cover with cold water
- Add carrots, celery, onions, leek, and bay leaves, cover, reduce heat to medium-low, simmer for 60-90 minutes
- Using a ladle, remove any impurities to clarify the stock
- Remove legs from the stock, allow to cool slightly, slice off meat into bite-size pieces, discard bones, add meat to stock
- Preheat a large heavy-bottom sauté pan, add bacon strips without overlapping, sauté until golden, turn, repeat
- Remove bacon, drain on paper towel to remove excess fat, slice into bite-size pieces, add to stock
- Check seasoning, add salt or pepper to adjust flavour, remove bay leaves, cover, reduce heat to medium-low
Dumplings
- Combine flour, baking powder, baking soda, and thyme leaves in a large mixing bowl, whisk to combine
- Add buttermilk, fold together gently with a spatula, careful not to over mix
- Add large dollops of the mixture on top of the turkey stock, like little pillows surrounded by stock
- Cover and cook for 20-25 minutes or until fully cooked, serve dumplings with stock
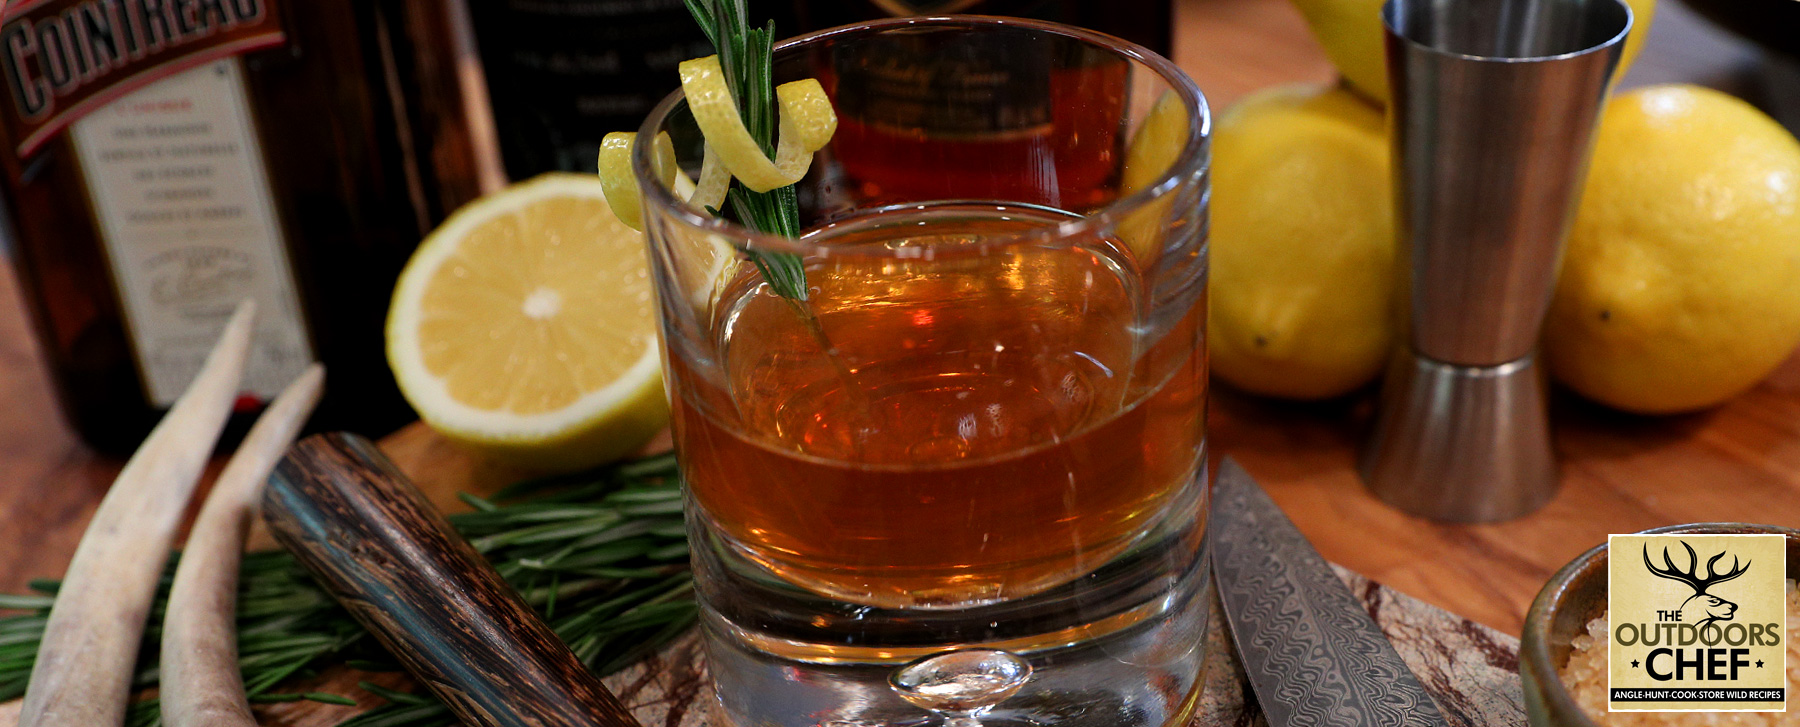
Need a nice drink after a long day of work? Enjoy this cocktail alongside our other recipes from The Outdoors Chef. Please drink responsibly and never mix alcohol and firearms.
Recipe written by The Outdoors Chef. For more great recipes, hunting live streams, and cooking shows follow The Outdoors Chef on Facebook.
INGREDIENTS
- Brandy or Cognac – 1½oz 45ml
- Cointreau – 1oz 30ml
- Still Water – 2oz 60ml
- Absinthe – ¼oz 7.5ml
- Coarse Raw Sugar – 1pc
- Angostura Bitters – 3 dashes
- Lemon – twist or sliced – garnish
- Fresh Rosemary – garnish
- Crushed Ice – as needed
TECHNIQUE
- Fill an old-fashioned glass with ice to the rim, top with water, set aside
- In a second old-fashioned glass add sugar, angostura bitters, and water, muddle to combine creating a simple syrup
- Add a handful of ice into glass with simple syrup, pour over Cognac, and Cointreau
- Dump ice and water from first, chilled glass, add absinthe and swirl around coating the entire glass
- Strain the mix from the second glass into Absinthe coated glass, garnish with lemon and rosemary
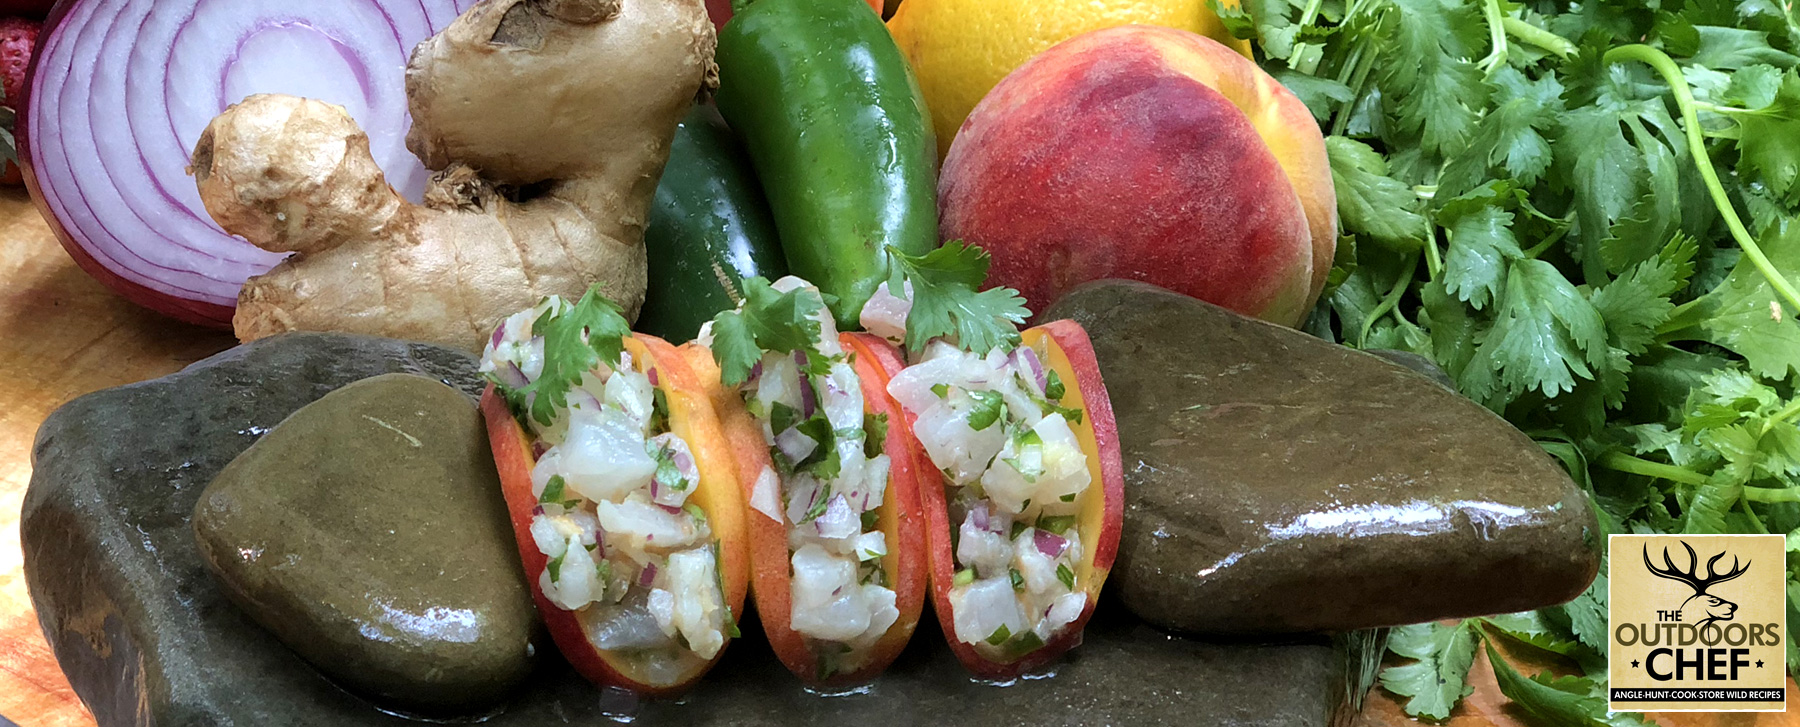
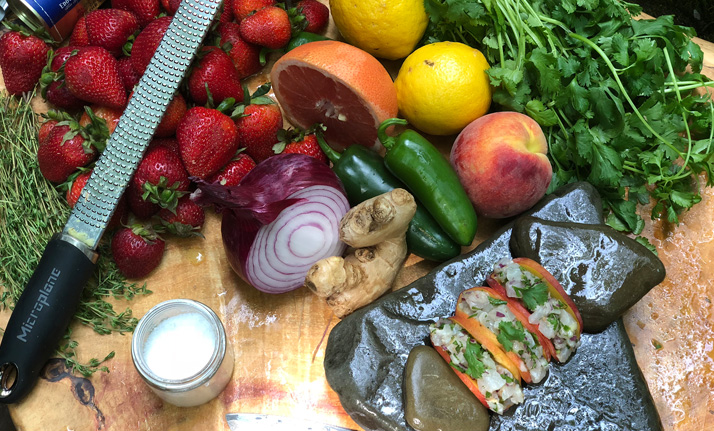
If you’re fishing clean waters, and it’s legal in your area to keep your Largemouth catches, this fish can make a very fine meal. Ceviche isn’t prepared with heat, so care must be taken to make sure the dish is assembled and enjoyed as fresh as possible. The highly acidic grapefruit juice, taking place of the more traditional lime juice in this recipe, denatures the protein and actually “cooks” the fish. Adventurous? Yes, without a doubt. Delicious? Absolutely. Next time you find yourself in pristine waters, think twice before slinging that Largemouth back into the water.
Recipe written by The Outdoors Chef. For more great recipes, hunting live streams, and cooking shows follow The Outdoors Chef on Facebook.
INGREDIENTS
- Largemouth Bass – cleaned, rinsed, and finely diced – 2lbs 900g
- Red Onion – trimmed, peeled and finely diced – ¼cup
- Peaches – rinsed and thinly sliced – 2pc
- Grapefruit – zested and juiced – 1pc
- Fresh Cilantro – rinsed, leaves stripped and fine slice – 3tbsp
- Fresh Ginger – finely grated – 1tbsp
- Jalapeno Pepper – trimmed, seeded and fine dice – to taste
- Flaked Sea Salt – to taste
TECHNIQUE
- Combine bass, onion, grapefruit, cilantro, ginger, and jalapeno in a large mixing bowl, fold together gently
- Season with salt and for additional heat add more jalapeno
- Refrigerate for 1 hour, check seasoning again before serving on peach slices
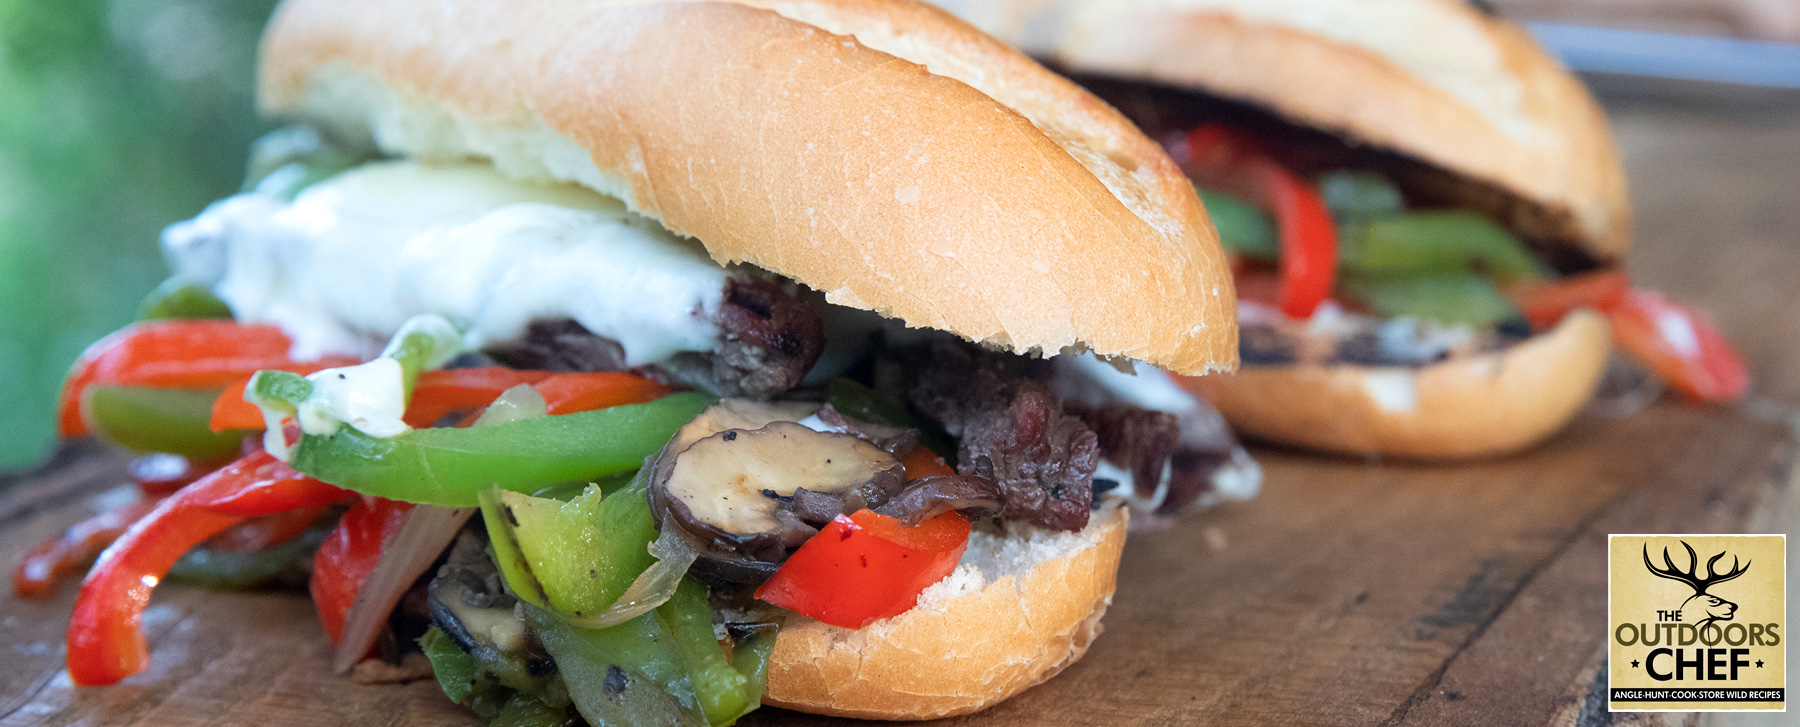
What’s not to love about a cheesesteak? This really simple recipe is quick to put together and it’s a great way to use your frozen venison roast. Slicing the meat while it’s still frozen makes it easier to get thinner slices and also cuts down on the preparation time since you don’t need to wait for it to thaw. Good bread is probably the most important piece of this recipe, and feel free to experiment with the cheese. Provolone melts well and tastes great, but there are so many more options. If you still have a nice venison roast in your freezer taking up space, this is a recipe that you don’t want to skip!
Recipe written by The Outdoors Chef. For more great recipes, hunting live streams, and cooking shows follow The Outdoors Chef on Facebook.
INGREDIENTS
Cheesesteak
- Whitetail Deer Roast – trimmed and thinly sliced while frozen – 1lb 450g
- Yellow Onion – trimmed, peeled, and finely sliced – 2pc
- Green Bell Pepper – cored, seeded, and thinly sliced – 2pc
- Red Bell Pepper – cored, seeded, and thinly sliced – 2pc
- Baby Portobello Mushrooms – brushed clean, trimmed and thinly sliced – 12pc
- Garlic Cloves – trimmed, peeled, and finely grated – 4pc
- Provolone Cheese – thinly sliced – 1lb 450g
- Extra Virgin Olive Oil – as needed
- Amoroso-Style Rolls – 4pc
- Flaked Sea salt – to taste
- Fresh Ground Black Pepper – to taste
- Parchment Paper or Aluminum Foil – for wrapping
Amorosa-style Roll
- Bread Flour – sifted – 6cups
- Water – lukewarm – 2cups 500ml
- Wildflower Honey – 1tbsp
- Active Dry Yeast – 1tbsp
- Flaked Sea Salt – 1tsp
- Egg Wash – half and half egg/water, whisked – 2pc
TECHNIQUE
Cheesesteak
- Heat a cast iron griddle or large sauté pan over medium-high heat, add olive oil to coat bottom of pan
- Add mushrooms, toss to coat with oil, season with salt and pepper, sauté until golden brown, remove
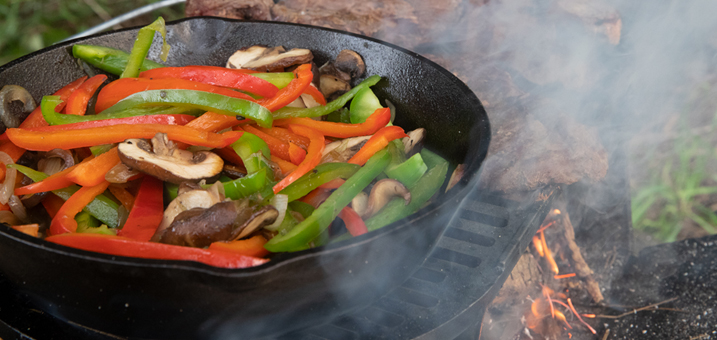
- Add more olive oil to coat bottom of pan, add onions, bell peppers, garlic, season with salt and pepper
- Sauté until golden brown, remove, add more olive oil to coat bottom of pan
- Season venison with salt and pepper, add to hot pan, sauté until charred and desired doneness, turning once
- Add the mushrooms, and onion/pepper mixture to venison, mix to combine, divide into 4 portions
- Top each portion with provolone, slice the rolls in half, place on the grill to lightly toast
- Using a steel spatula pick up portions and slide onto toasted roll, serve
Amorosa-style Roll
- In a stand mixer fitted with chef’s whisk, combine water, yeast, and honey, whisk to combine, let stand for 10 minutes
- Add the flour to the wet ingredients, attach the dough hook mix until fully combined, continue to knead for 5 minutes
- If mixture is too dry, add water, if mixture is too wet, add flour
- If prepared by hand, turn dough out onto a lightly floured surface, knead for 5 minutes
- Place dough in a lightly oiled bowl, cover with damp cloth
- Allow dough to rise in a warm place (in oven with light on) for 60 minutes or until doubled in size
- Turn out dough on a lightly floured surface, punch down dough, divide evenly and form into uniform 10” rolls
- Arrange on a lightly oiled baking tray, cover and let rise for 60 minutes or until doubled in size
- Using a pastry brush, lightly wash the dough with 50/50 egg/water mixture, season with salt
- Position rack in center of oven, place pizza stone on rack, preheat to 550°F (288°C), gas mark 12
- Bake 18-20 minutes or until golden brown, remove from oven
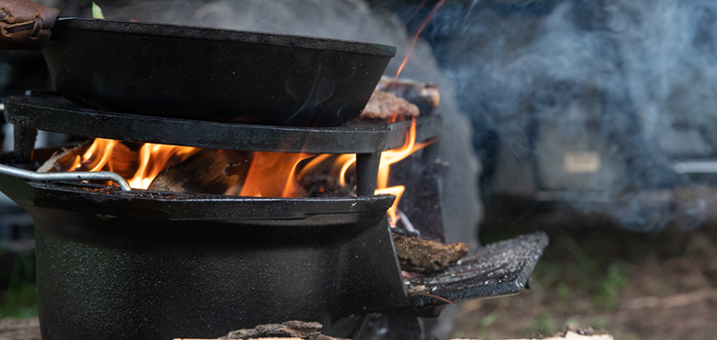
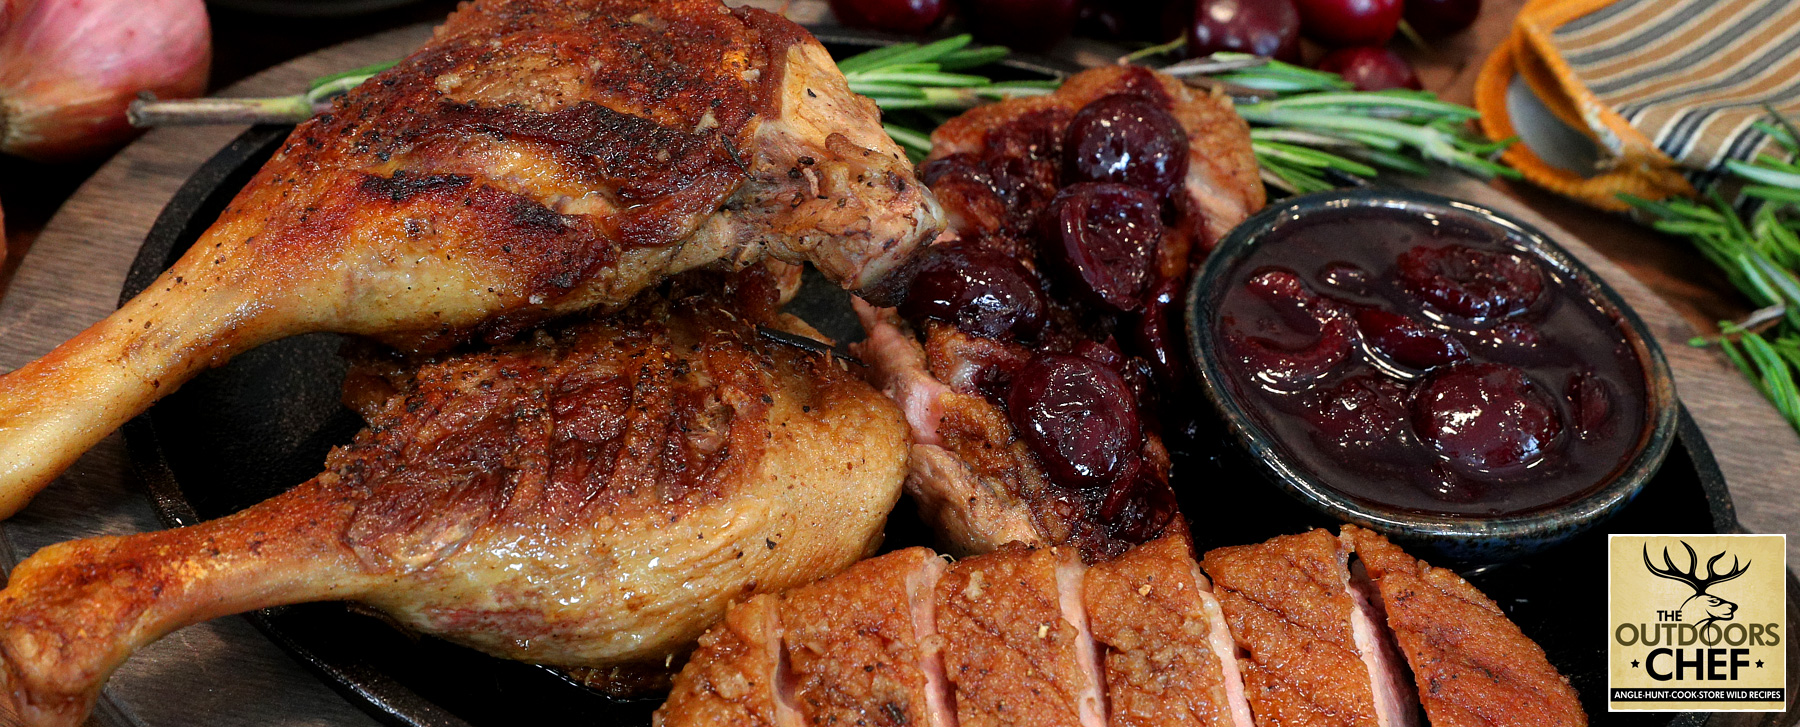
Ducks are not only some of the most stunningly beautiful wildlife that a hunter can target, but they’re also insanely tasty, especially a nice Mallard or Wood Duck. The meat is rich and deeply gratifying and doesn’t require a whole lot in the creativity department to make it taste good if you have your fundamental kitchen skills down pat. This recipe is a fairly simple affair inspired by a classic French dish utilizing fresh cherries for some added acidity and earthy sweetness. Put your Henry shotgun to work and capitalize on the bounty with this dish fit for a king.
INGREDIENTS
- Whole Duck – separated into legs and breast, trimmed and fat scored – 2pc
- Fresh Rosemary – rinsed (plus more for garnish) – 2pc
- Shallots – trimmed, peeled, and finely diced – 2pc
- Fresh Cherries – sliced in half and pitted – 12pc
- Duck, Chicken or Vegetable Stock – 1cup
- Tawny or Ruby Port – 4oz 120ml
- Unsalted Butter – chilled – 2tbsp
- Extra Virgin Olive Oil – as needed
- Flaked Sea Salt – to taste
- Fresh Ground Black Pepper – to taste
TECHNIQUE
- Preheat a heavy-bottom cast iron or stainless-steel sauté pan over medium-high heat
- Using a sharp knife, score skin in ½ inch diamond pattern without slicing into the flesh
- Add olive oil and rosemary to the pan, season both sides of the duck legs and breasts
- Gently roll the legs, presentation side down, into the pan away from your body to avoid splashing oil
- Sauté until crispy and golden brown, turn legs over, gently roll the breasts to the pan fat side down
- Occasionally, tip the pan towards you and using a large spoon, spoon the hot fat on top of the meat
- Spooning this fat will help to keep the temperature moderate while cooking and crisping the duck
- Remove the rosemary from the pan once heavily browned
- Remove the legs and breast when crispy and nicely browned, rest uncovered on a plate
- Drain excess fat from the pan, return to the heat, add shallots, sauté until golden, deglaze with stock
- Reduce liquid in the pan to almost dry, add the port, reduce to desired consistency
- To finish the sauce, add chilled butter and swirl the pan to incorporate, add cherries
Thinly slice duck breast, serve with fresh rosemary and topped with cherry pan sauce
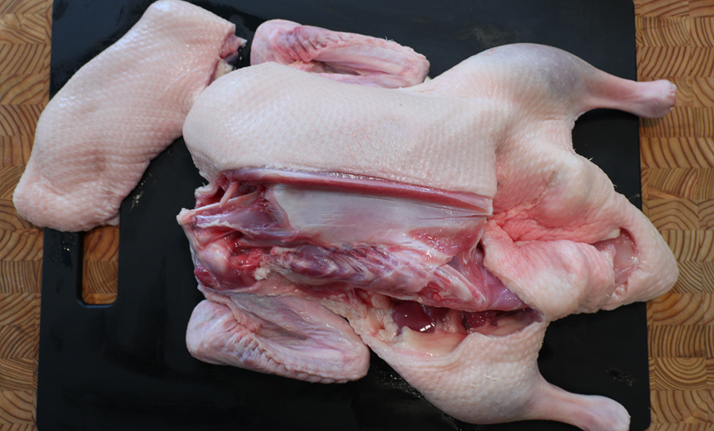
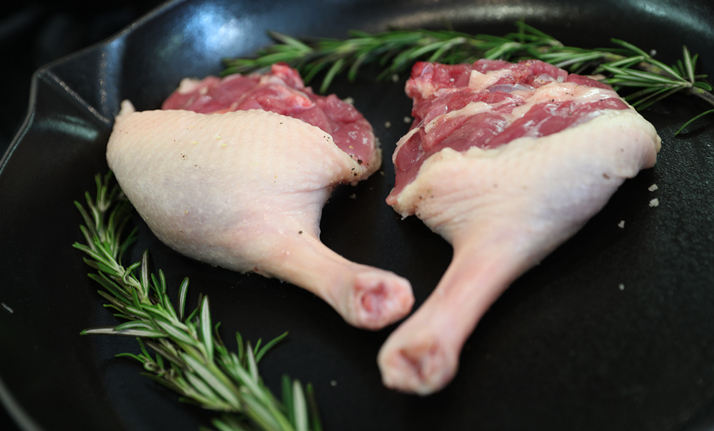

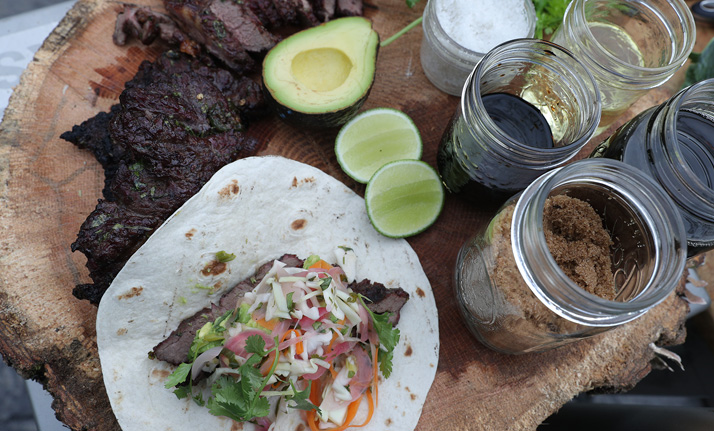
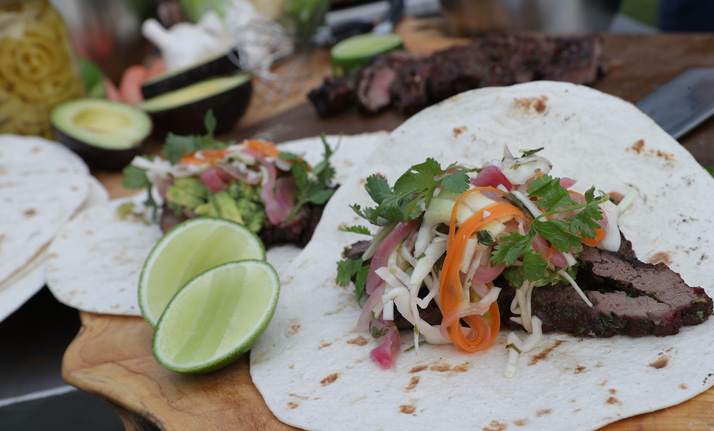
We promise you’ve never had black bear quite like this. For the uninitiated, black bear (especially Spring bear) has a sweet, nutty flavor that when prepared properly is just incredible. Here, The Outdoors Chef marinates the meat in a sweet, spicy, savory blend that complements the bear steaks perfectly and provides a great contrast to the fresh, snappy vegetables atop the tacos. If you didn’t have plans for Spring bear hunting, this recipe alone might just change your mind.
INGREDIENTS
Tacos
- Black Bear Steaks – trimmed-2lbs – 900g
- Savoy Cabbage – sliced in half, cored, and thinly sliced – 4cups
- Carrot – peeled, trimmed, and use peeler to thinly sliced – 1pc
- Red Onion – trimmed, peeled, and finely sliced – 1pc
- Spring Onions – trimmed and thinly sliced on sharp angle – 4pc
- Fresh Cilantro – rinsed and leaves stripped – 1cup
- Tortilla – grilled to heat – 12pc
- Cider Vinegar – 1cup
- Flaked Sea Salt – to taste
- Fresh Ground Black Pepper – to taste
Marinade
- Fresh Cilantro – rinsed, leaves stripped, and finely chopped, plus more for garnish 1cup
- Garlic Cloves – trimmed, peeled and finely grated – 3pc
- Jalapeno Pepper – trimmed, seeded, and finely diced – 1pc
- Dark Brown Sugar – ¼cup
- Canola Oil – 3tbsp
- Soy Sauce – 3tbsp
- Toasted Sesame Oil – 1tbsp
- Ground Coriander – 1tsp
- Fresh Ground Black Pepper – 1tsp
Guacamole
- Avocados – sliced in half, pitted, and sliced into medium dice – 4pc
- Fresh Cilantro – rinsed, leaves stripped, and finely chopped – ½cup
- Lime – zested and juiced – 1pc
- Ground Cumin – 1tsp
- Jalapeno Pepper – trimmed, seeded, and finely chopped – to taste
- Flaked Sea Salt – to taste
TECHNIQUE
Tacos
- In a small sauce pan over medium heat, combine red onion and vinegar, cook until tender, cool, drain
- In a large bowl combine the cabbage, carrots, red onion, spring onions, and cilantro, season with salt and pepper
- Position rack in center of barbecue, preheat gas or charcoal barbecue to 350°F (176°C), gas mark 4
- Remove steak from the marinade, season with salt and pepper, place on grill, turning once
- Grill Bear until instant-read probe thermometer reads 165°F (74°C) inserted into the thickest part of the steaks
- Remove from grill, rest meat for 10 minutes, thinly slice across the grain
- Serve bear with the reserved marinade, tortillas, cabbage, and guacamole
Marinade
- In a large mixing bowl combine all ingredients, whisk to incorporate, pour mixture into a resealable plastic bag
- Divide mixture in half, reserve half for serving
- Add bear steaks to the marinade, remove most of the air from the bag, seal and massage the ingredients
- Refrigerate for 4 hours minimum or overnight for best results, turning occasionally
Guacamole
- In a medium bowl combine all ingredients, gently mix until desired consistency, season with salt
- Serve with chunky consistency or puree until smooth to make a creamy sauce

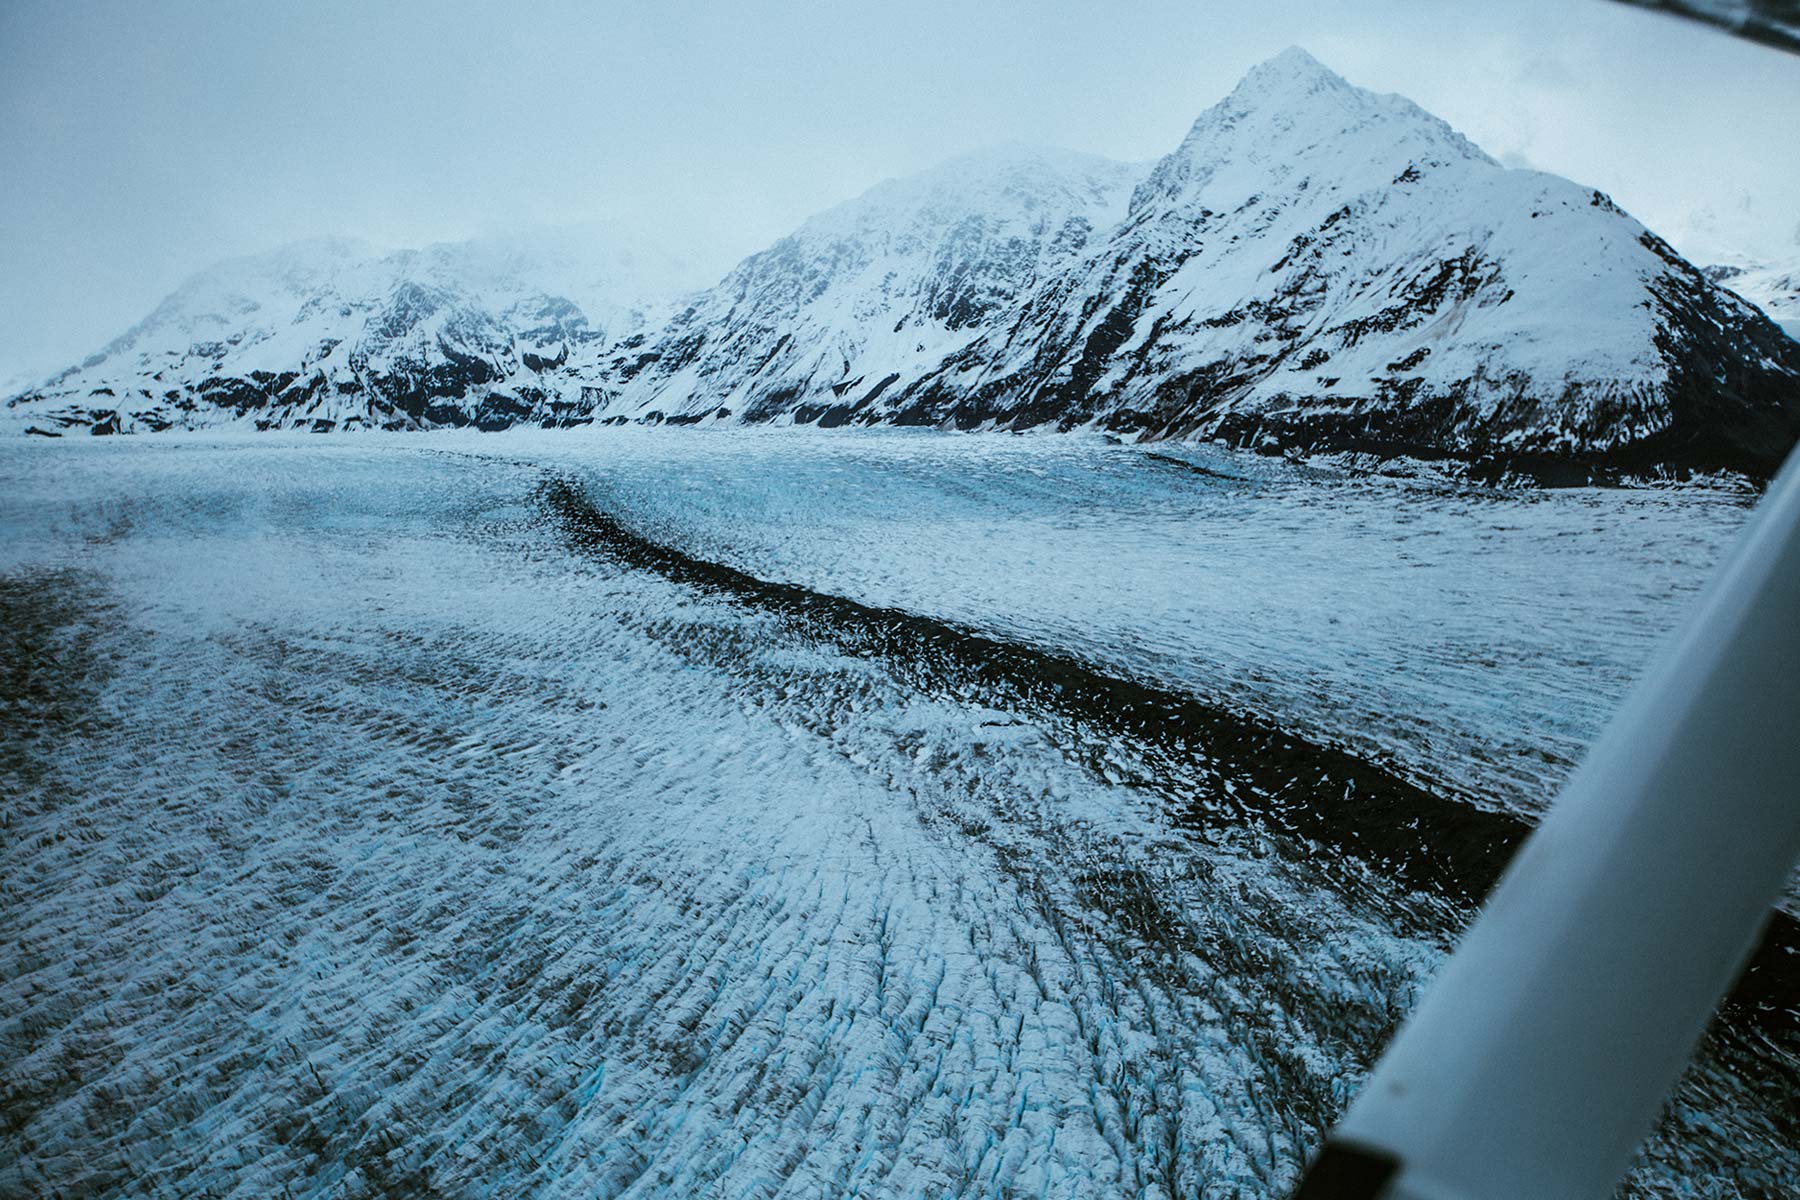
We have been lucky enough to work with the incredibly talented photographer, Moe Lauchert, for a little over a year now. I’m sure that most of you have seen some of his work on our website, in our new catalog, or in our advertising. With this photo essay he perfectly captures the rugged, harsh, unforgiving environment that is Alaskan wilderness and the gritty, determined drive required to call that wilderness your home. Every time I look at this set of photos I get a flood of feelings about individualism, the almost overwhelming power of Mother Nature, the fragility of humankind, but perhaps the strongest is the “call of the wild.” The deep blue hues of the Knik Glacier, the earthy greens and brown of the moss covered soil, the low-hanging clouds, they all just make me want to get outside and breathe it all in. By sharing this photo essay, I hope you will feel something as well. We look forward to sharing more of Moe’s work in future issues.
EPISODE 1
Locations: Knik Glacier/Lake George (camping area)
Wednesday, June 6, 2018
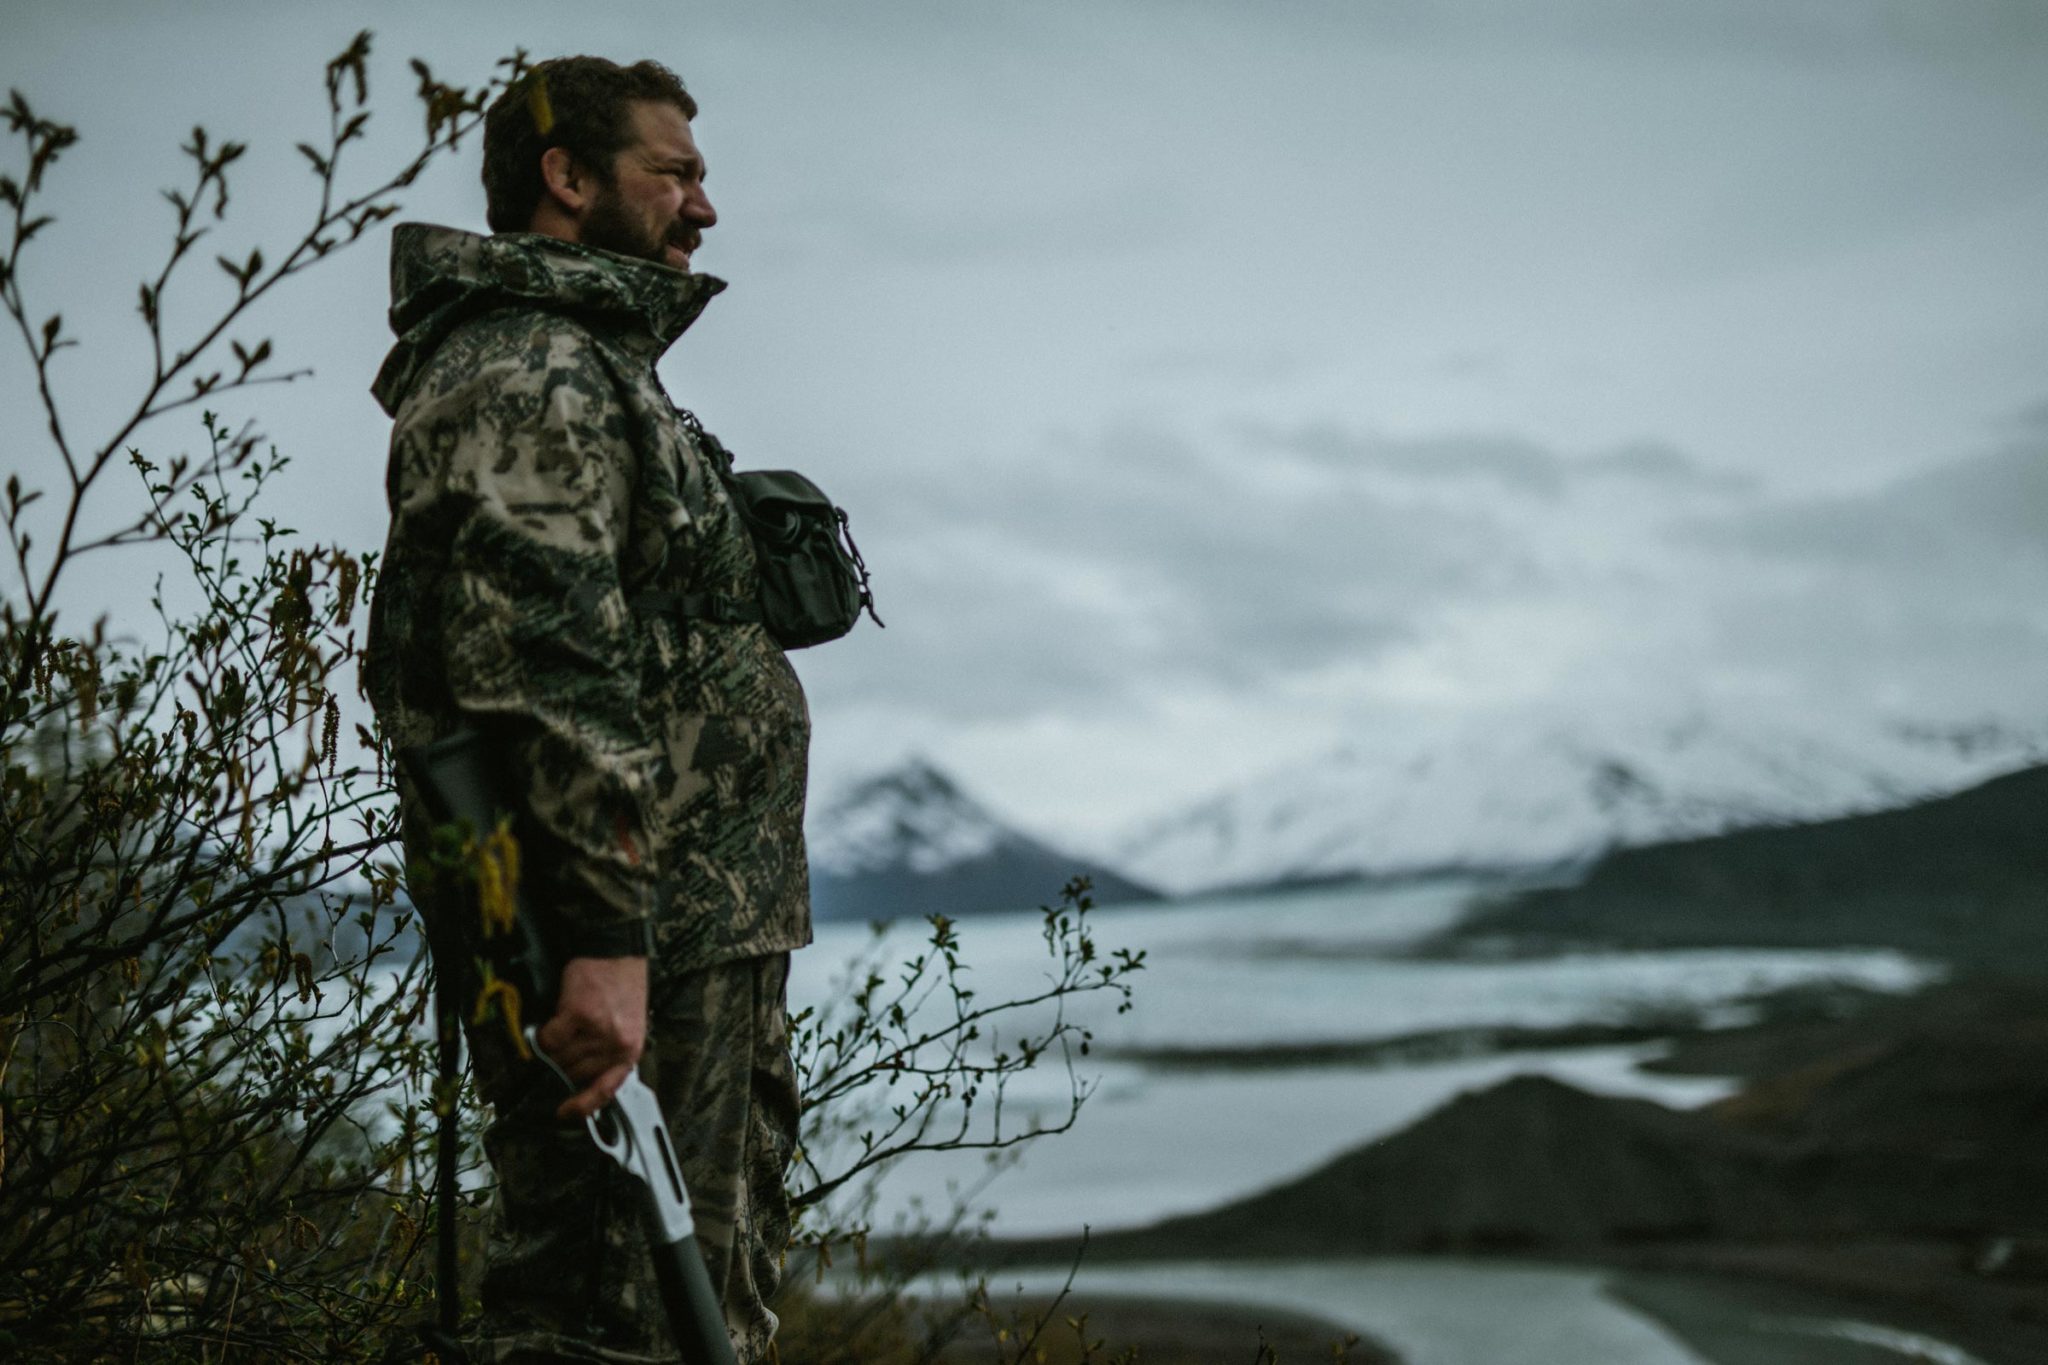
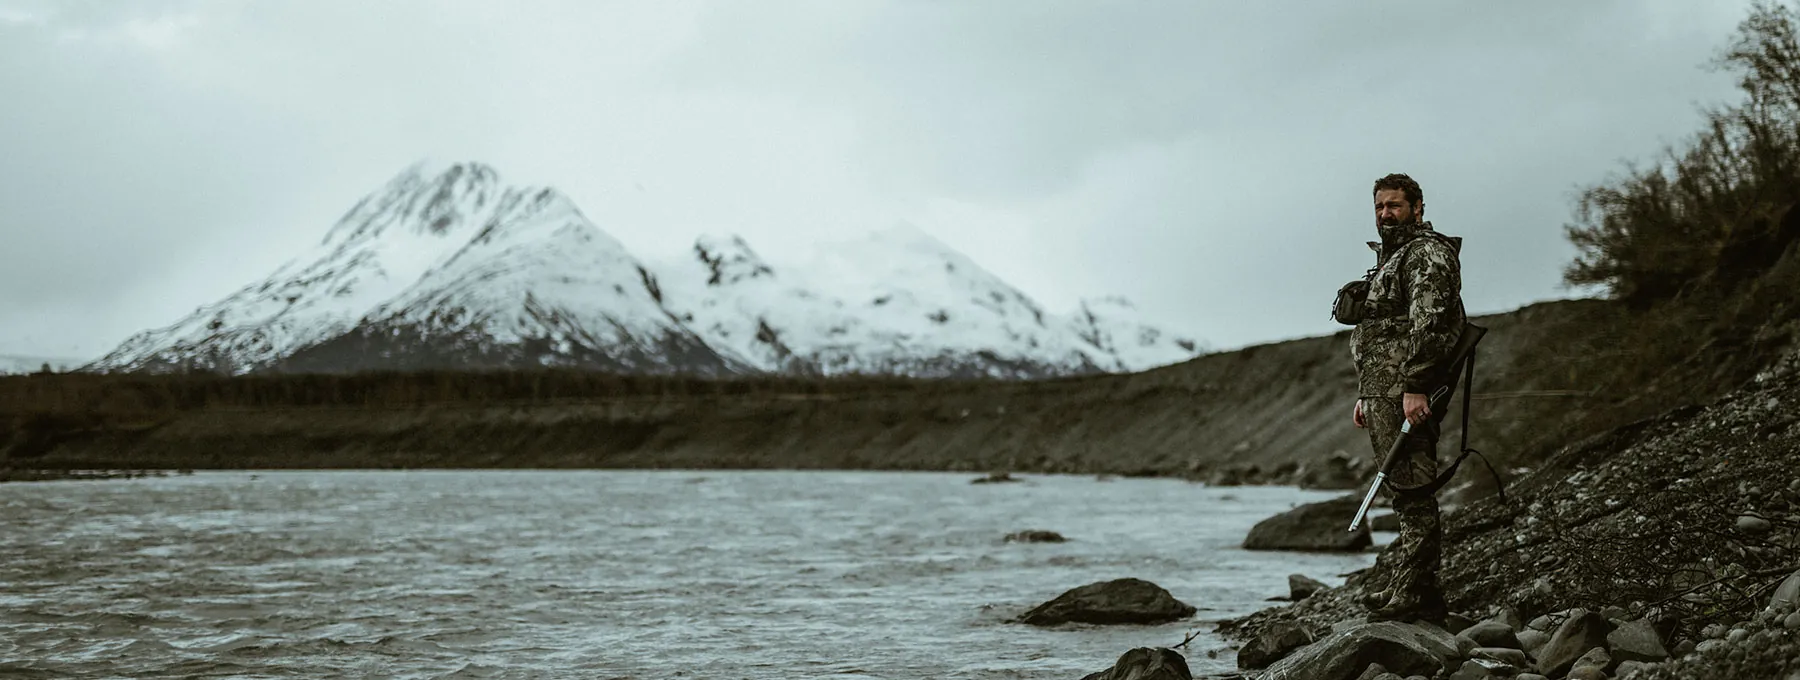
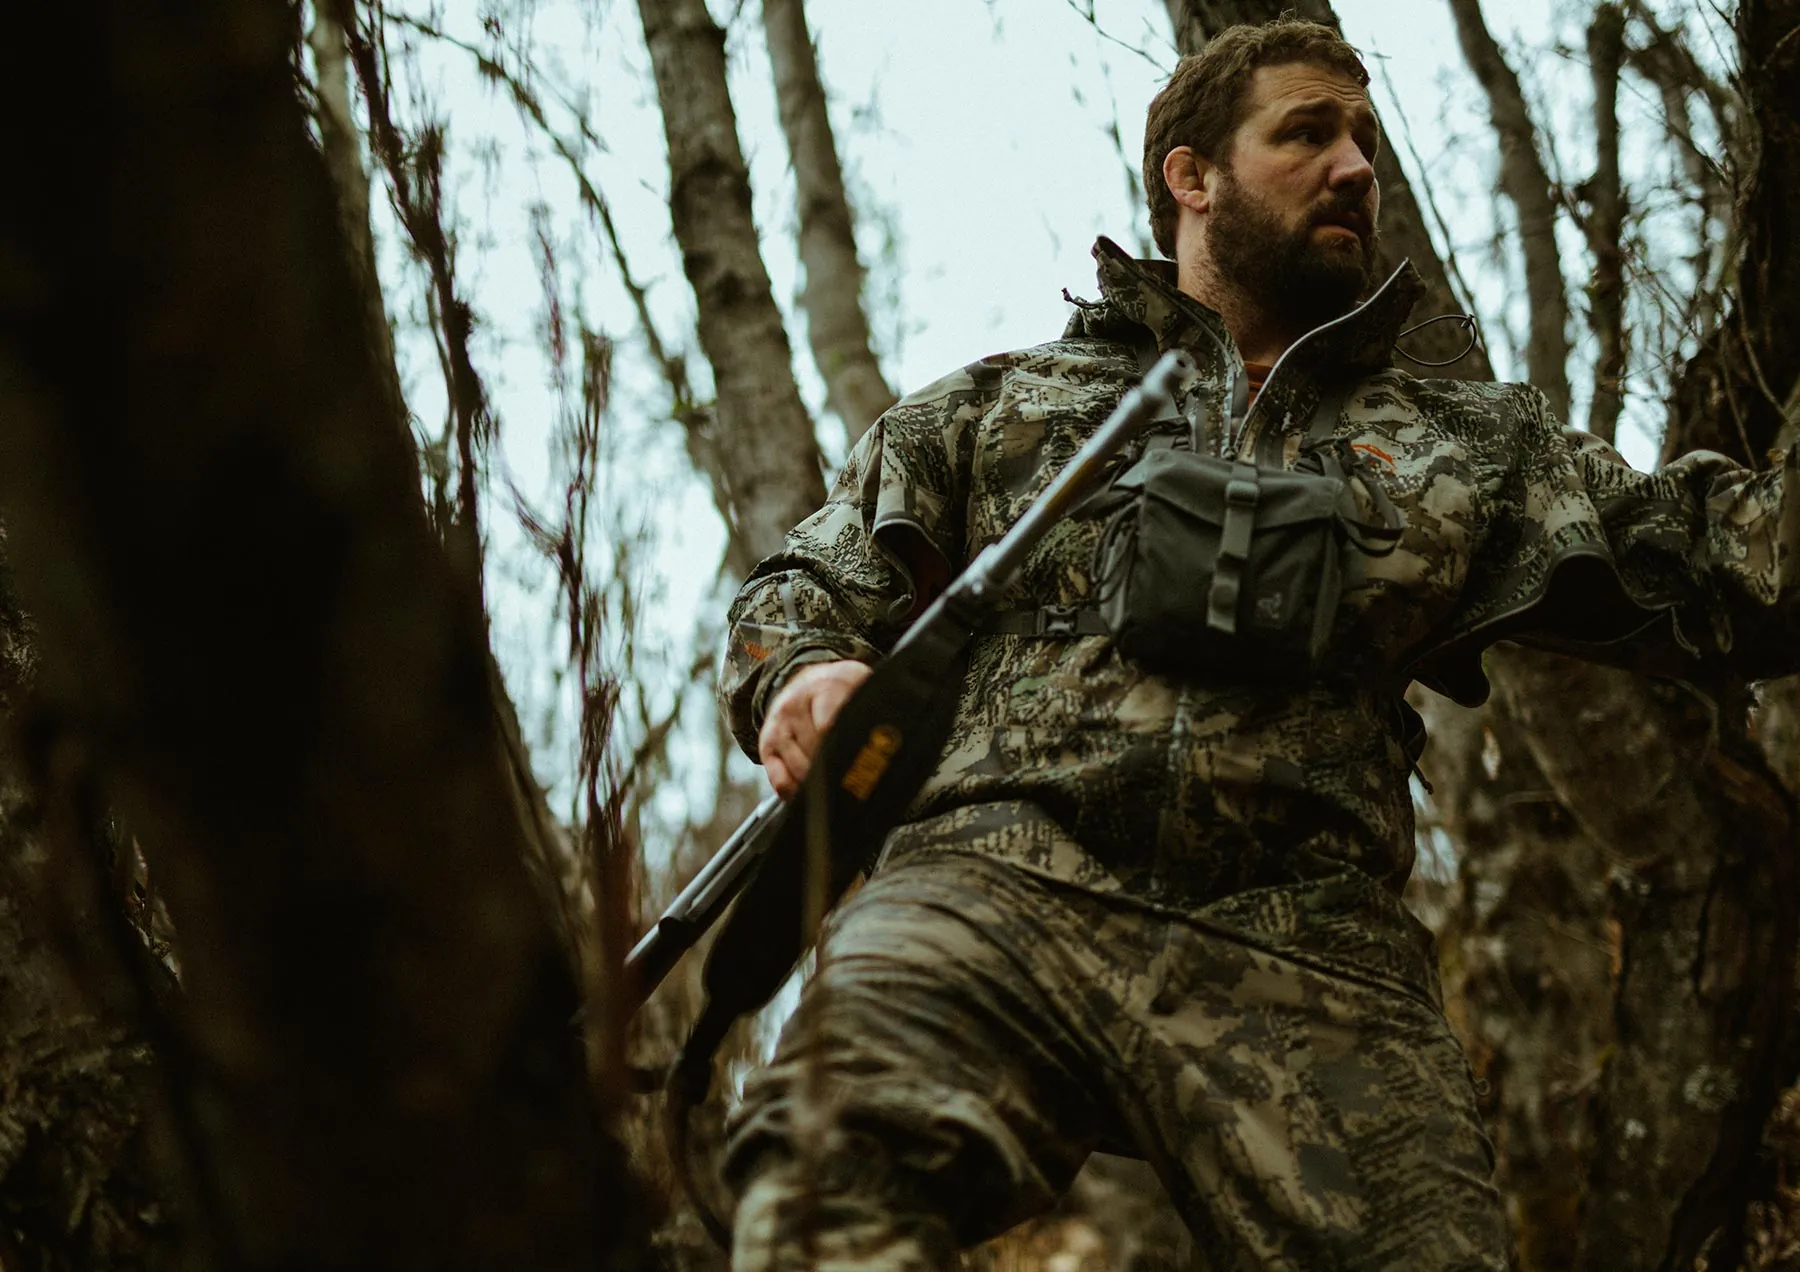
We surveyed the Knik Glacier area for a place to put down for the night. However, with about 17 hours of daylight we decided to bushwhack through thick alder and damp wooded area and glass our surroundings. After an hour or so we had visual of a black bear and tracked it for a few hours. The late winter conditions and extended hibernation period drastically reduced our number of encounters and we decided to take advantage of the presented opportunity.
EPISODE 2
Location: Knik Glacier/Lake George (camping area)
Wednesday, June 6, 2018
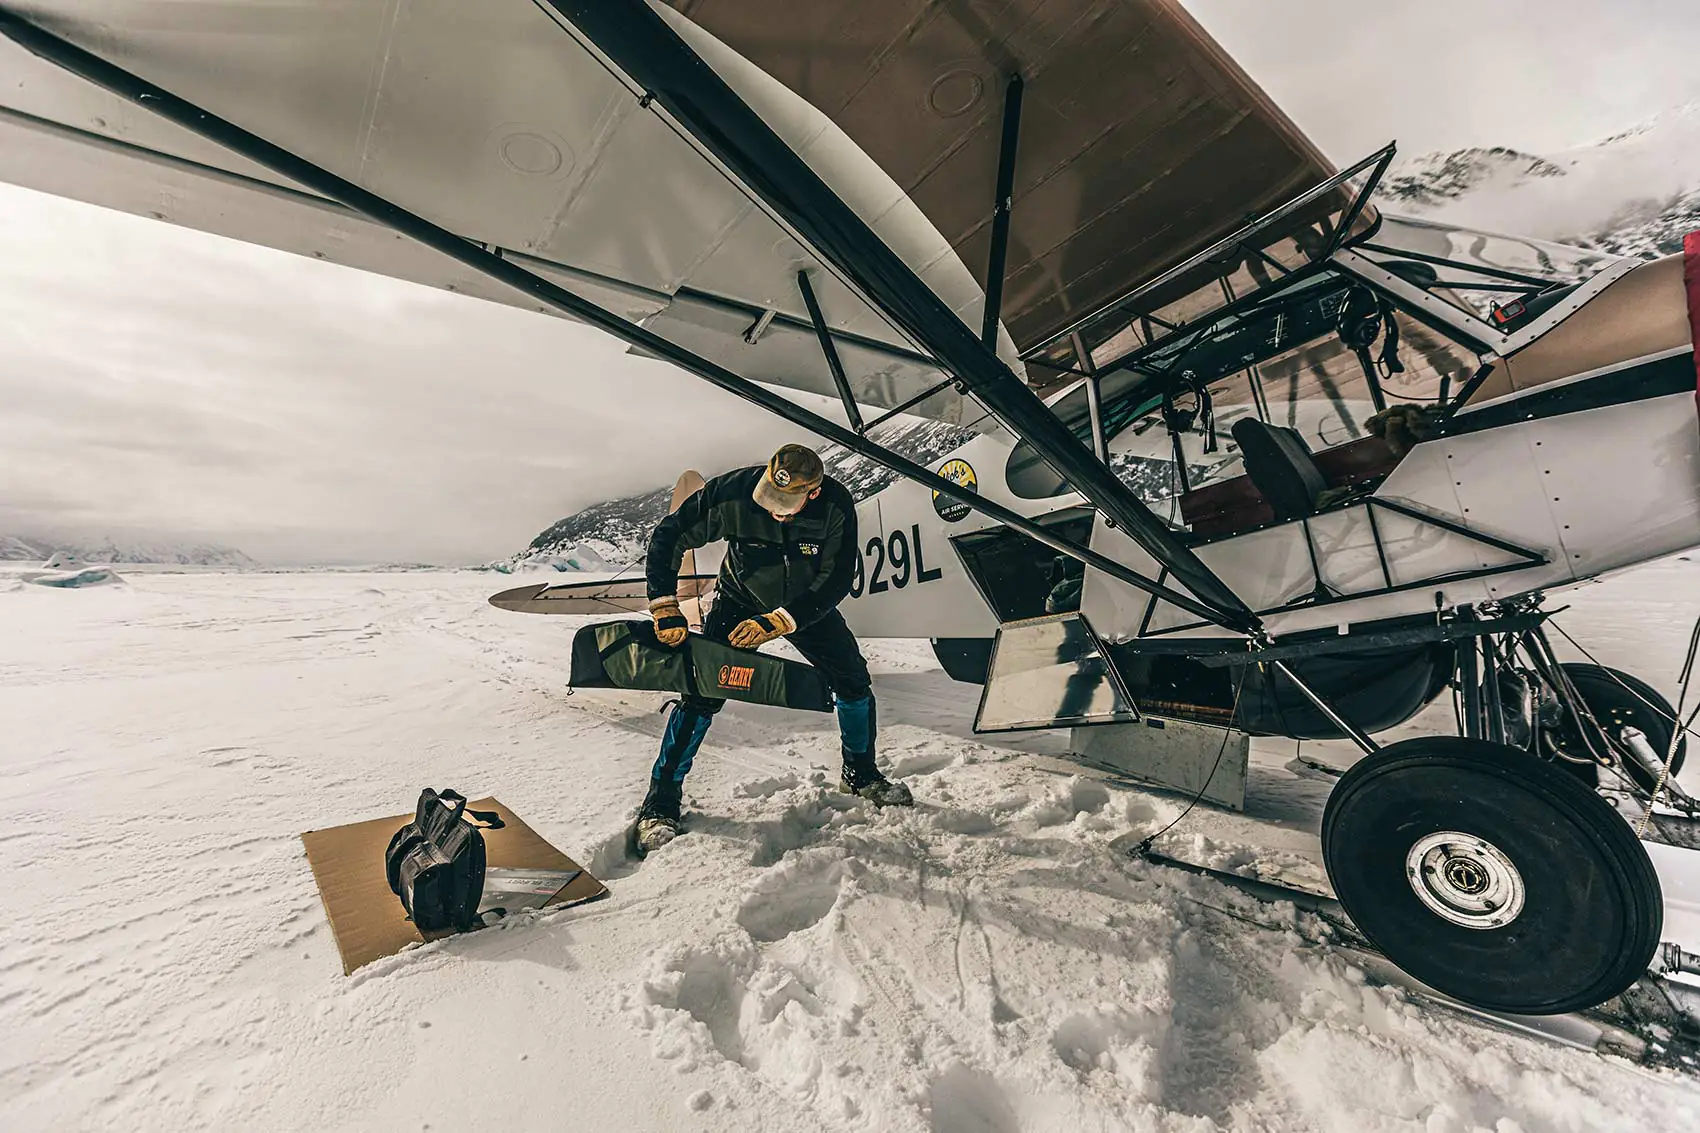
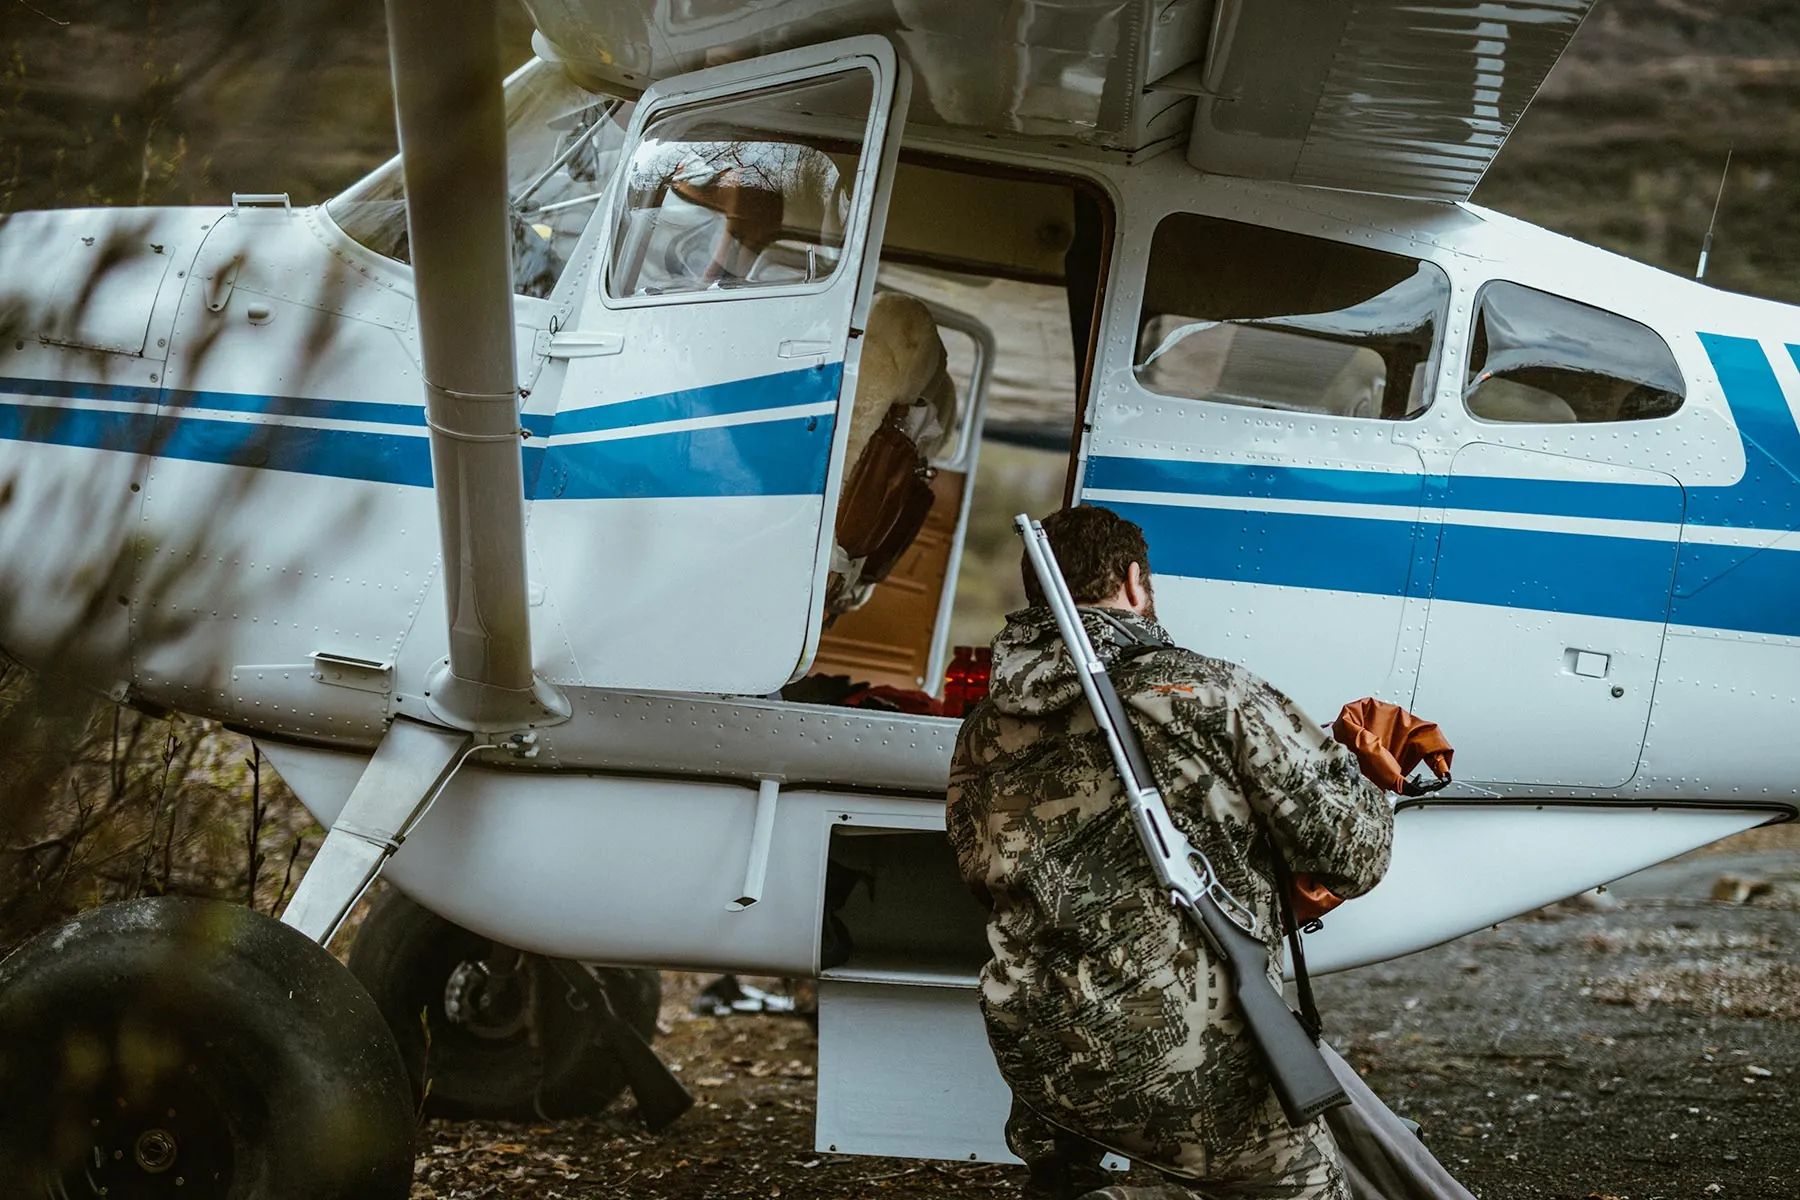
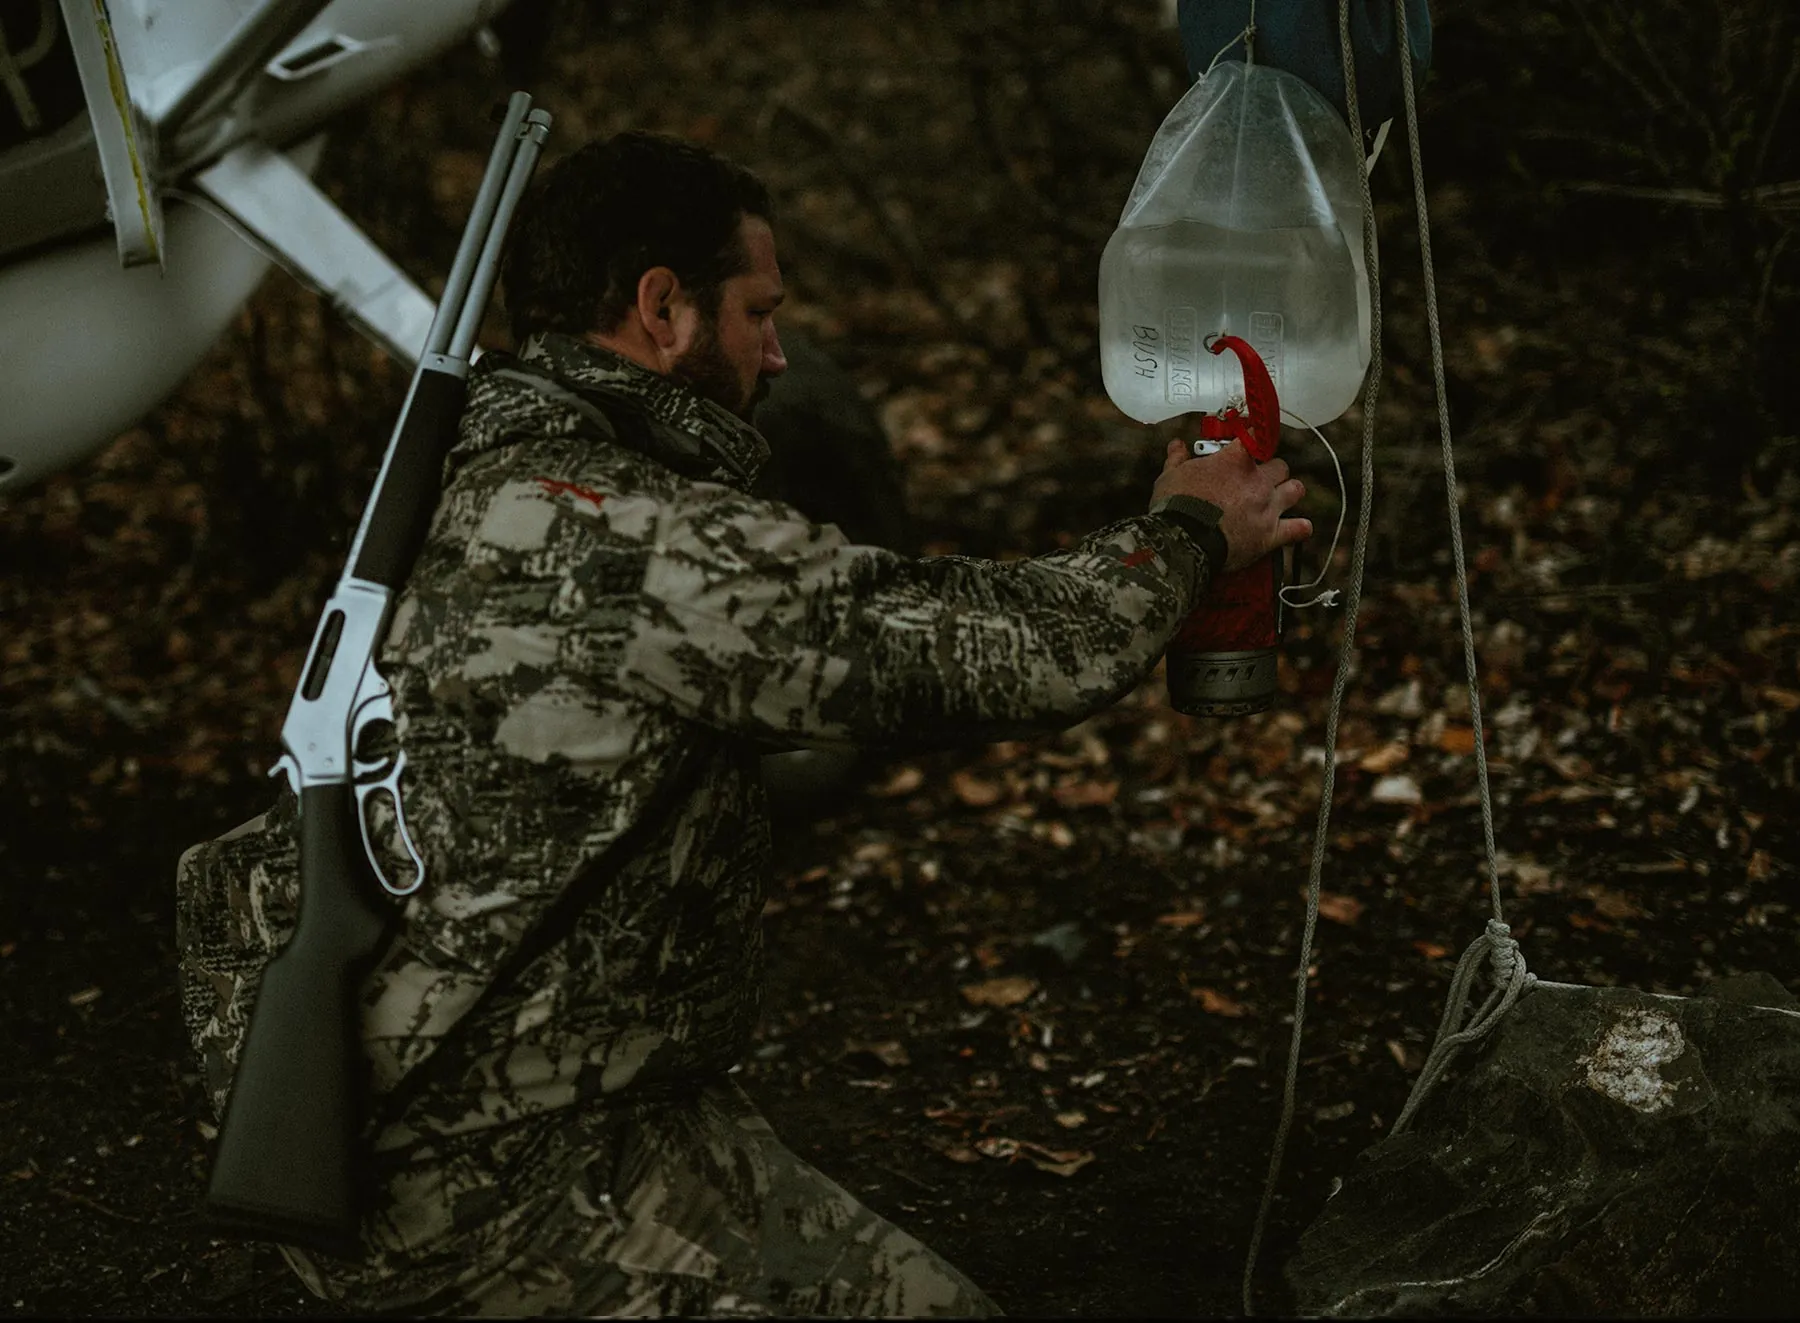
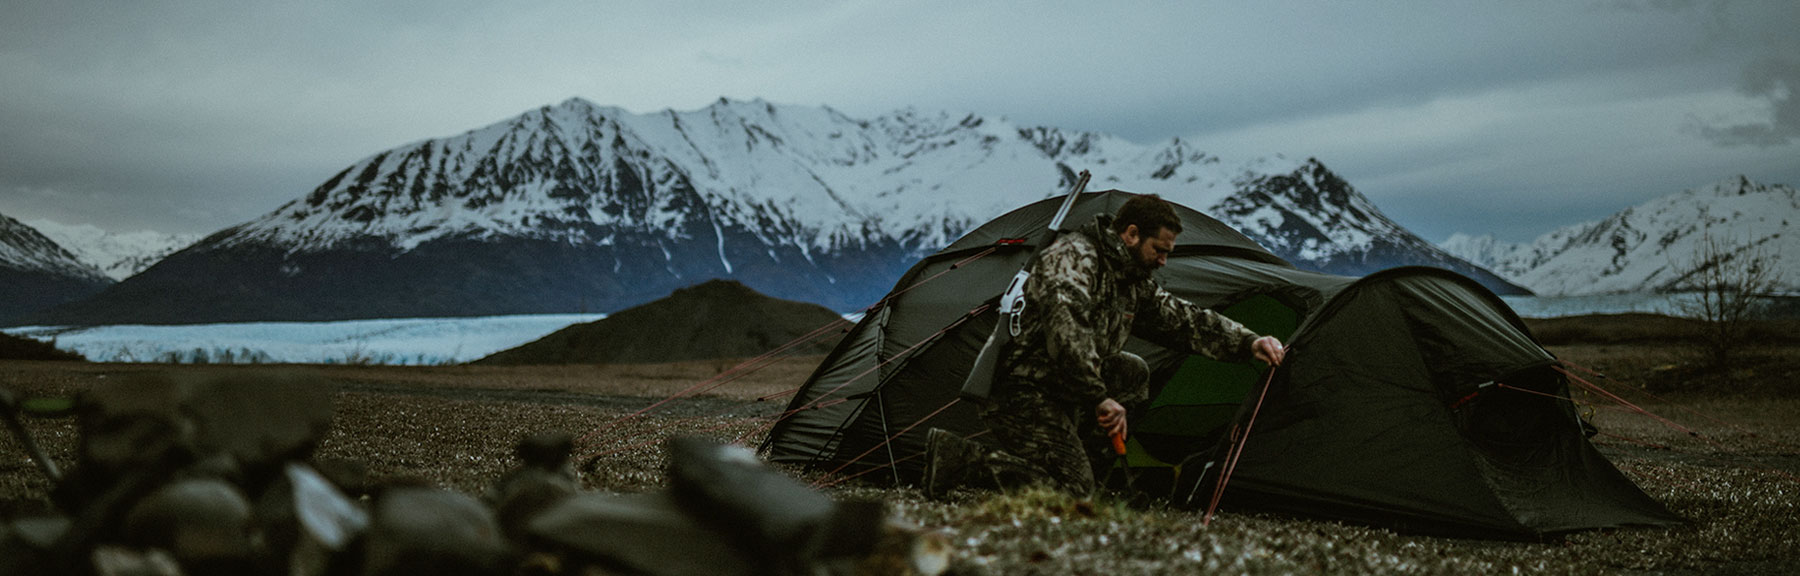
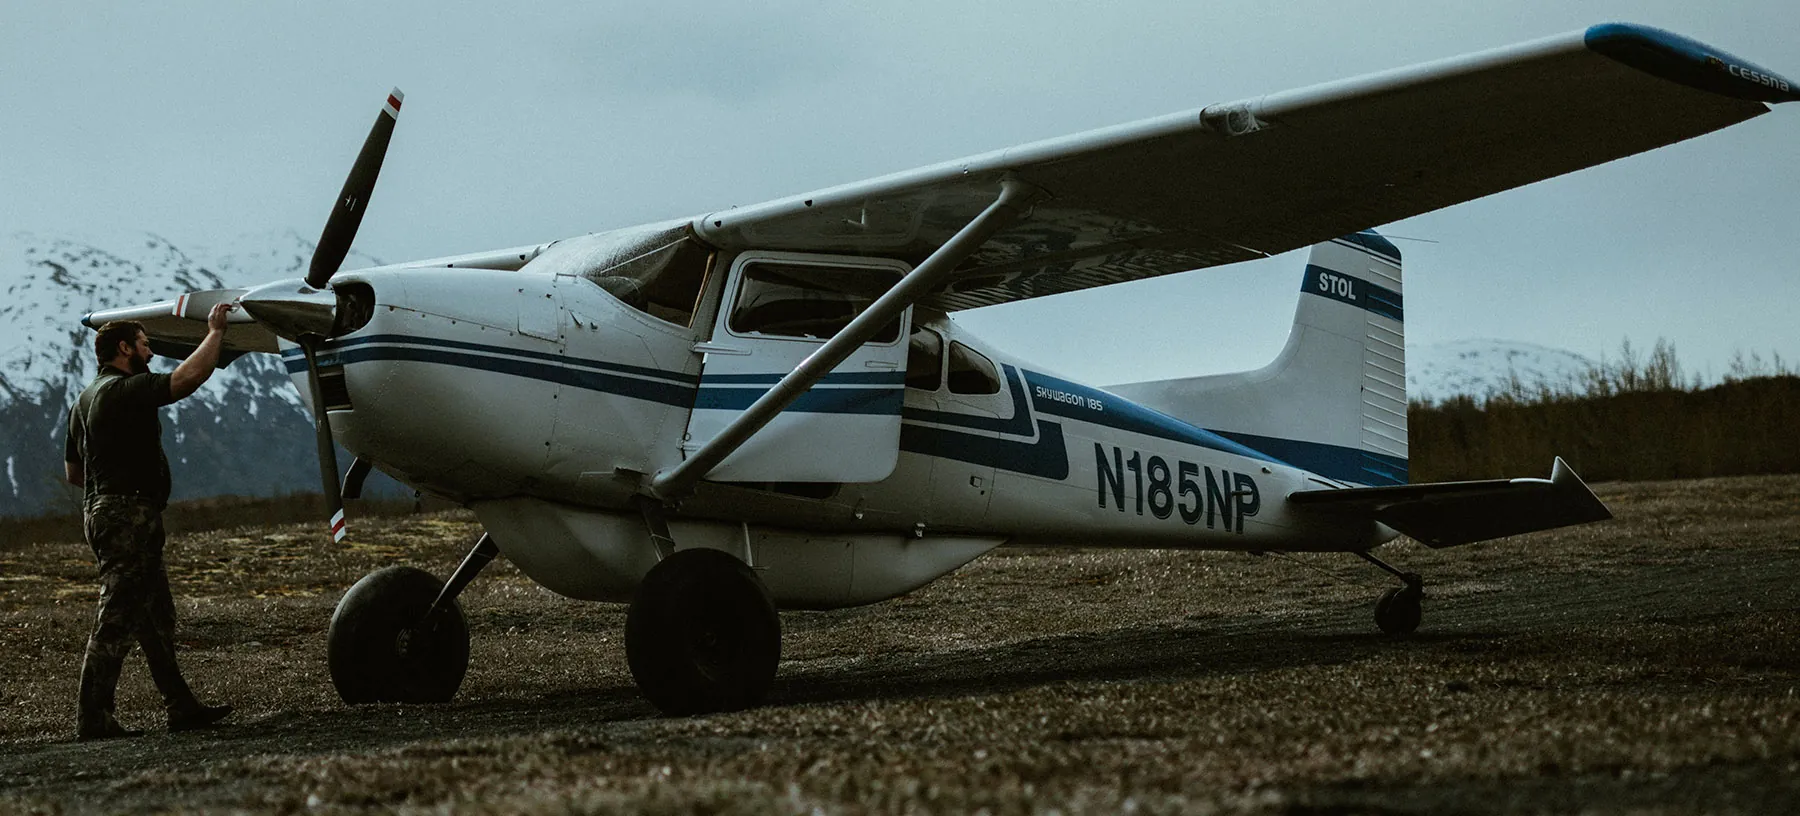
“If it’s not the cold that gets you, it’ll be the wet.” A constant drizzle fanned over the wings of the Cessna 185. We tied the plane down, set up the tent, and gathered our water from the glacial stream nearby. everything to keep warm, dry and prepare for the incoming storm. After setup we took a trail to the east and scoped the mountainside across the stream.
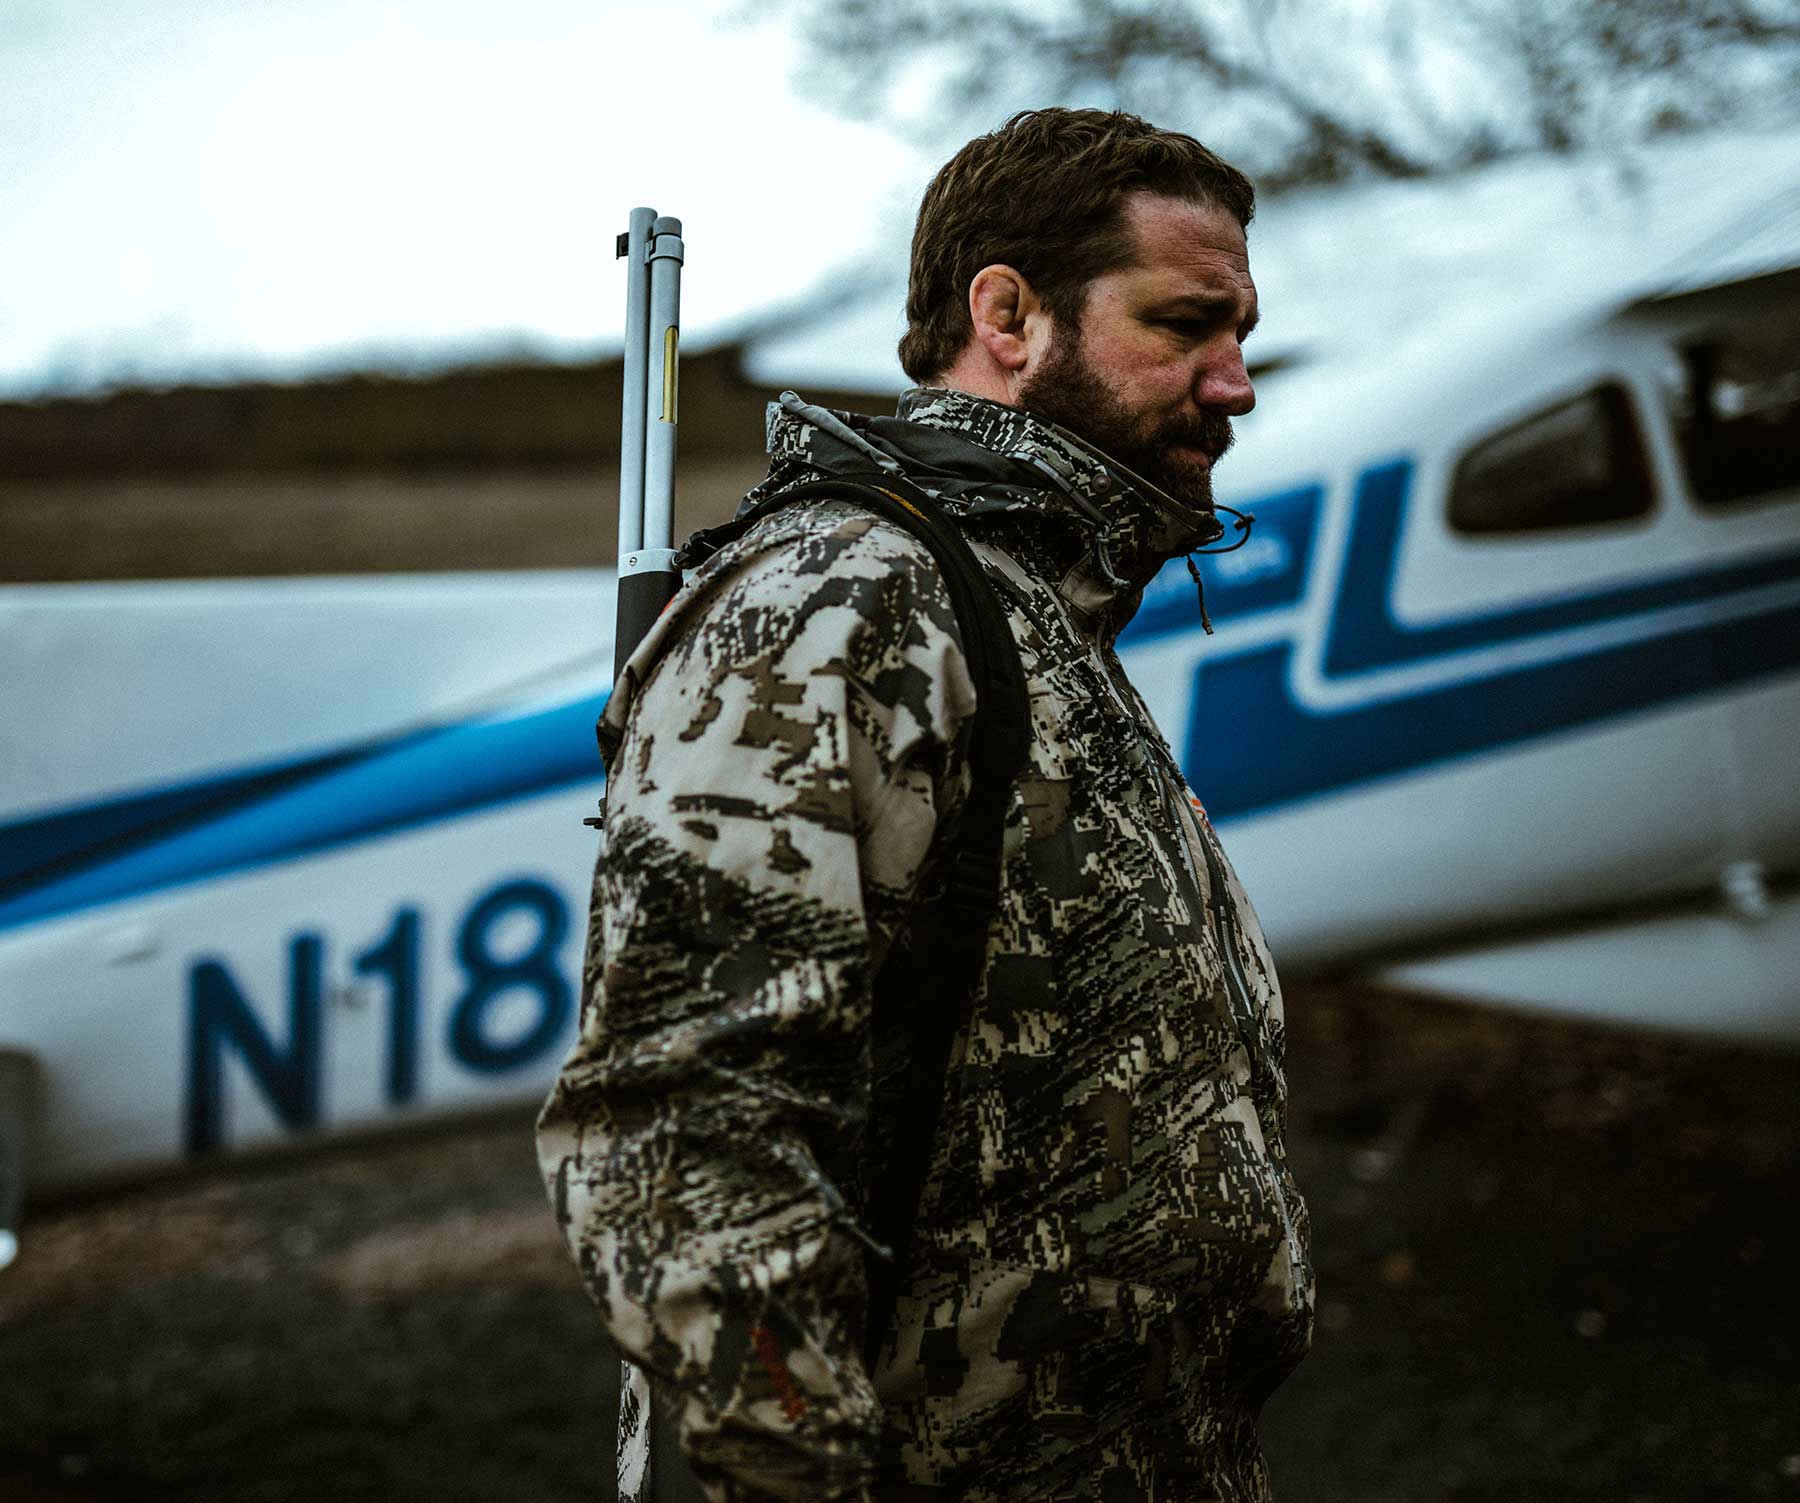
EPISODE 3
Location: Knik Glacier/Lake George (camping area)
Wednesday, June 6, 2018
We returned to camp after fighting through the alders and the temps dropped quickly
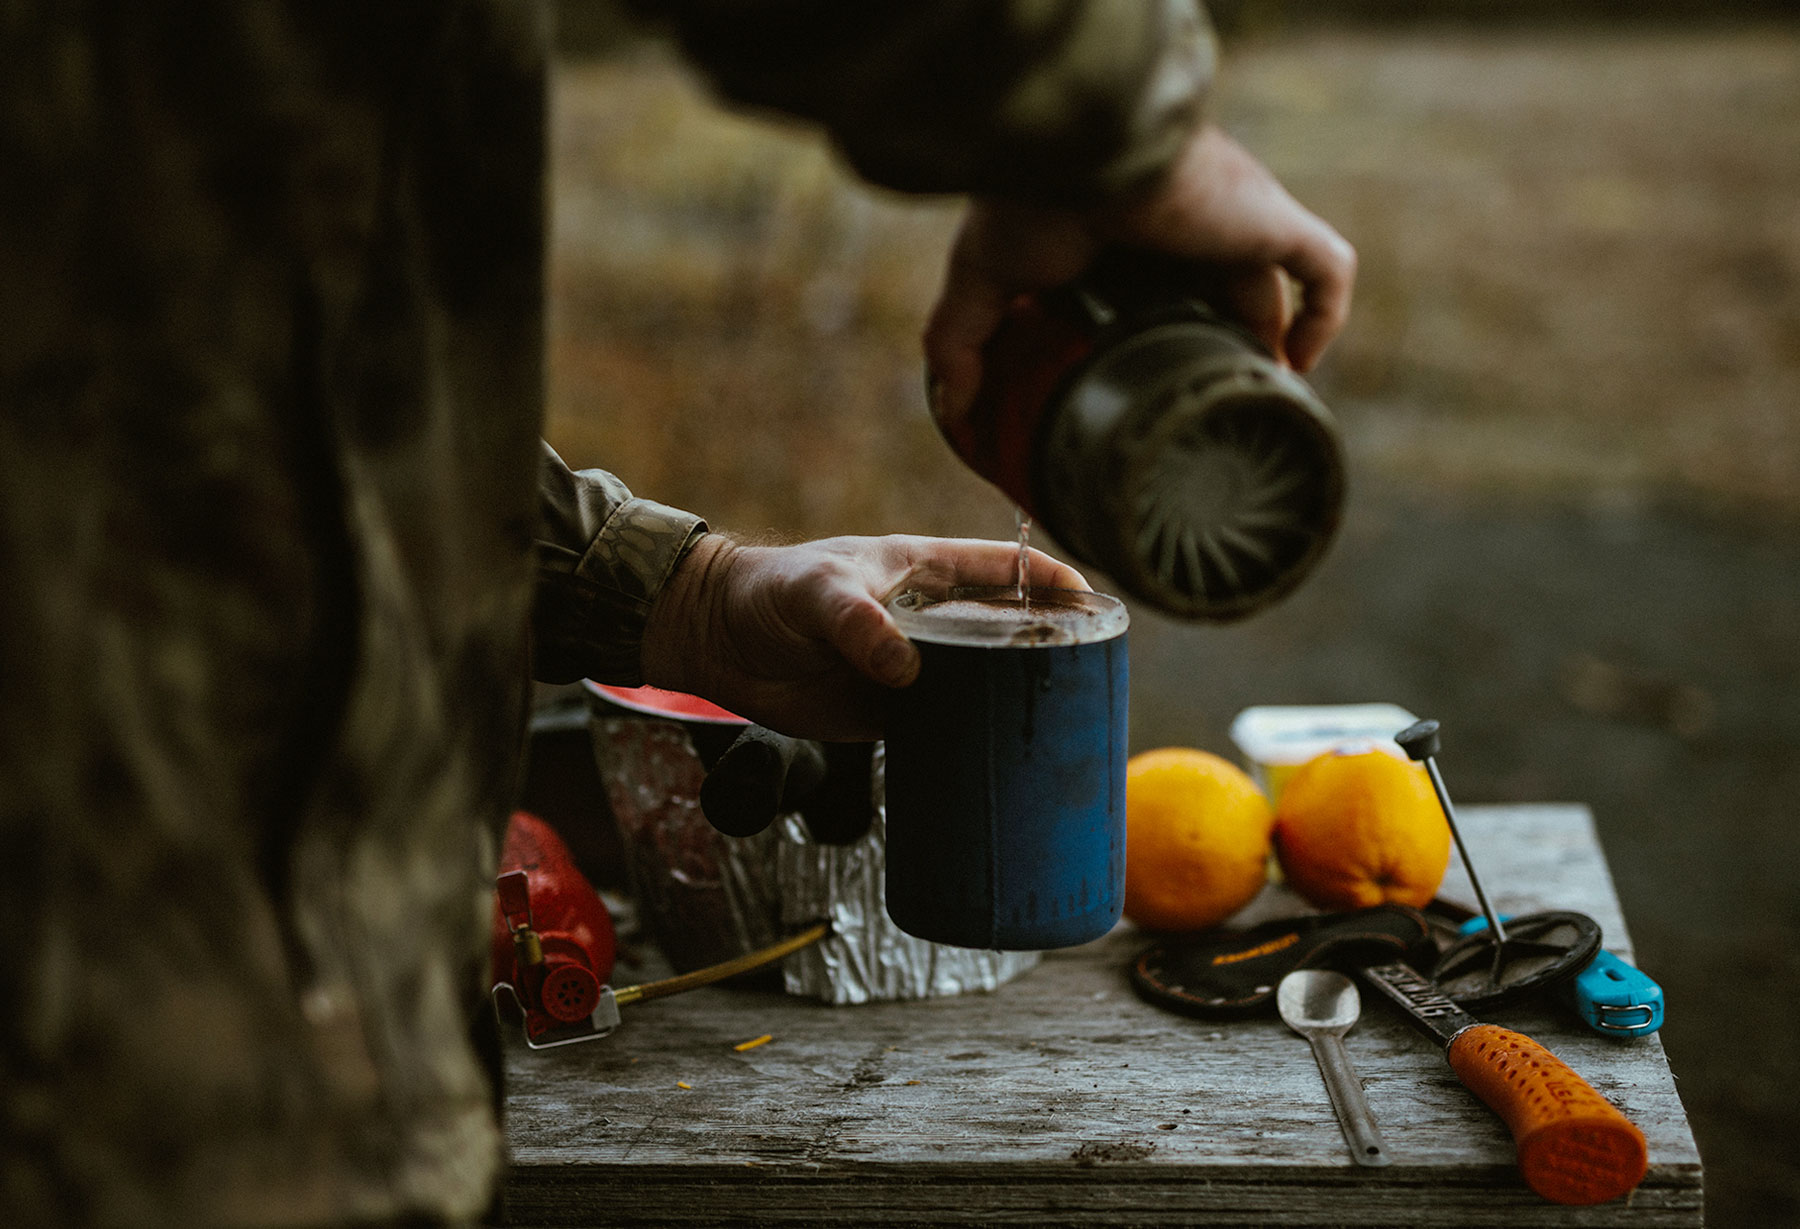
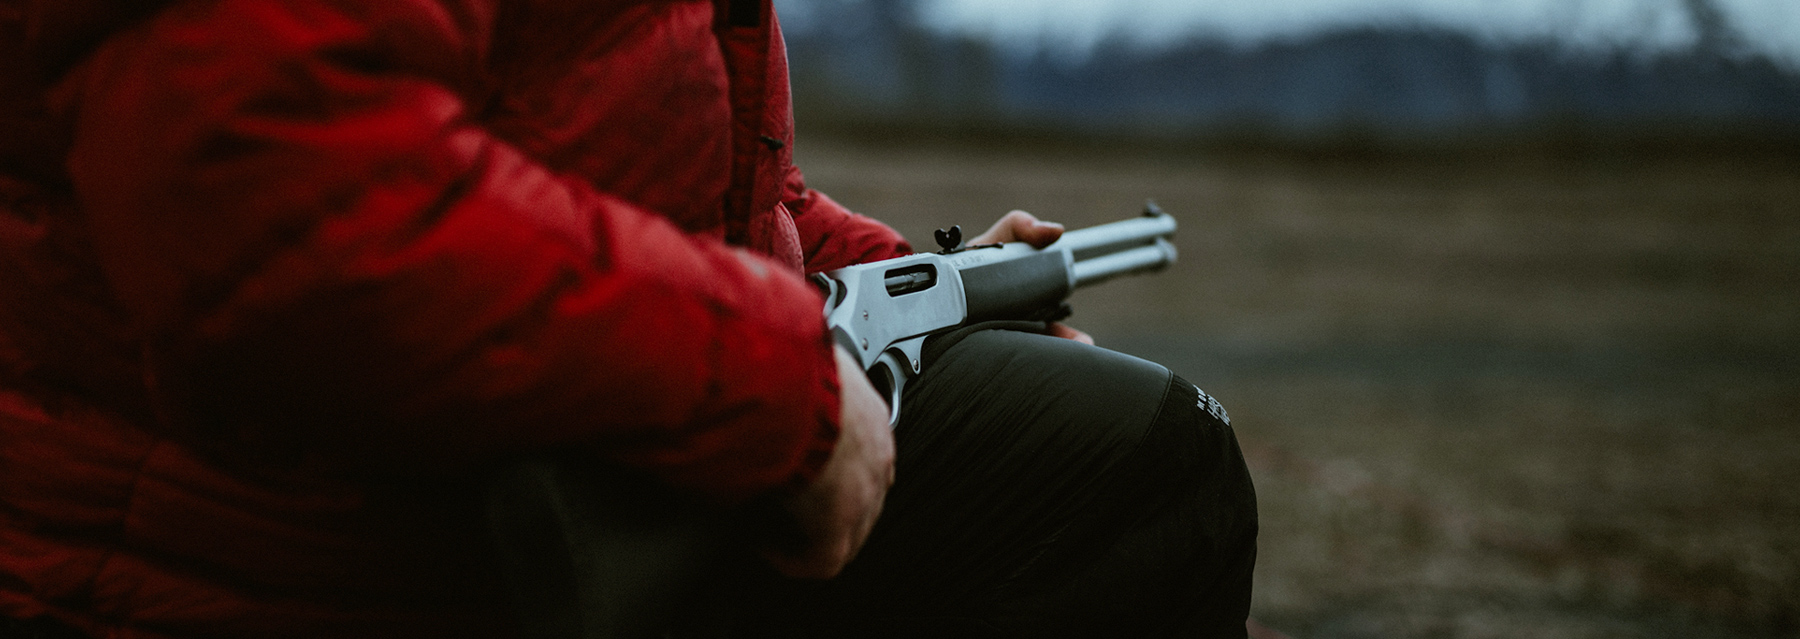
despite the extended amount of daylight. Jon bundles up with a Mountain Hardware expedition jacket to combat the damp chill. Hot coffee and fresh Alaska-caught salmon was a morale booster as we settled in for the night. We stayed near the plane and chatted with the AR-7 nearby just in case any small game wandered into the field to the East.
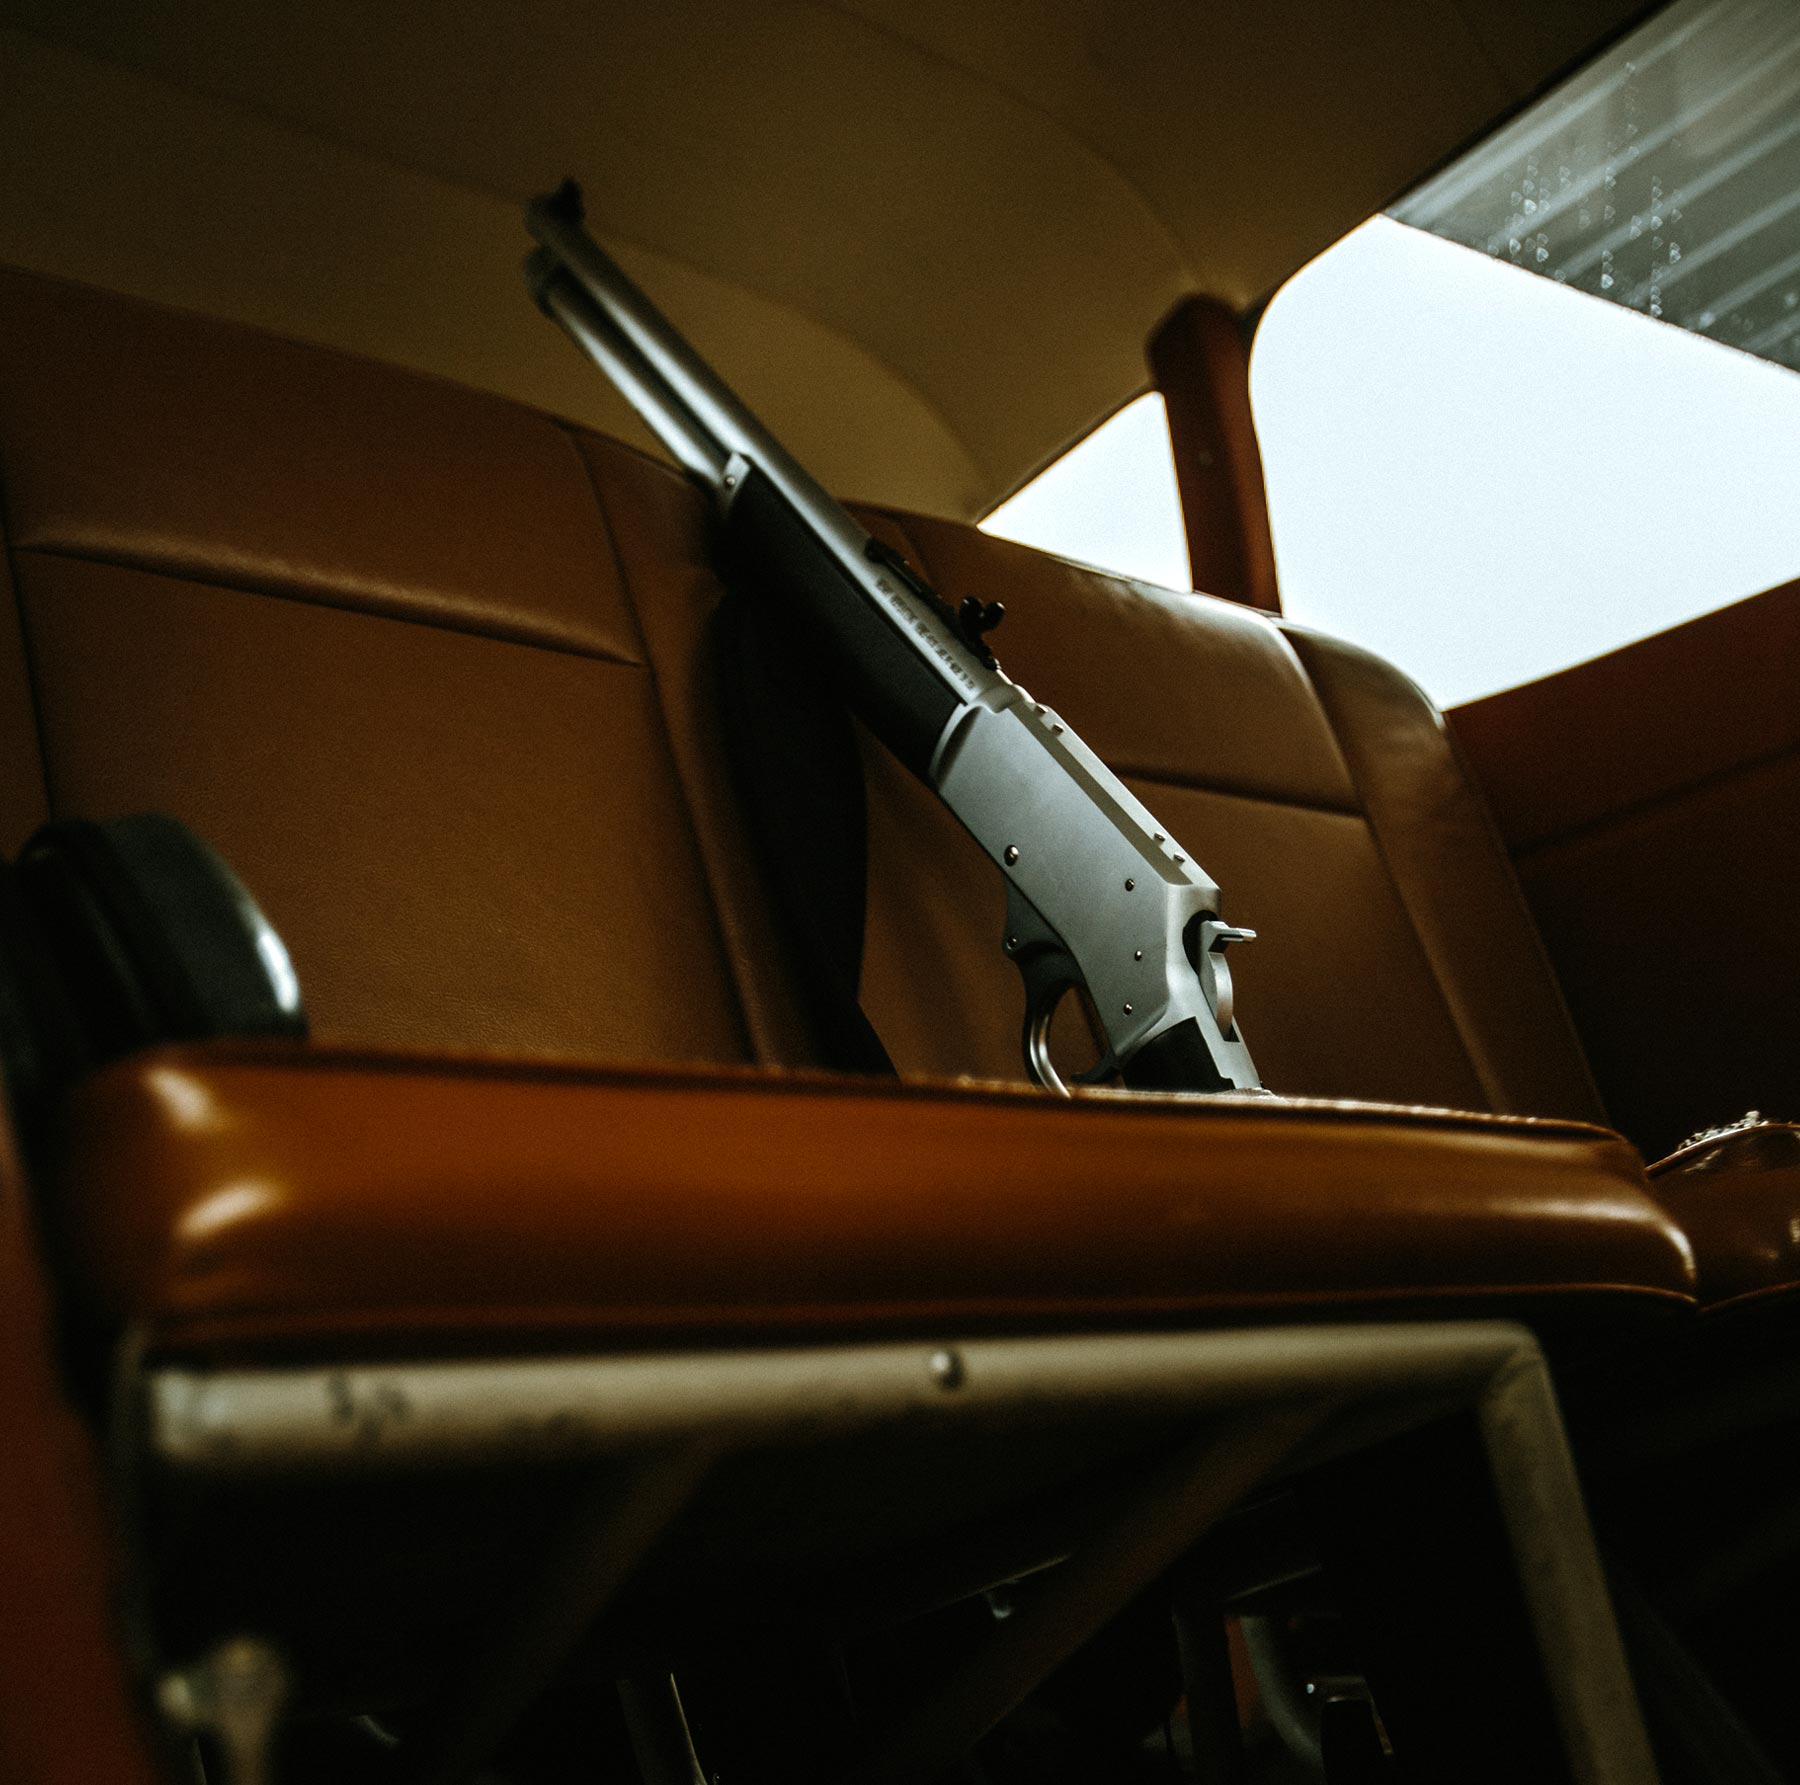
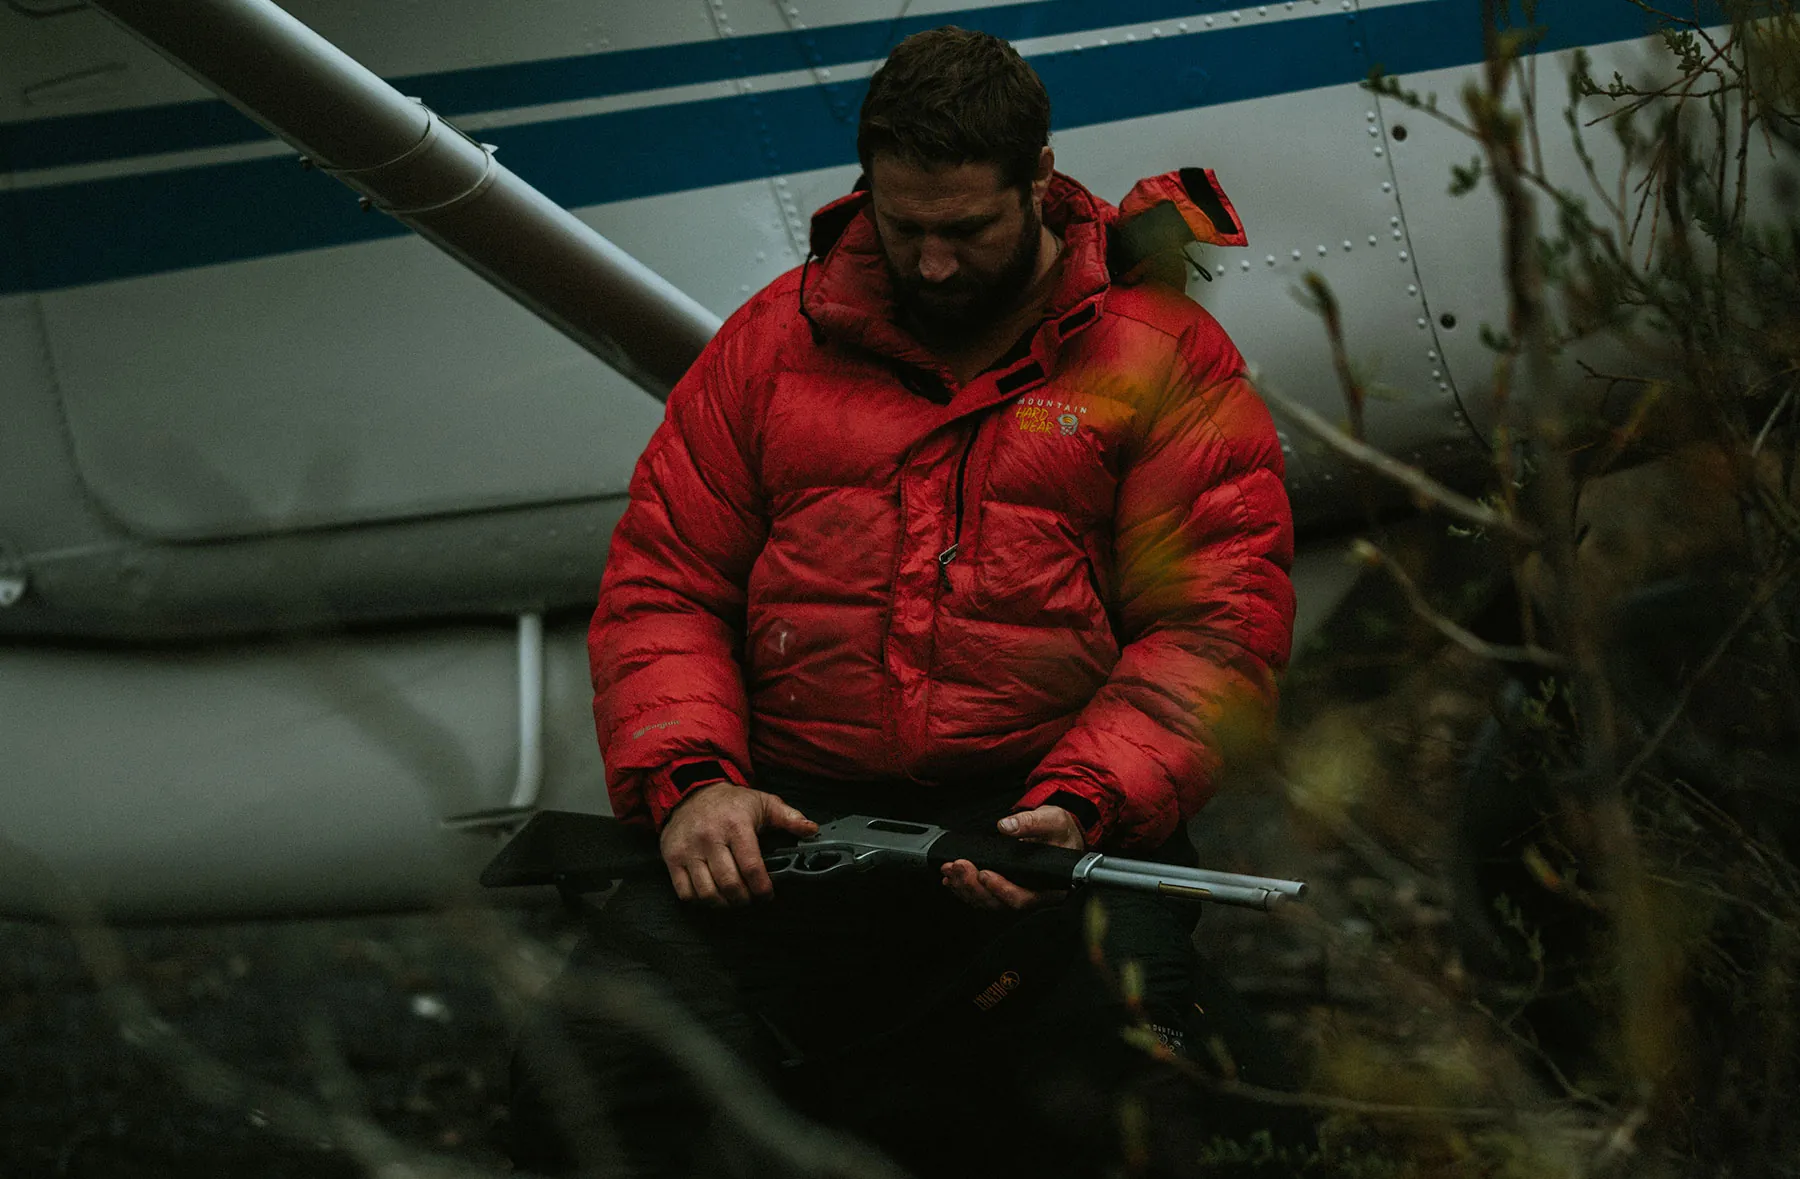
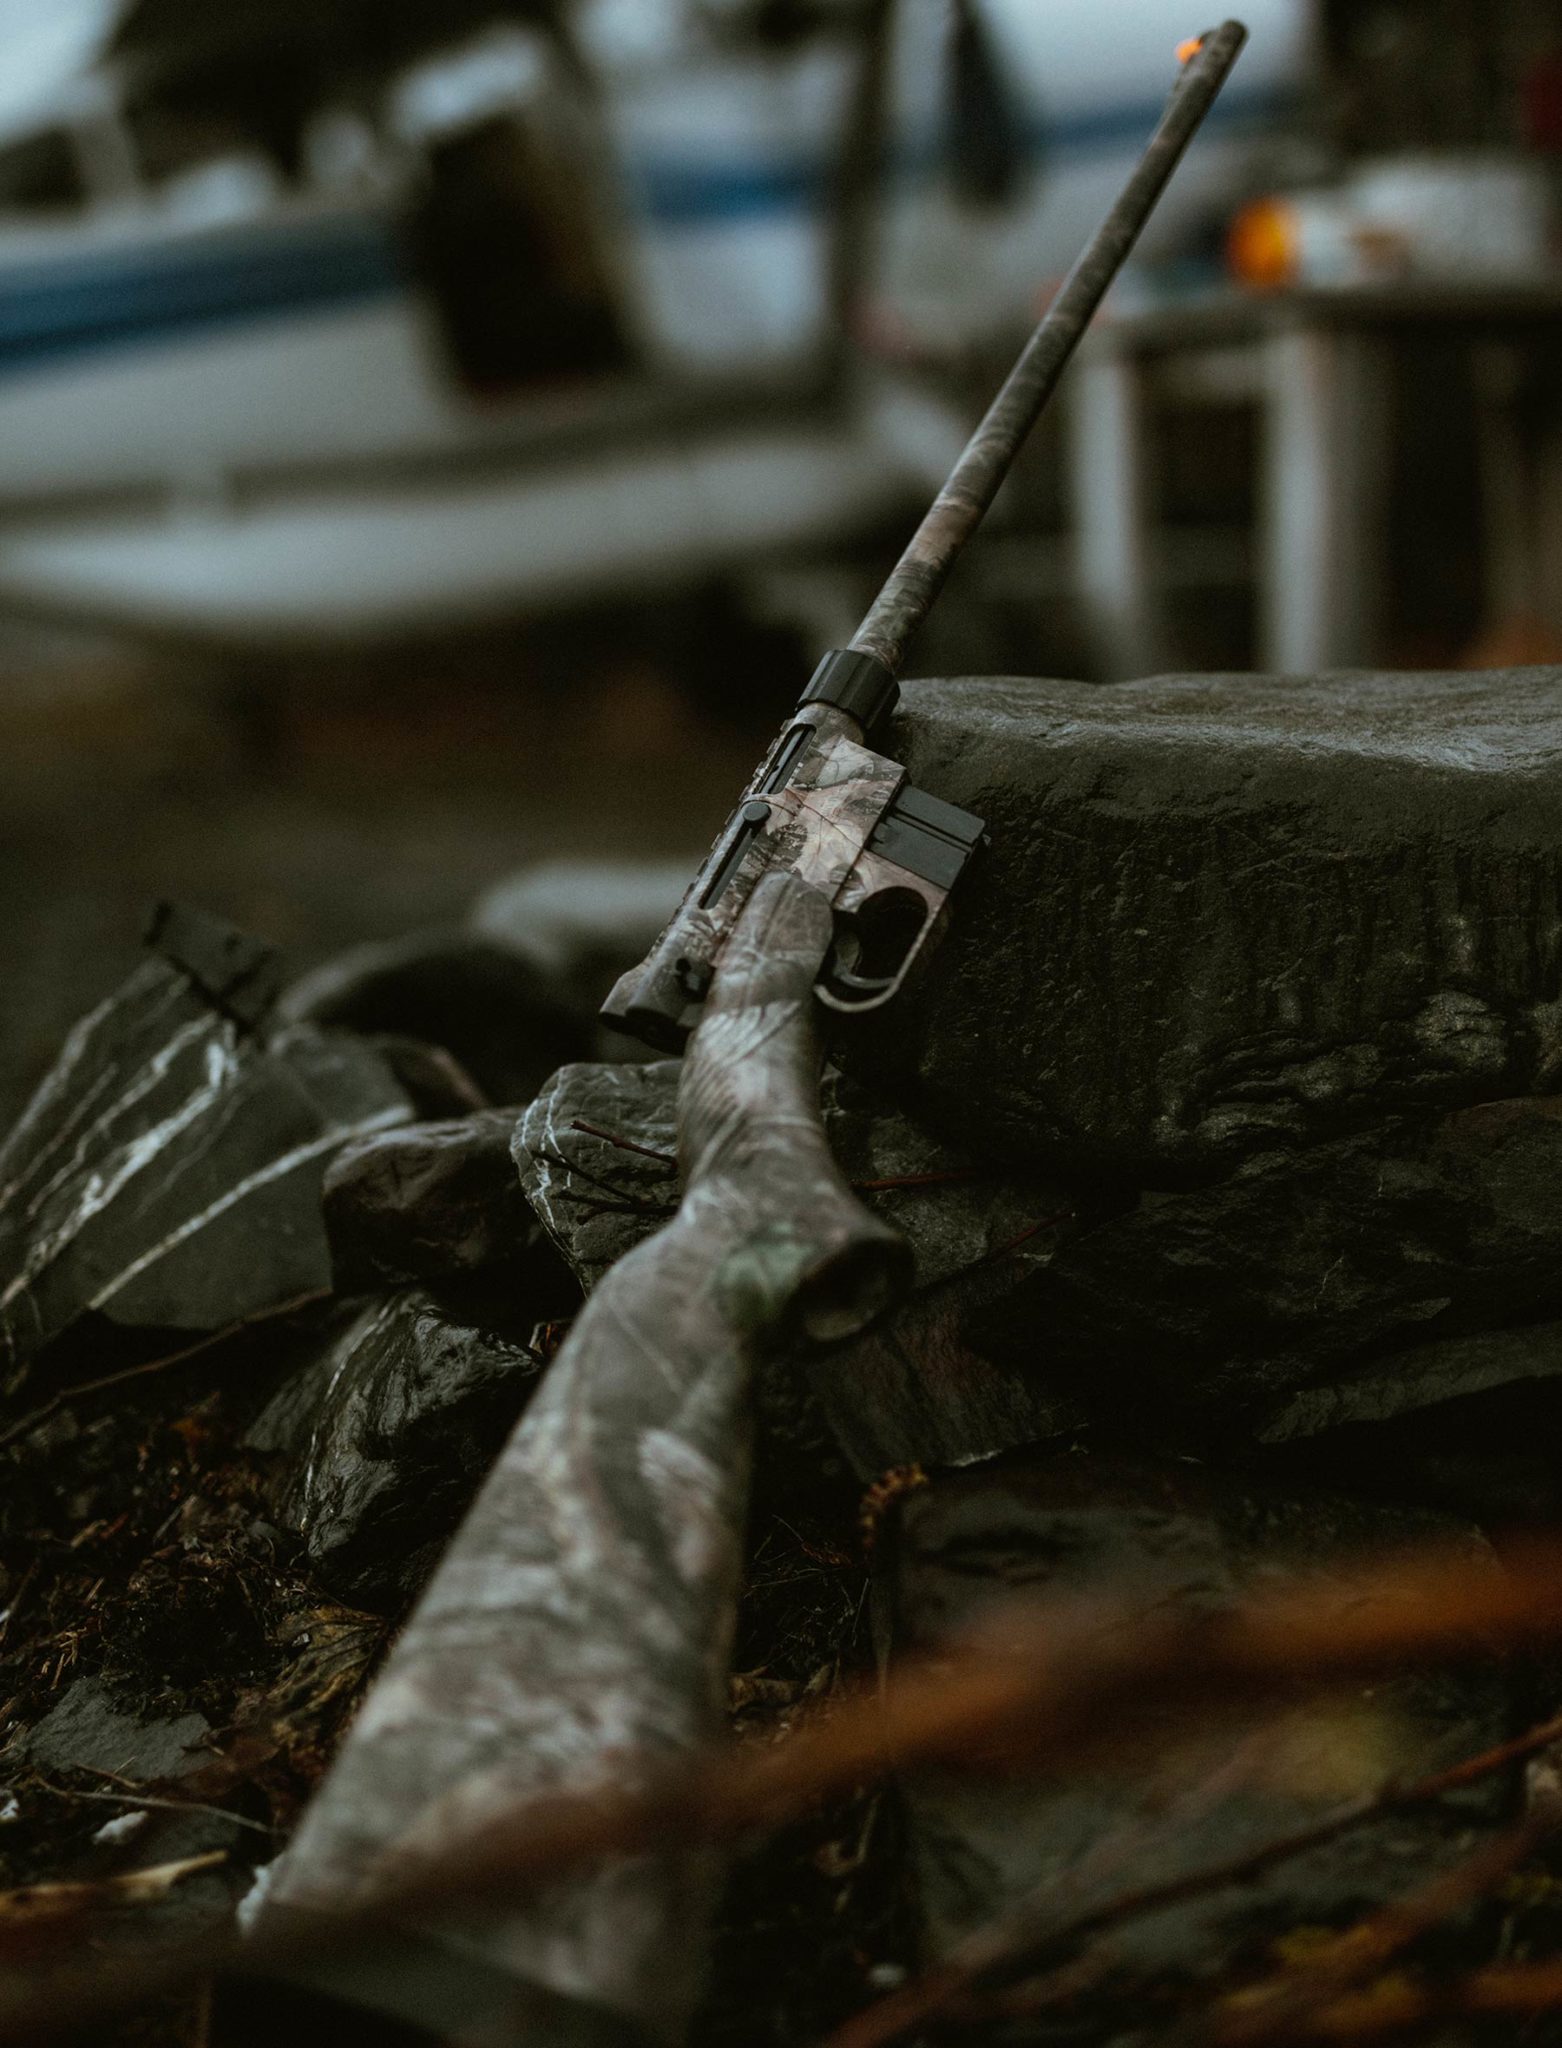
EPISODE 4
Knik Glacier/Lake George (camping area) – McArthur River
Wednesday, June 6, 2018
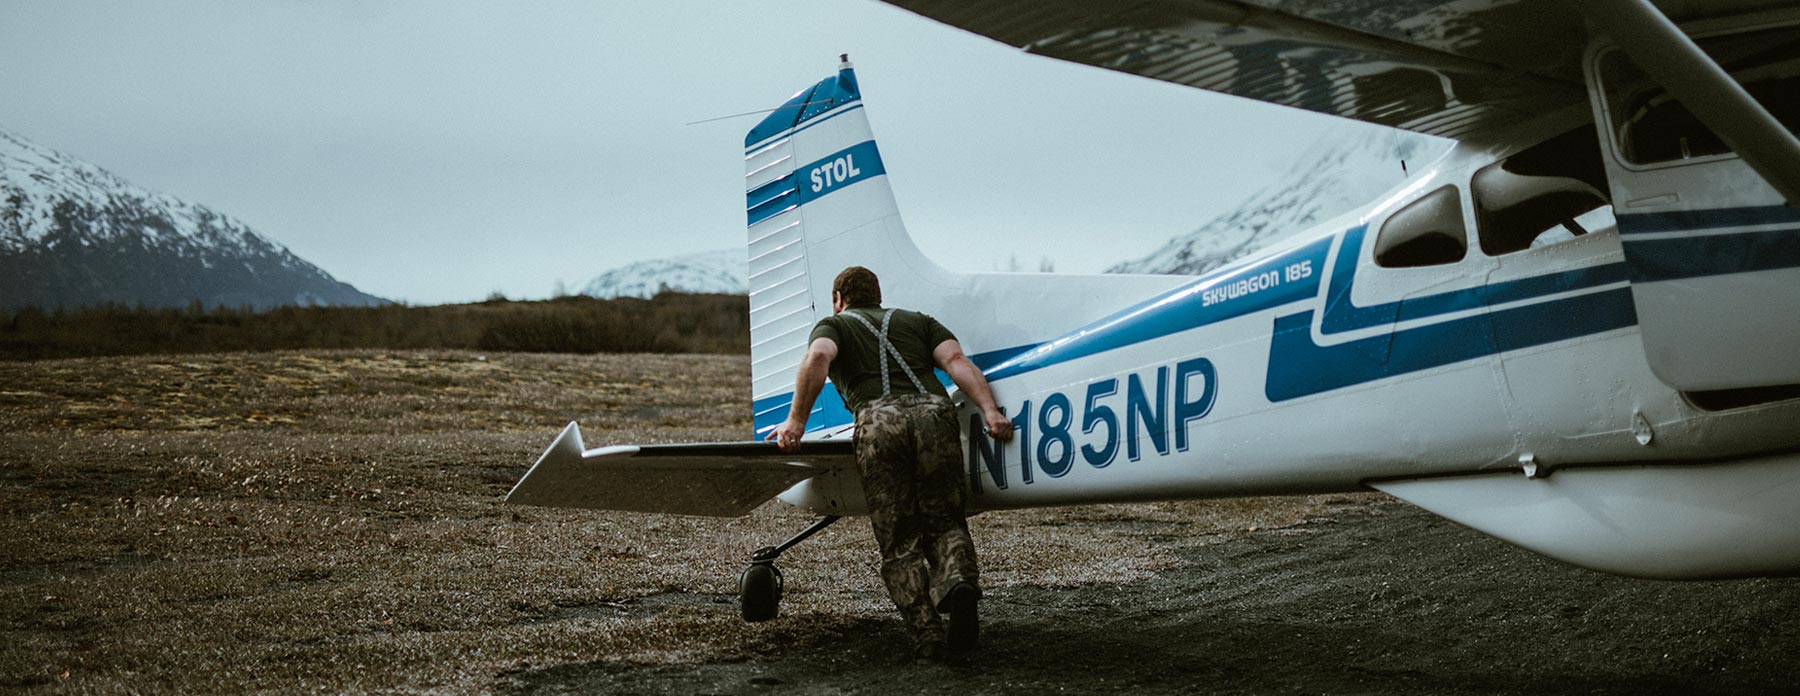
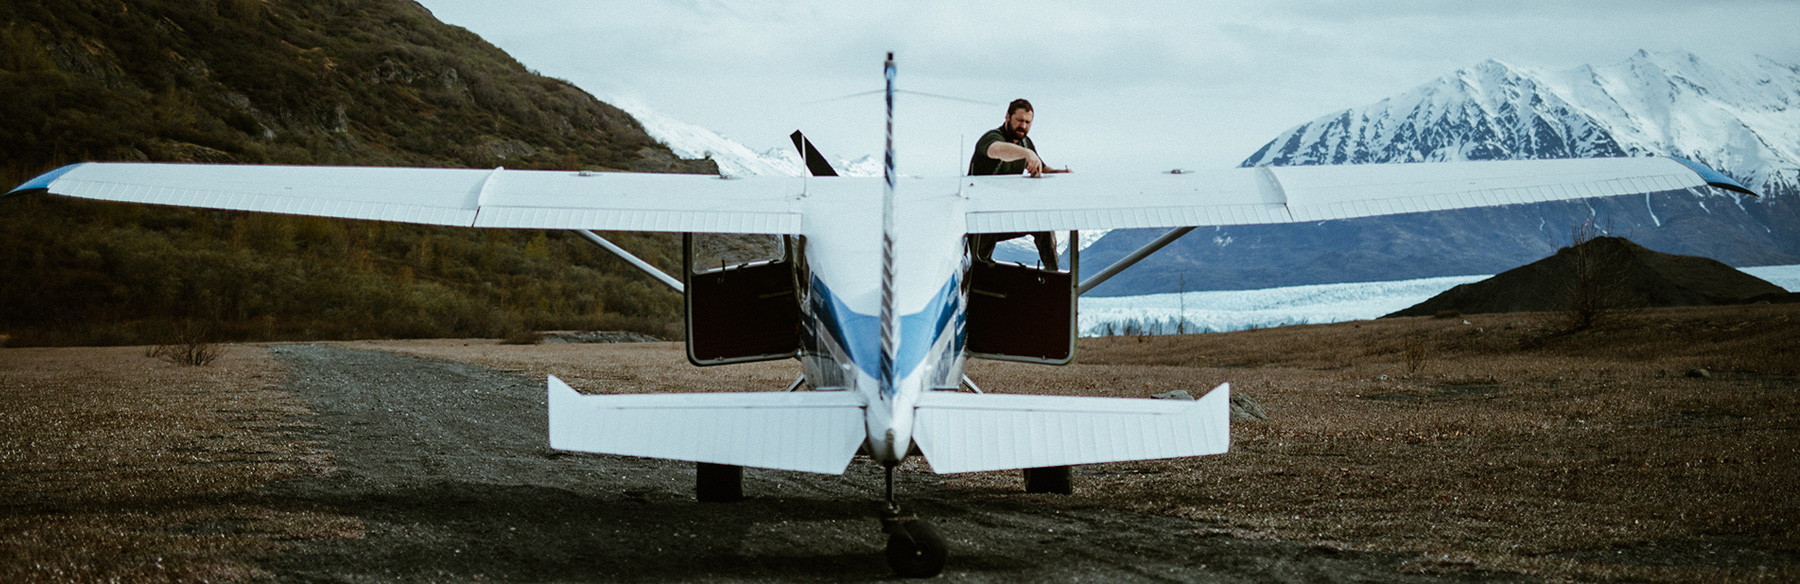
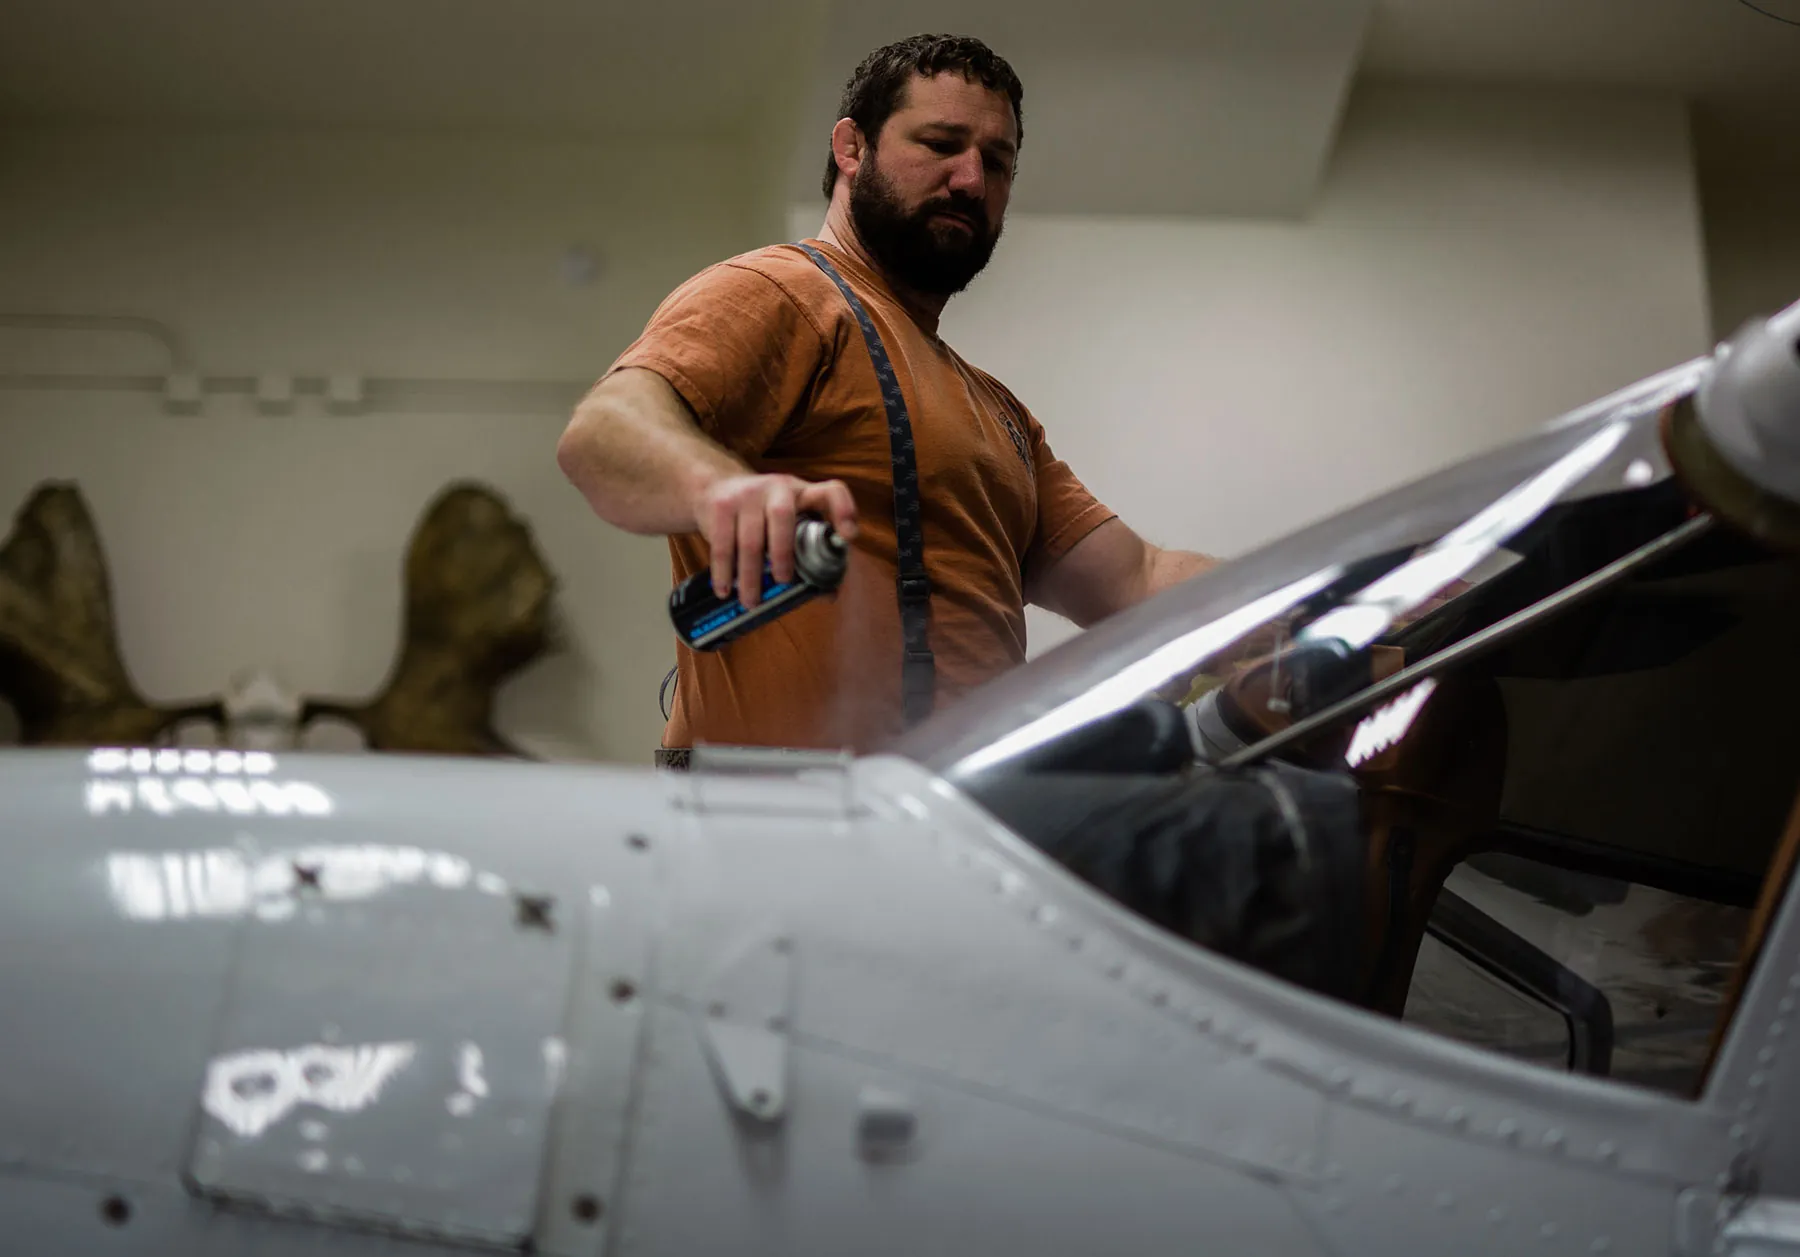
Preflight began early as more clouds rolled in and the drizzle began to pick up. We
made a quick stop back inland for fuel and flew out heading towards McArthur River. An hour long flight in less-than-ideal weather lead us to a deserted patch of alaskan wilderness where we began another hunt.
EPISODE 5
Anchorage/Jon’s residence
Wednesday, June 6, 2018
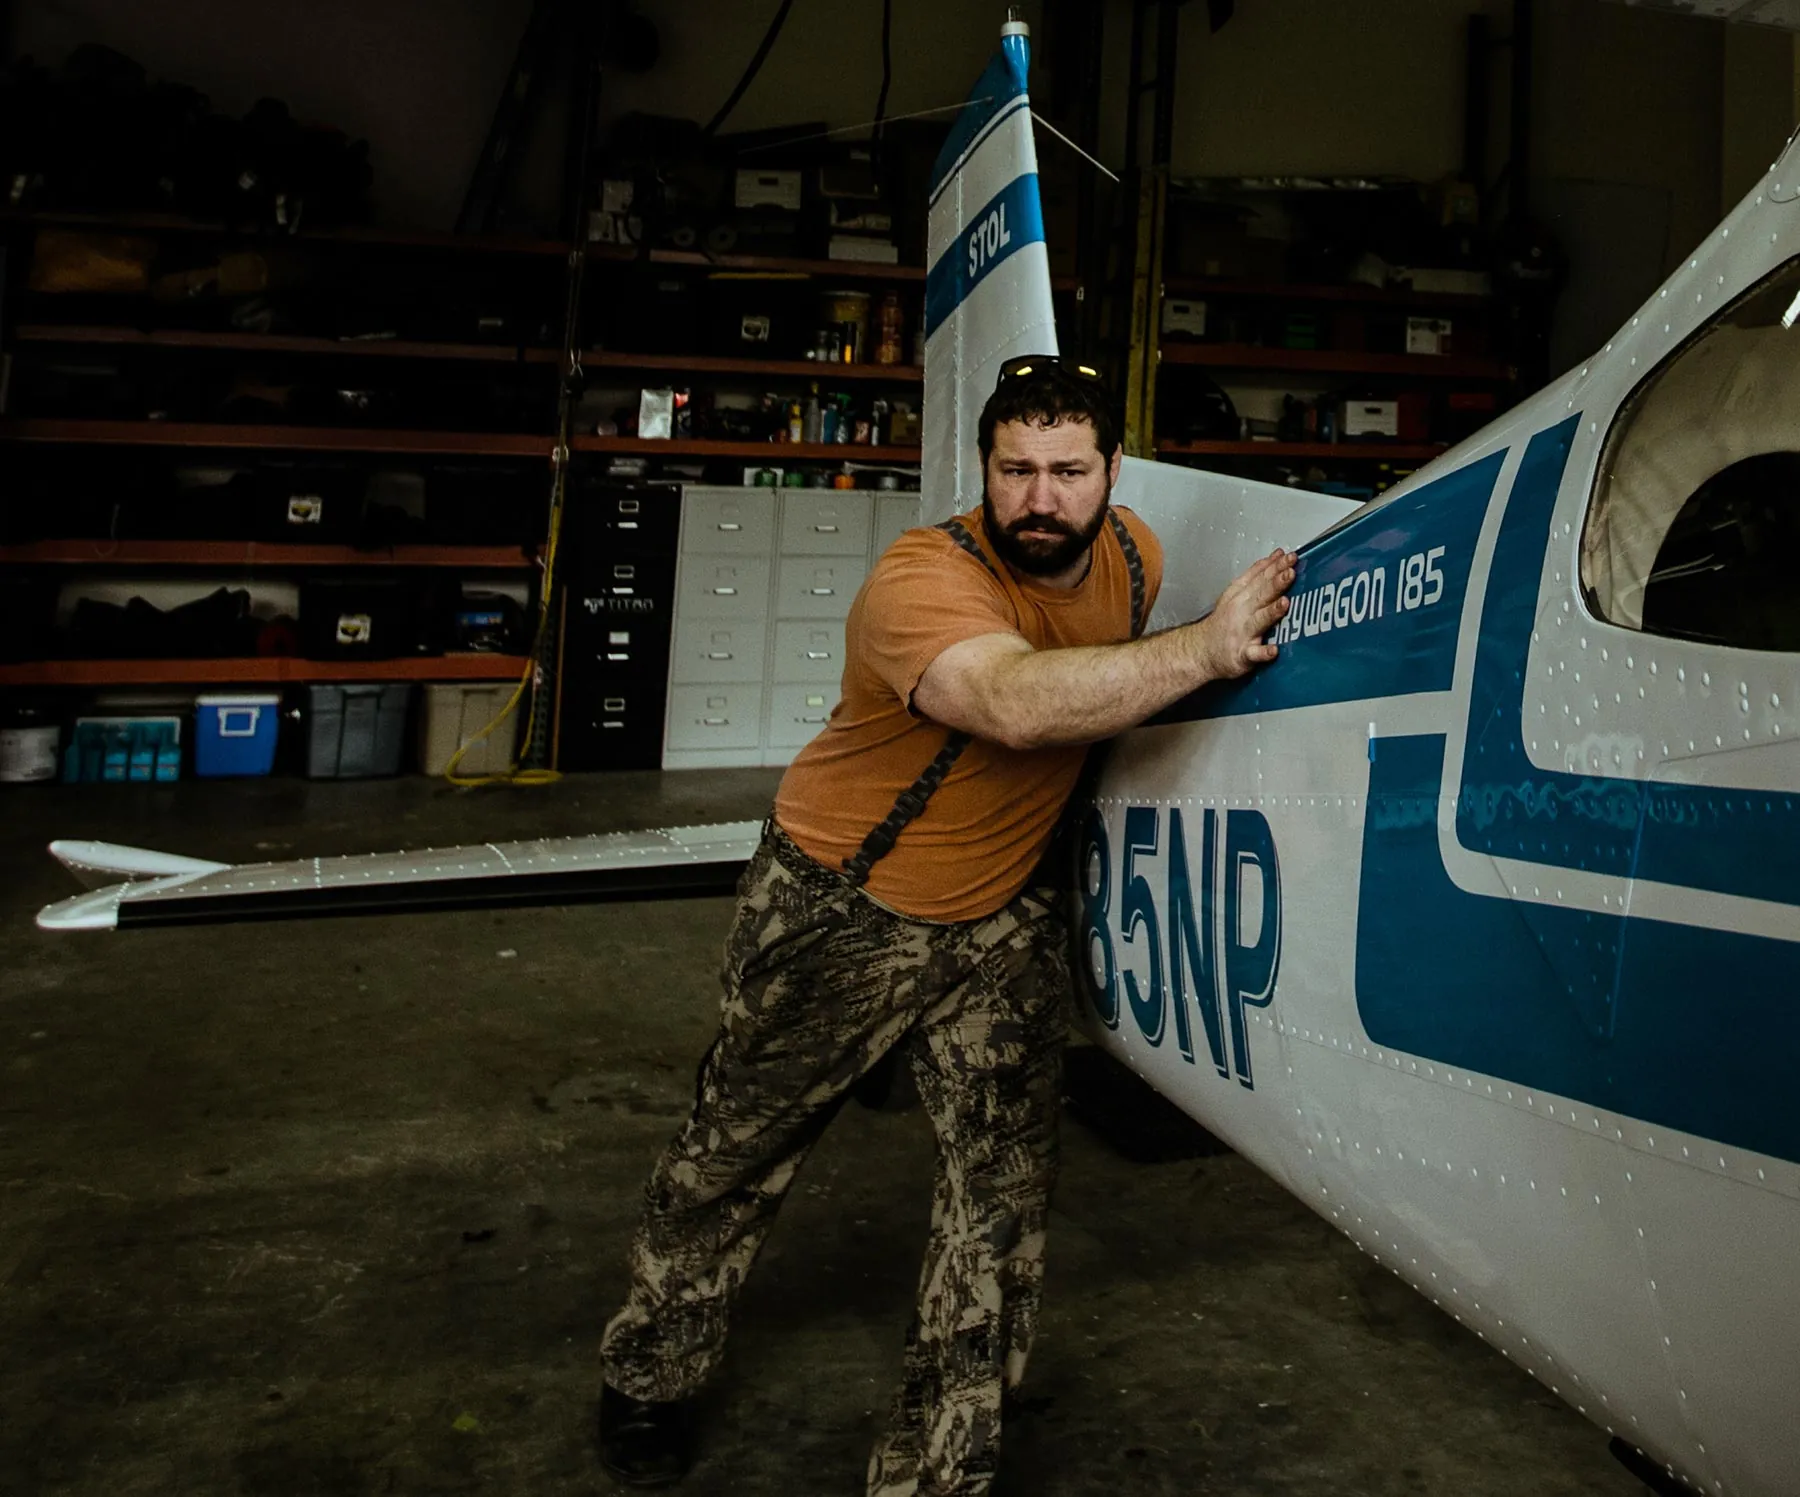
Preparing for the trip was a fine balance between essentials and gross weight.
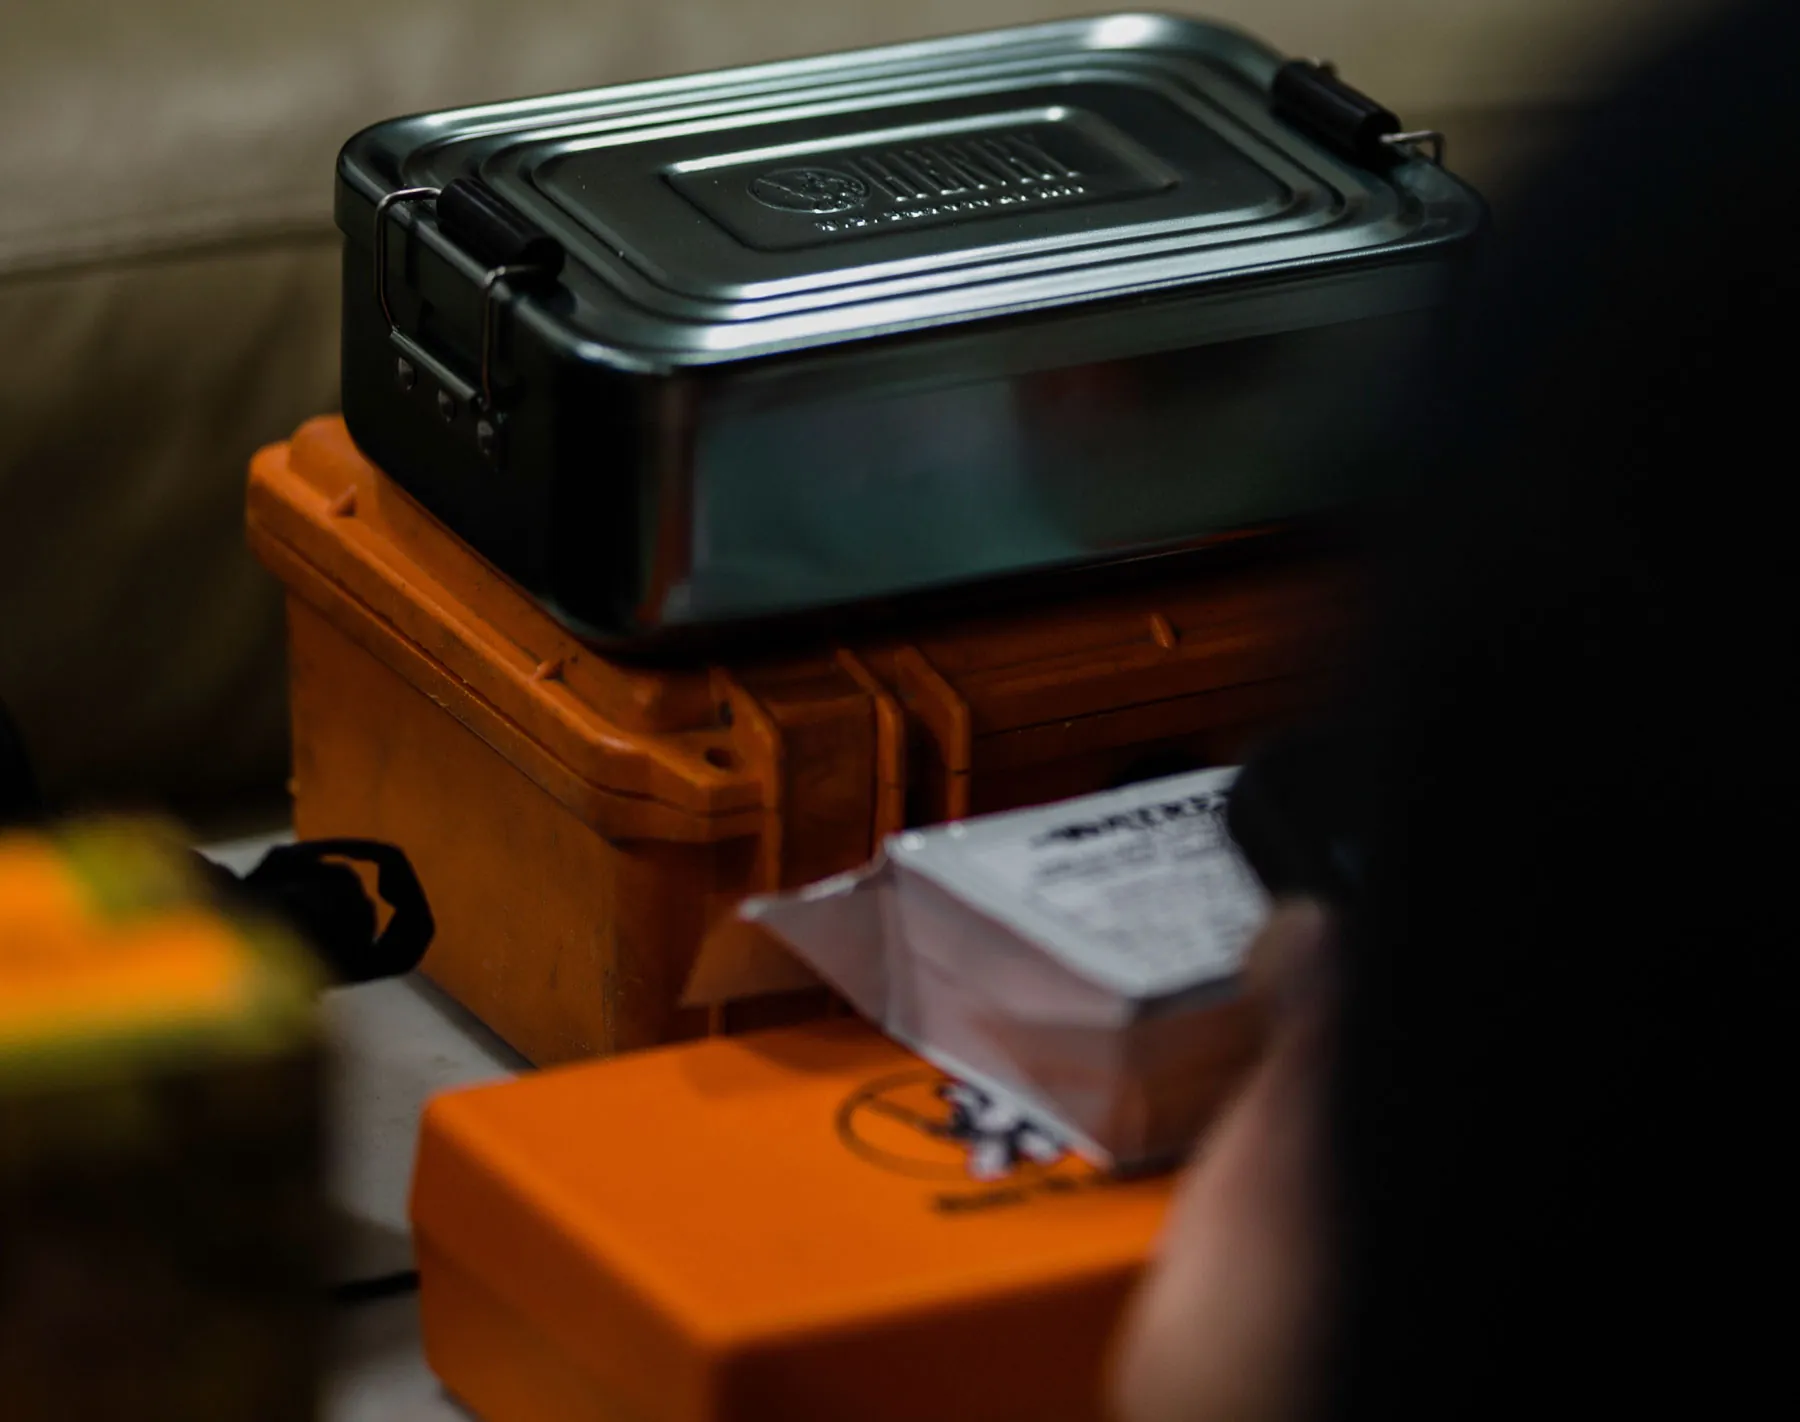
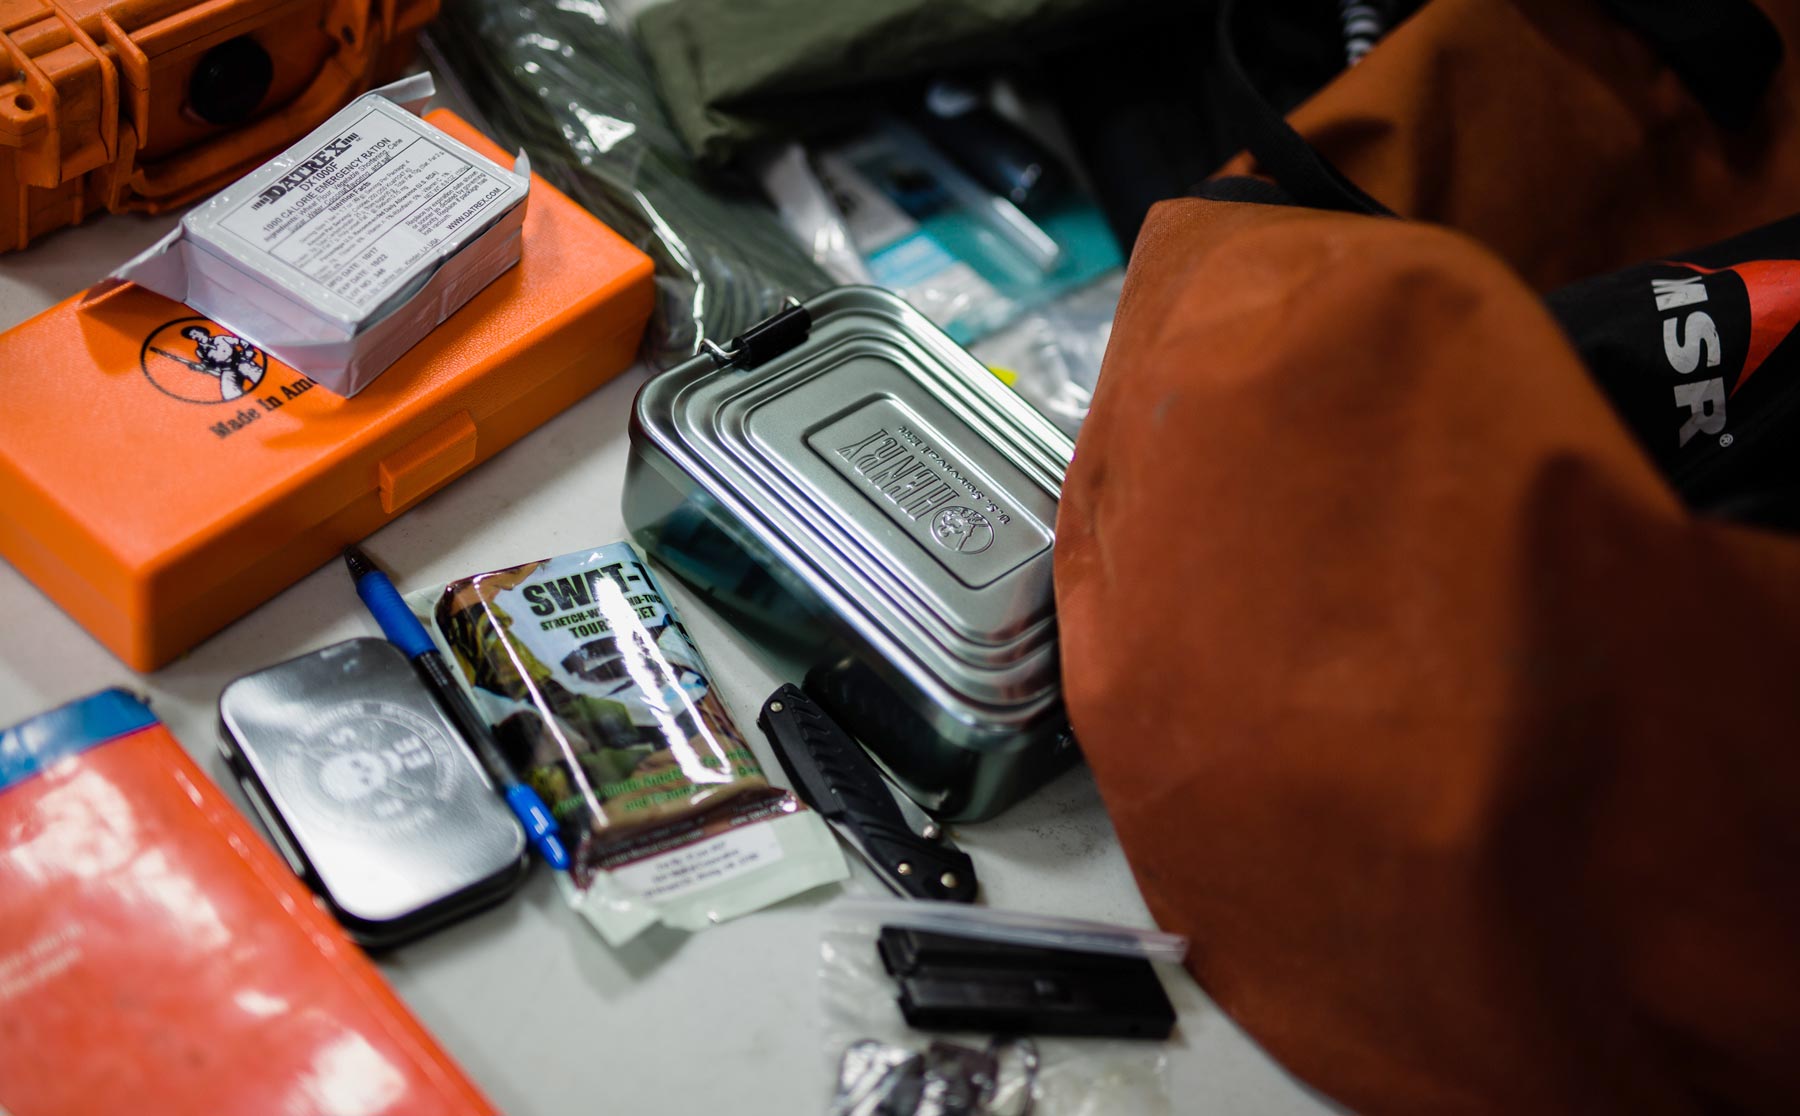
Limited by the restrictions of the aircraft we made sure to only include the necessary equipment for the trip without skimping on mandatory items. Aside from the sat phone and emergency beacon we utilized a lot of the major elements from the Henry survival kit to supplement our own should the worst occur.
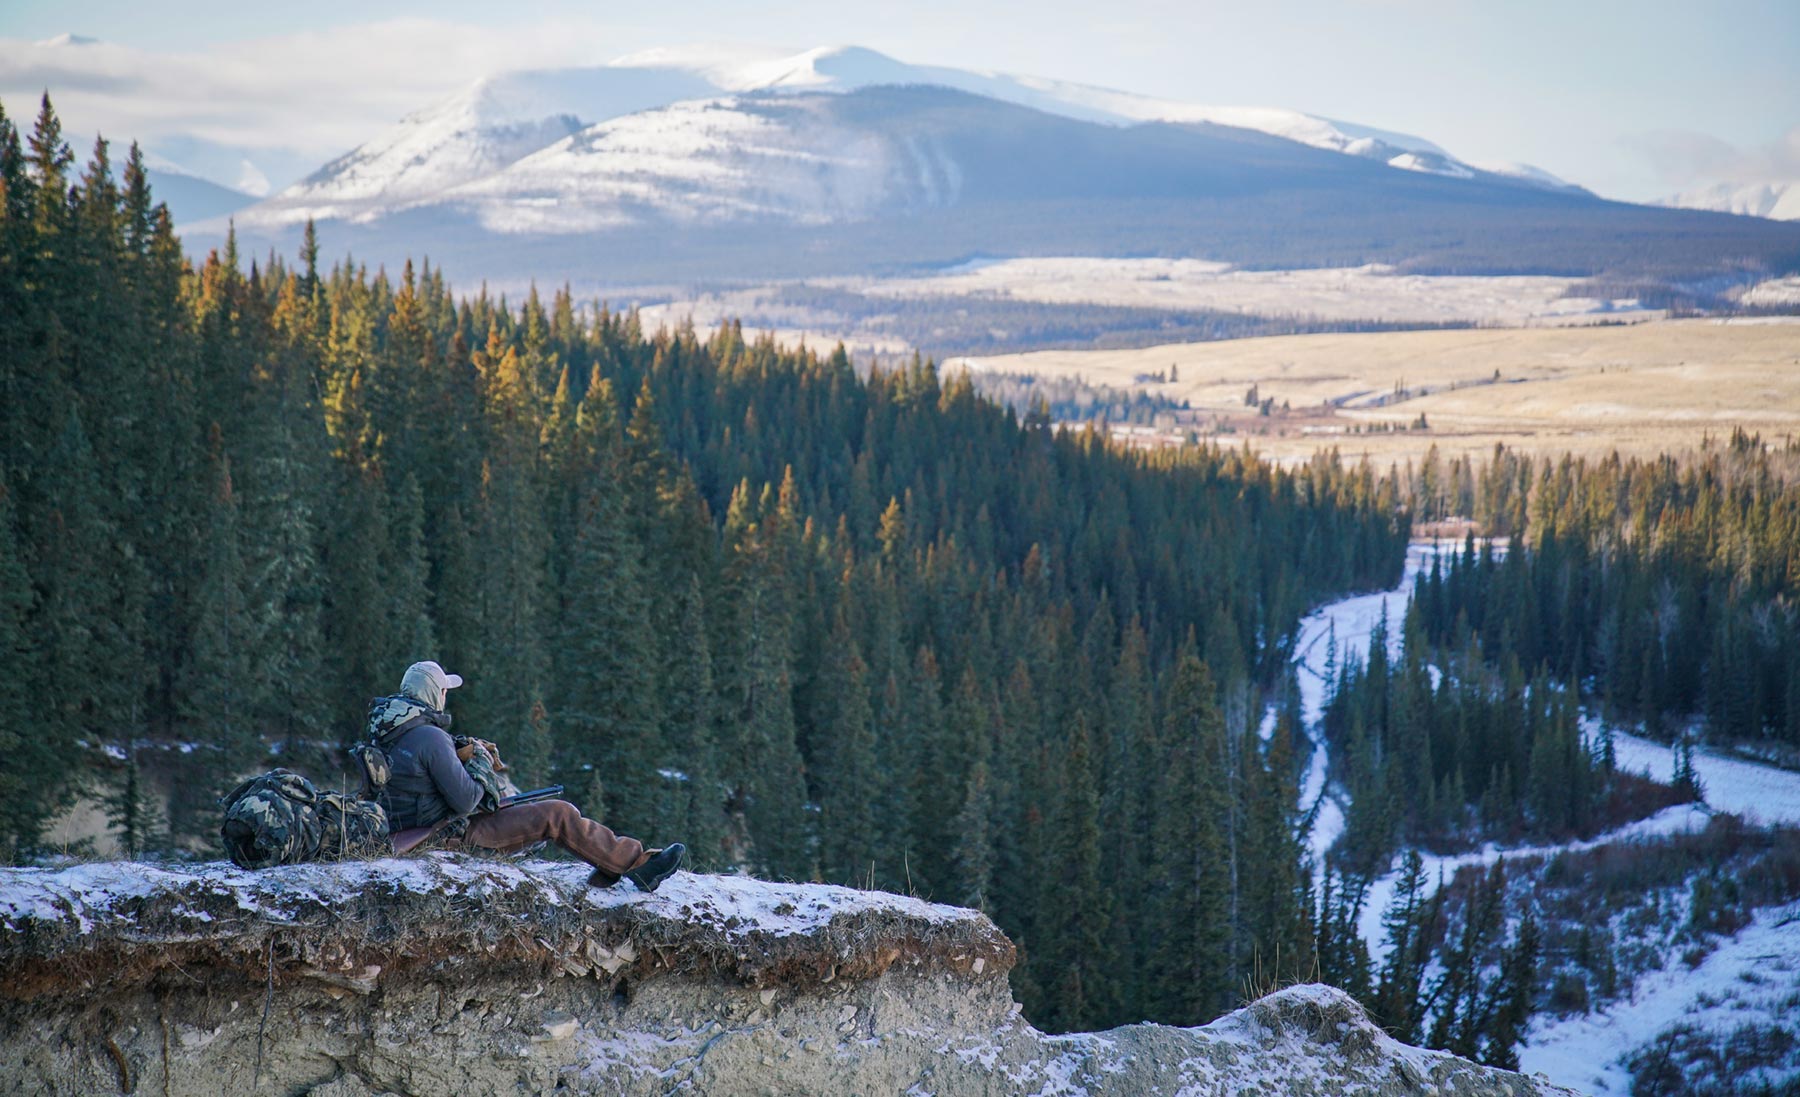
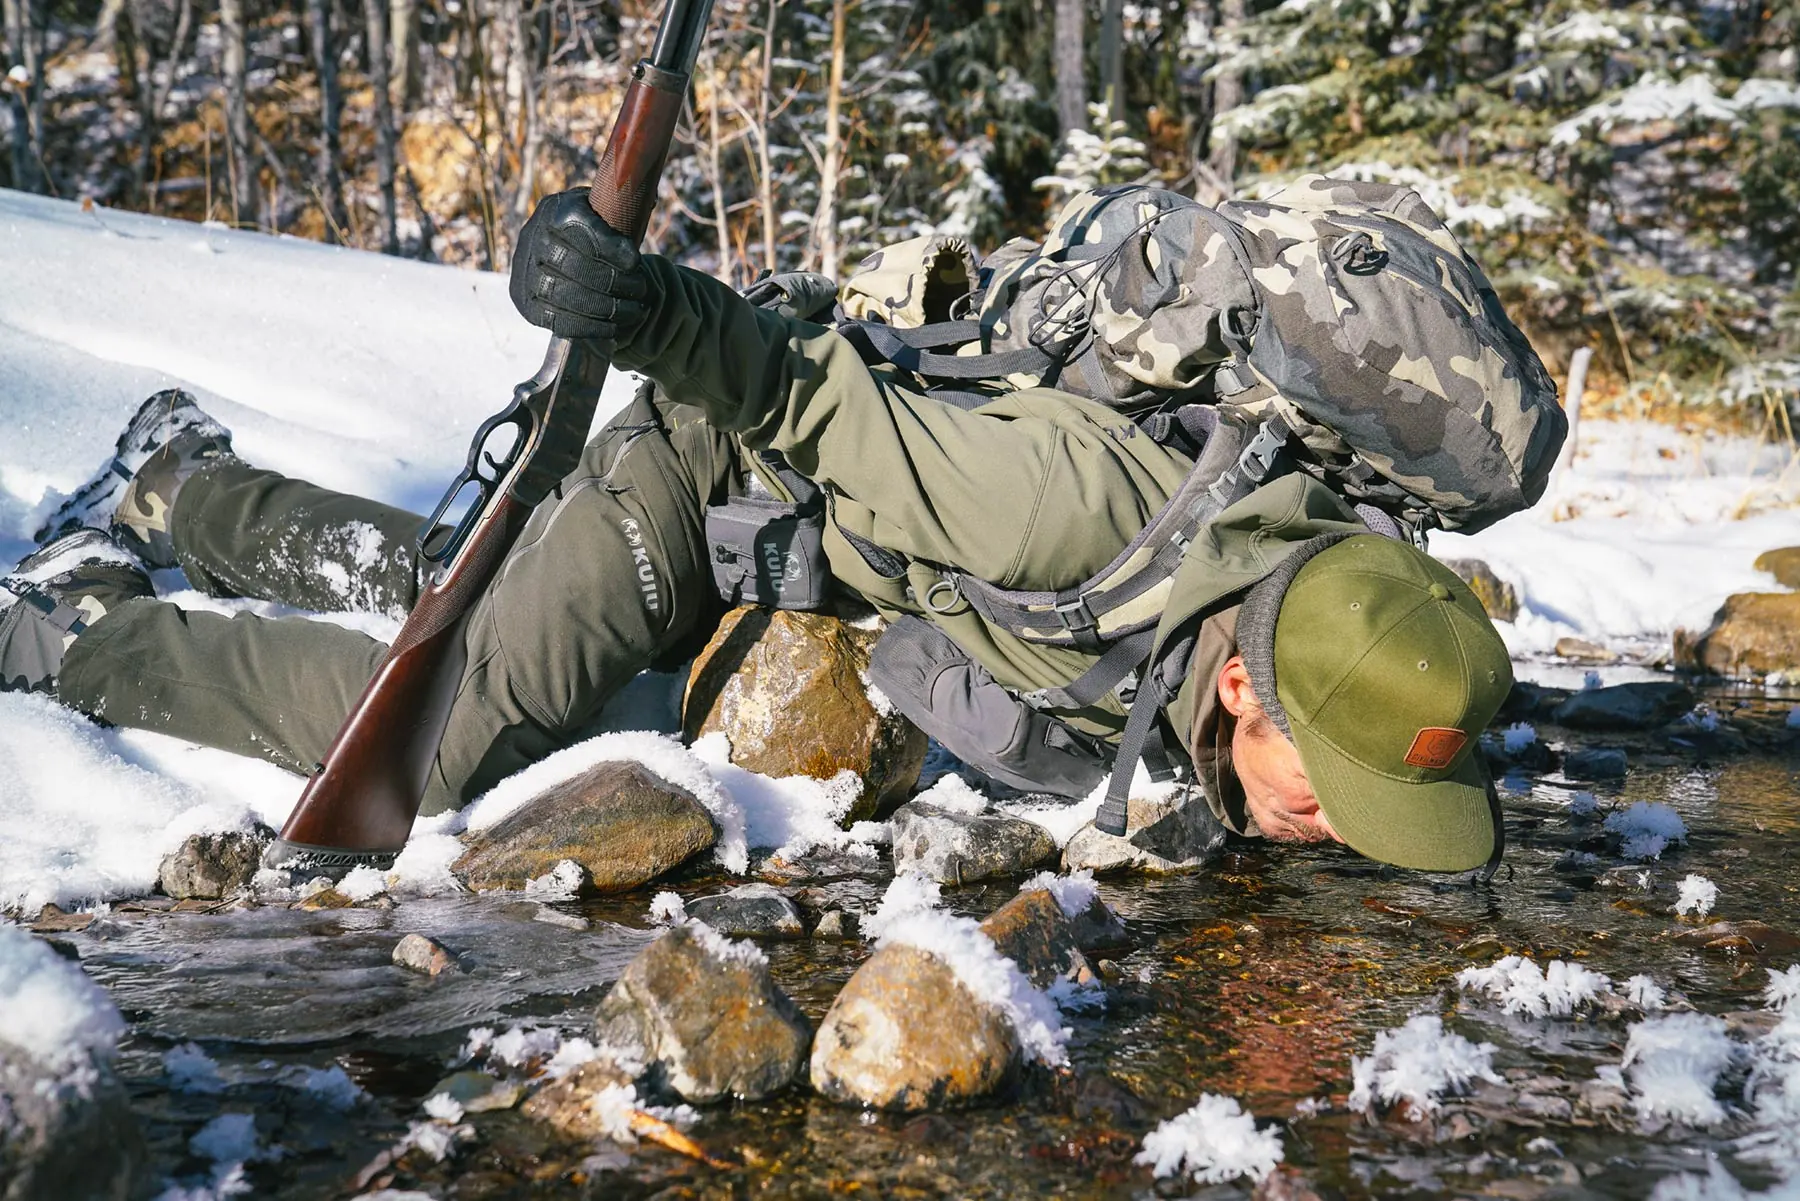
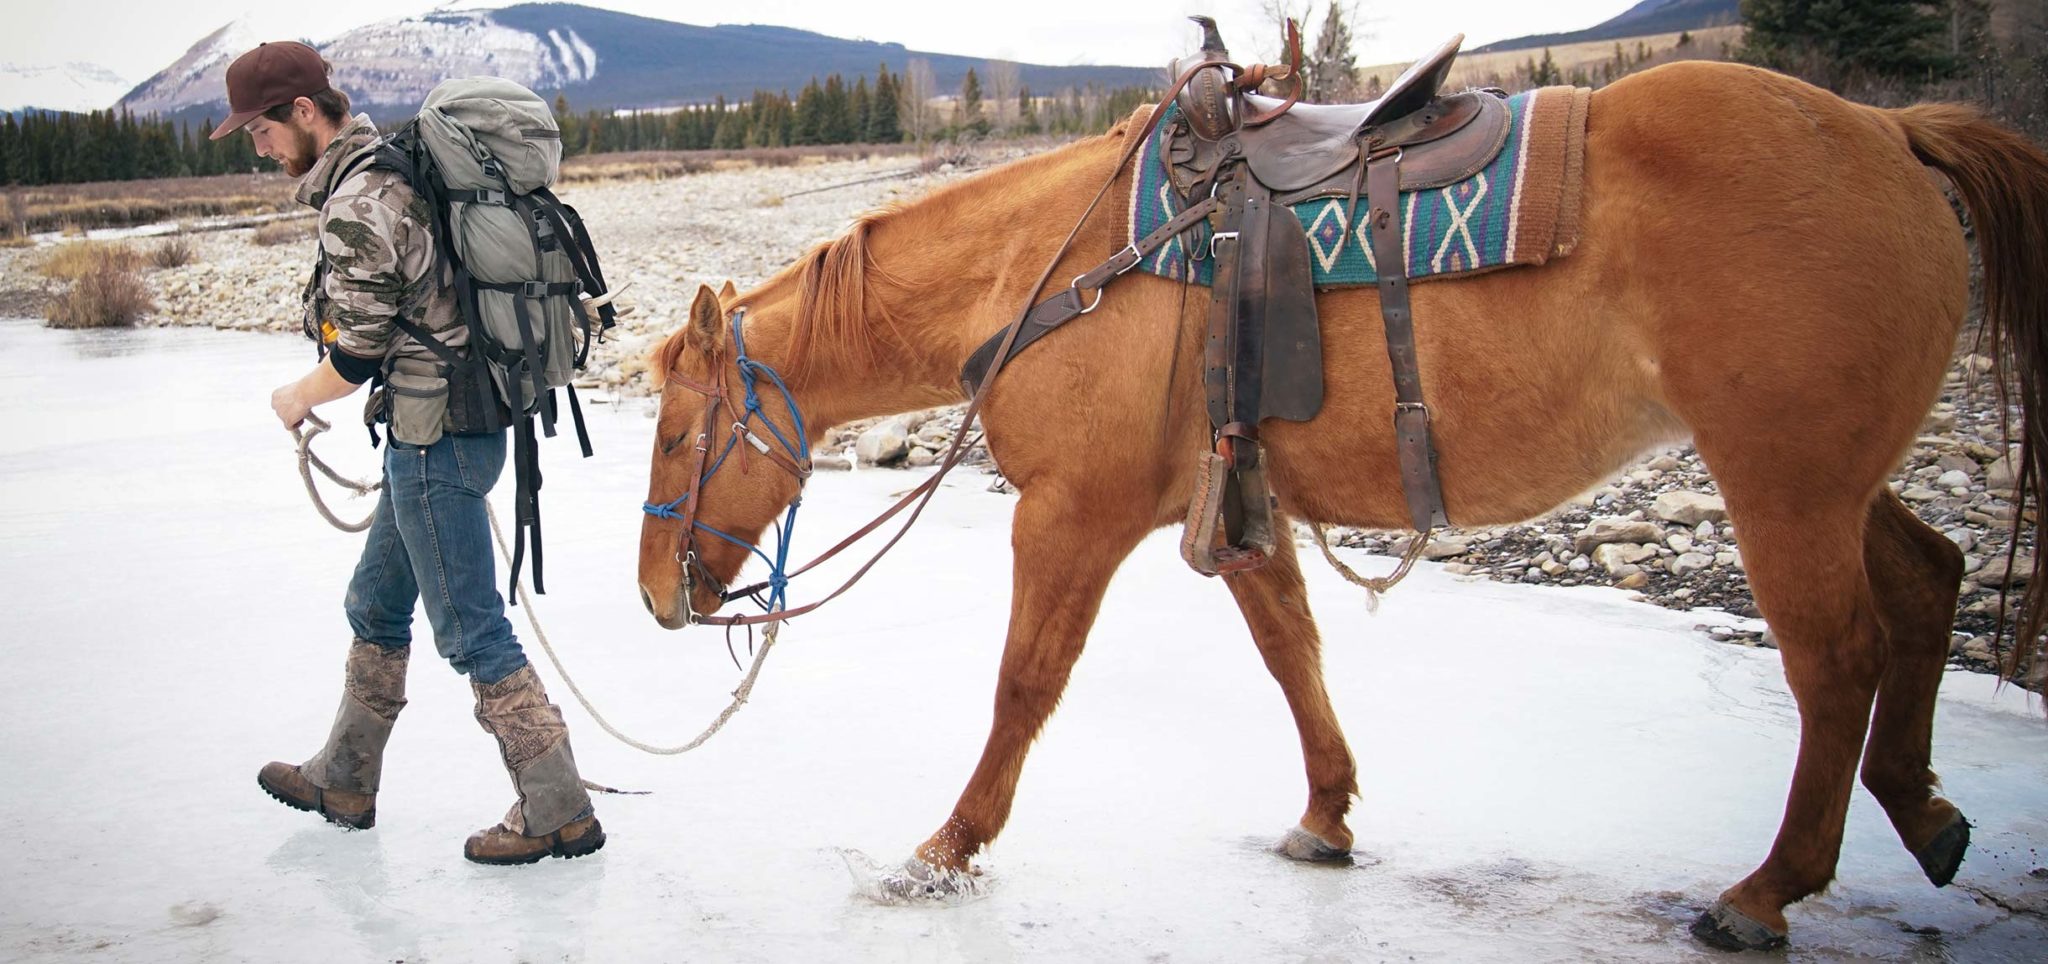
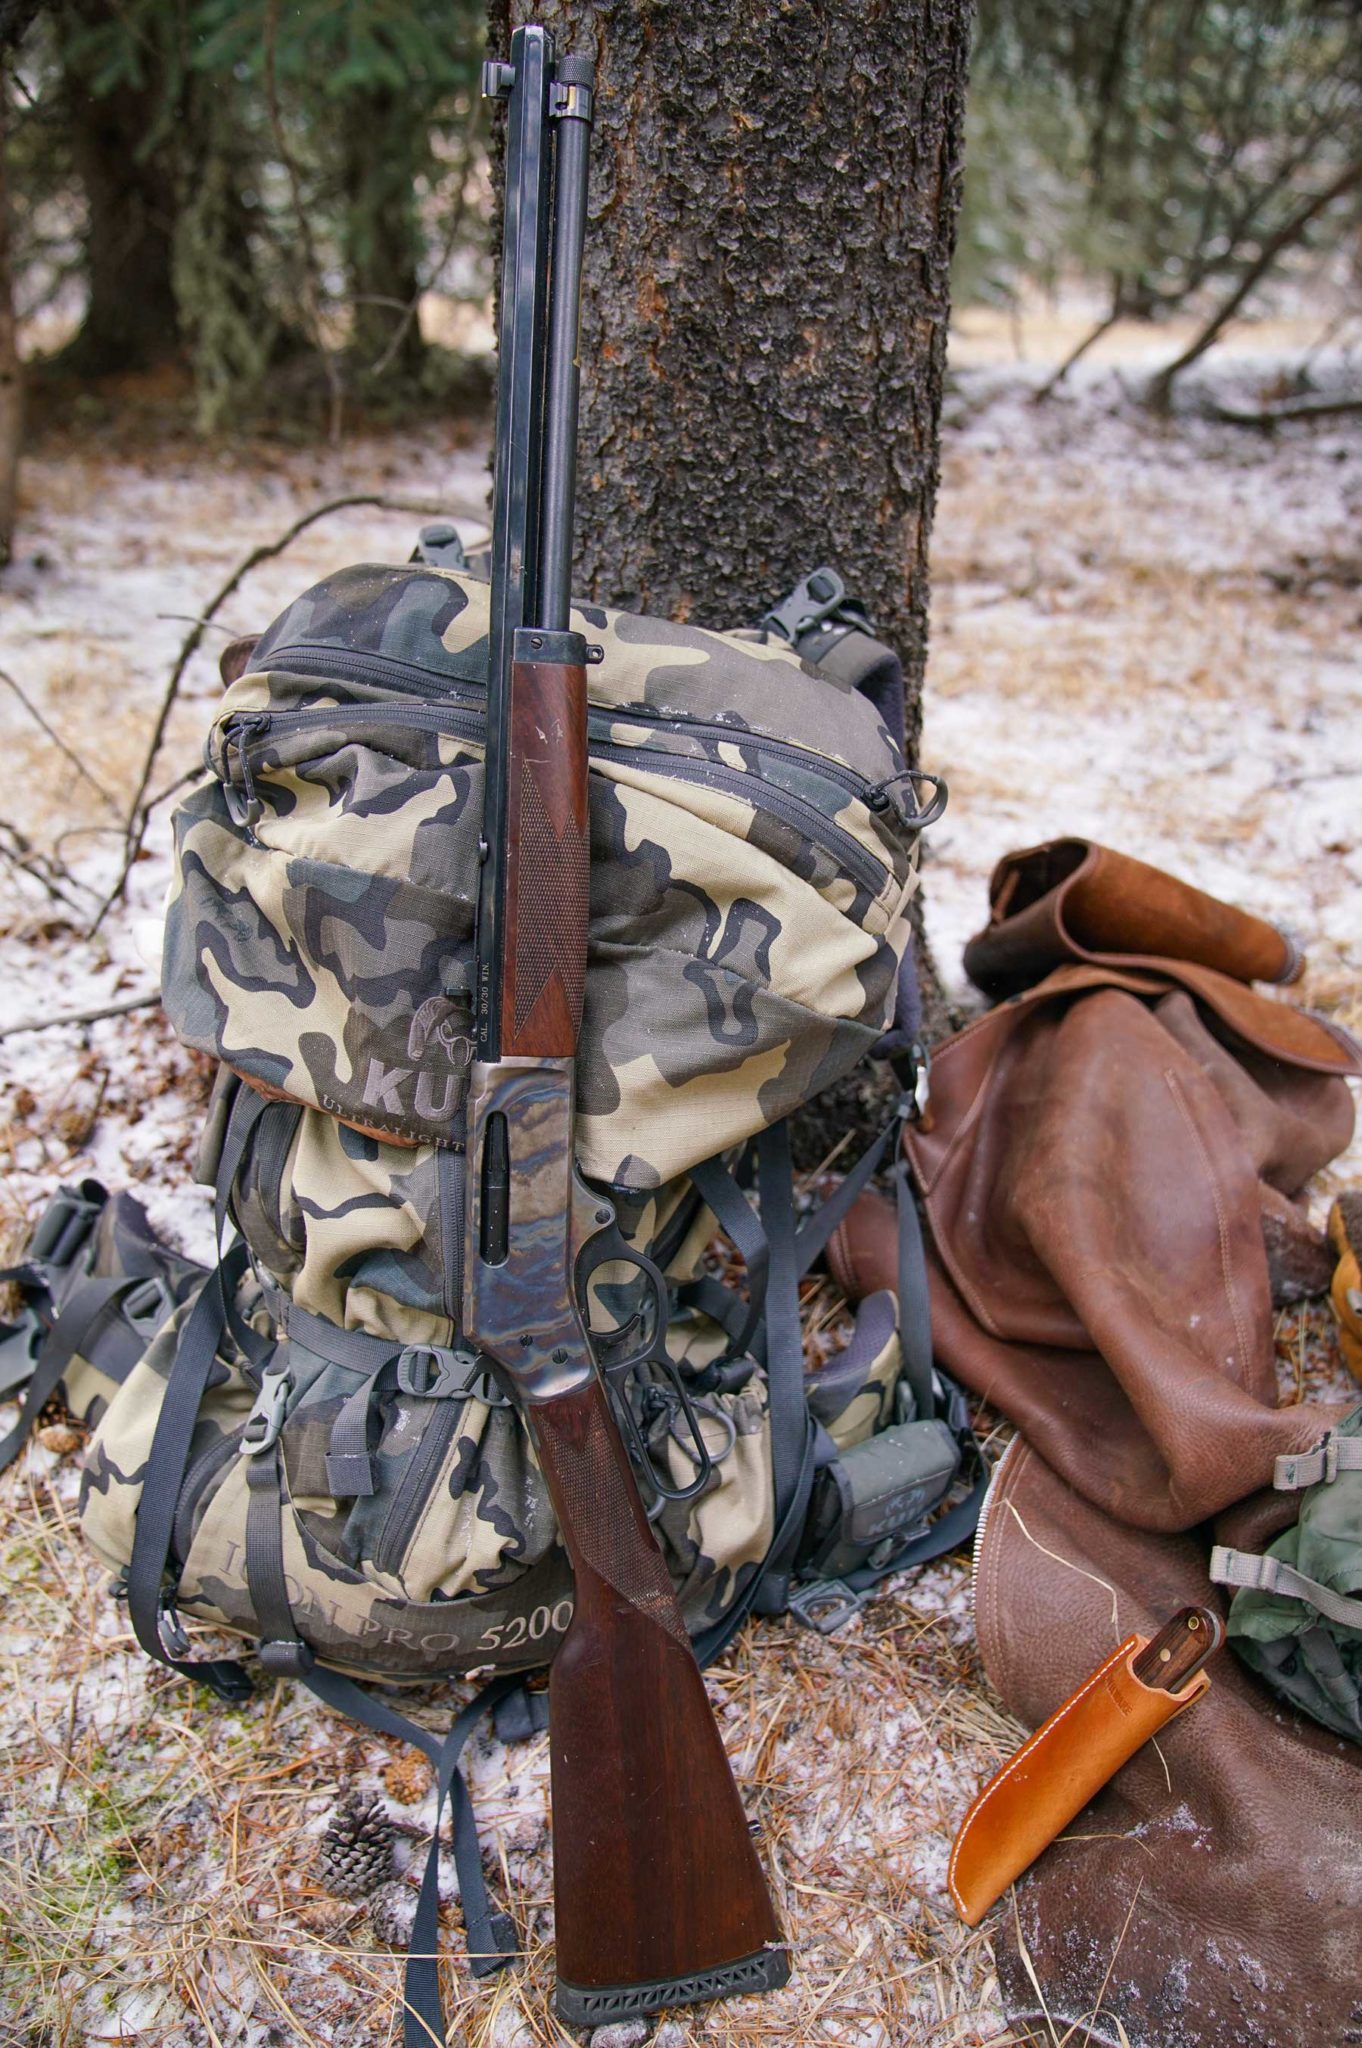
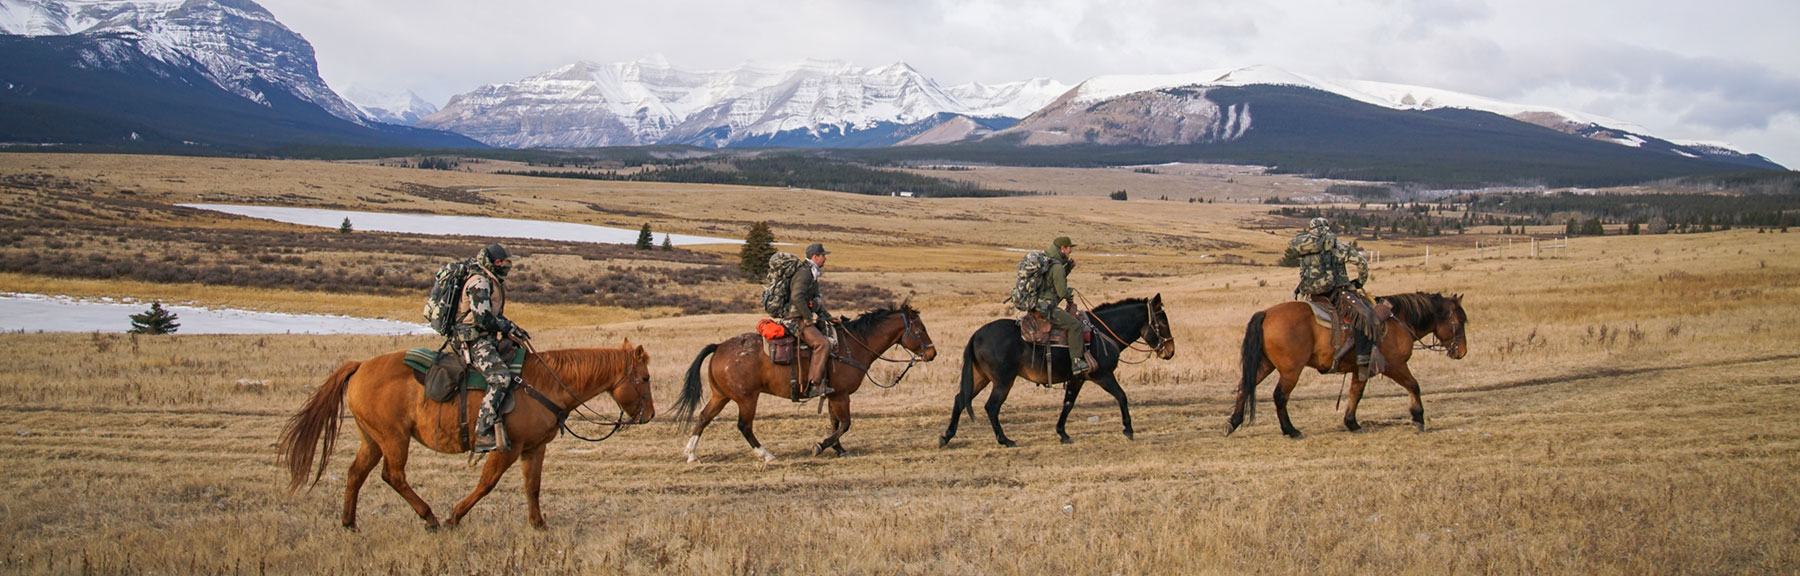
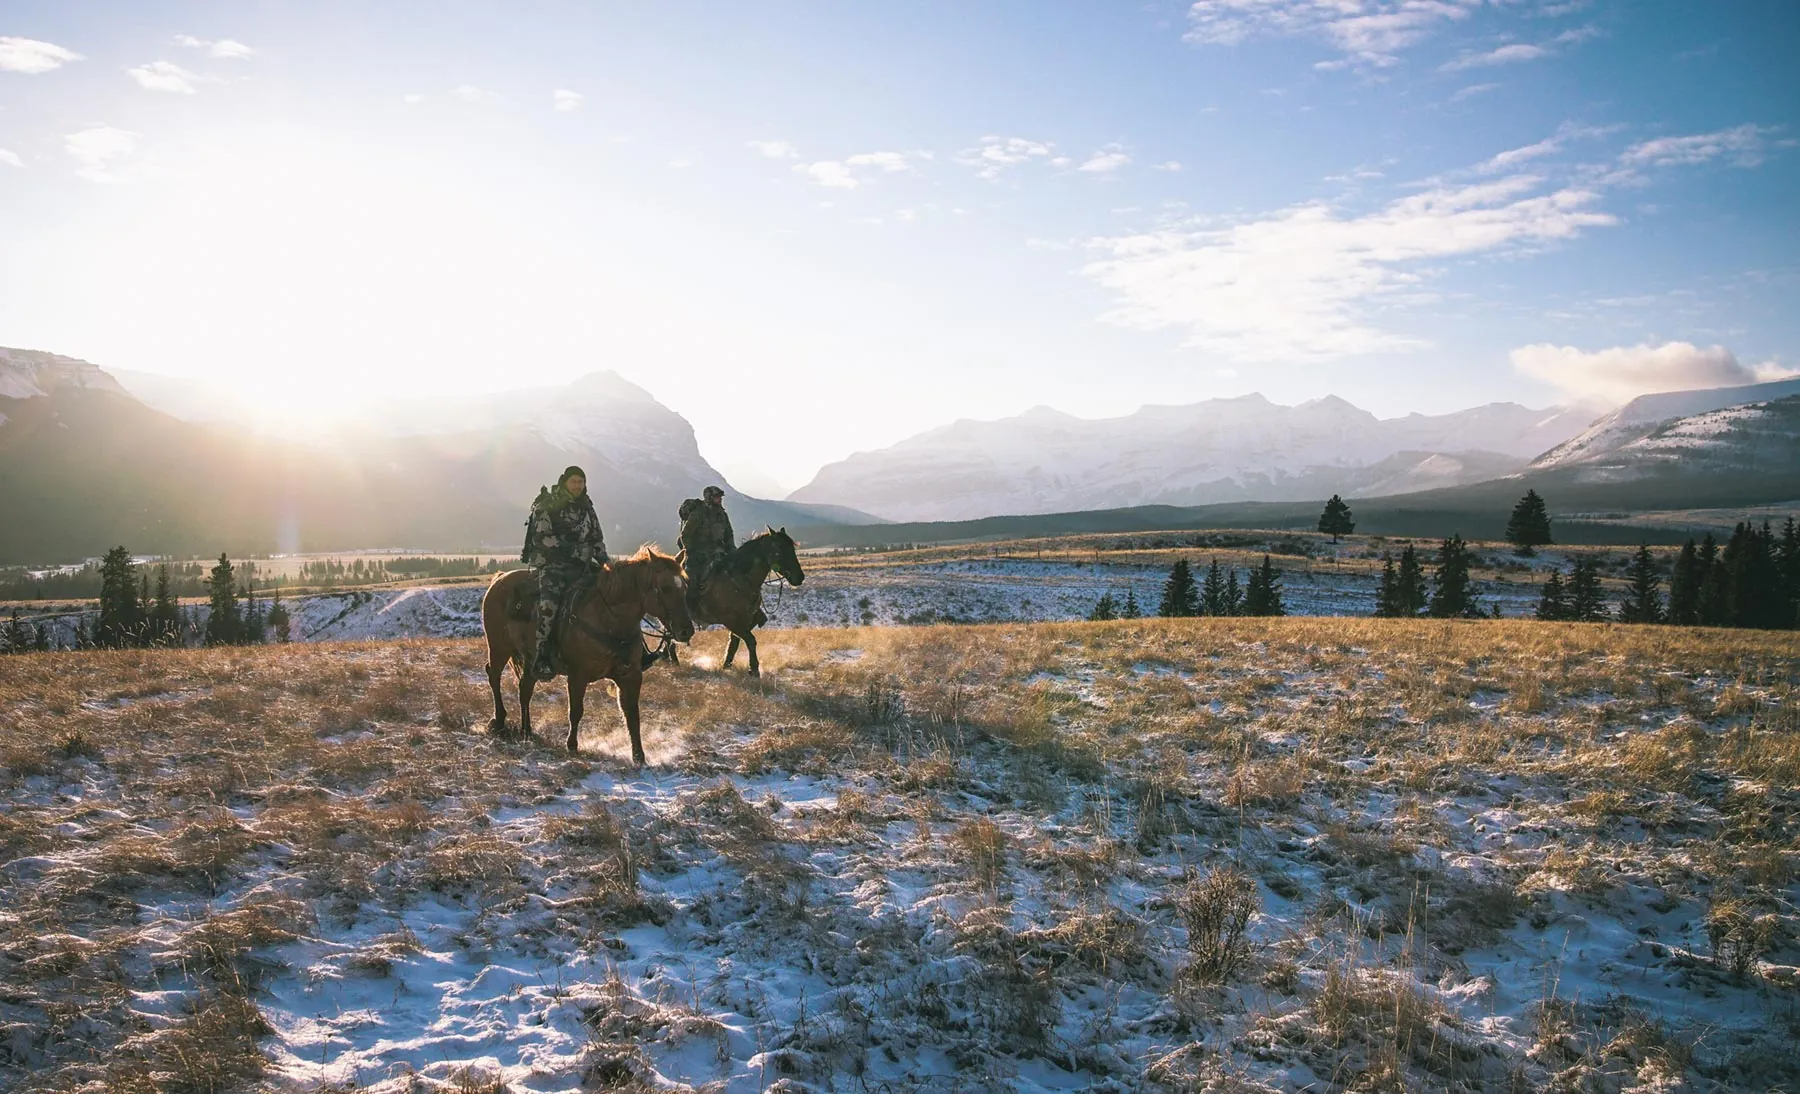
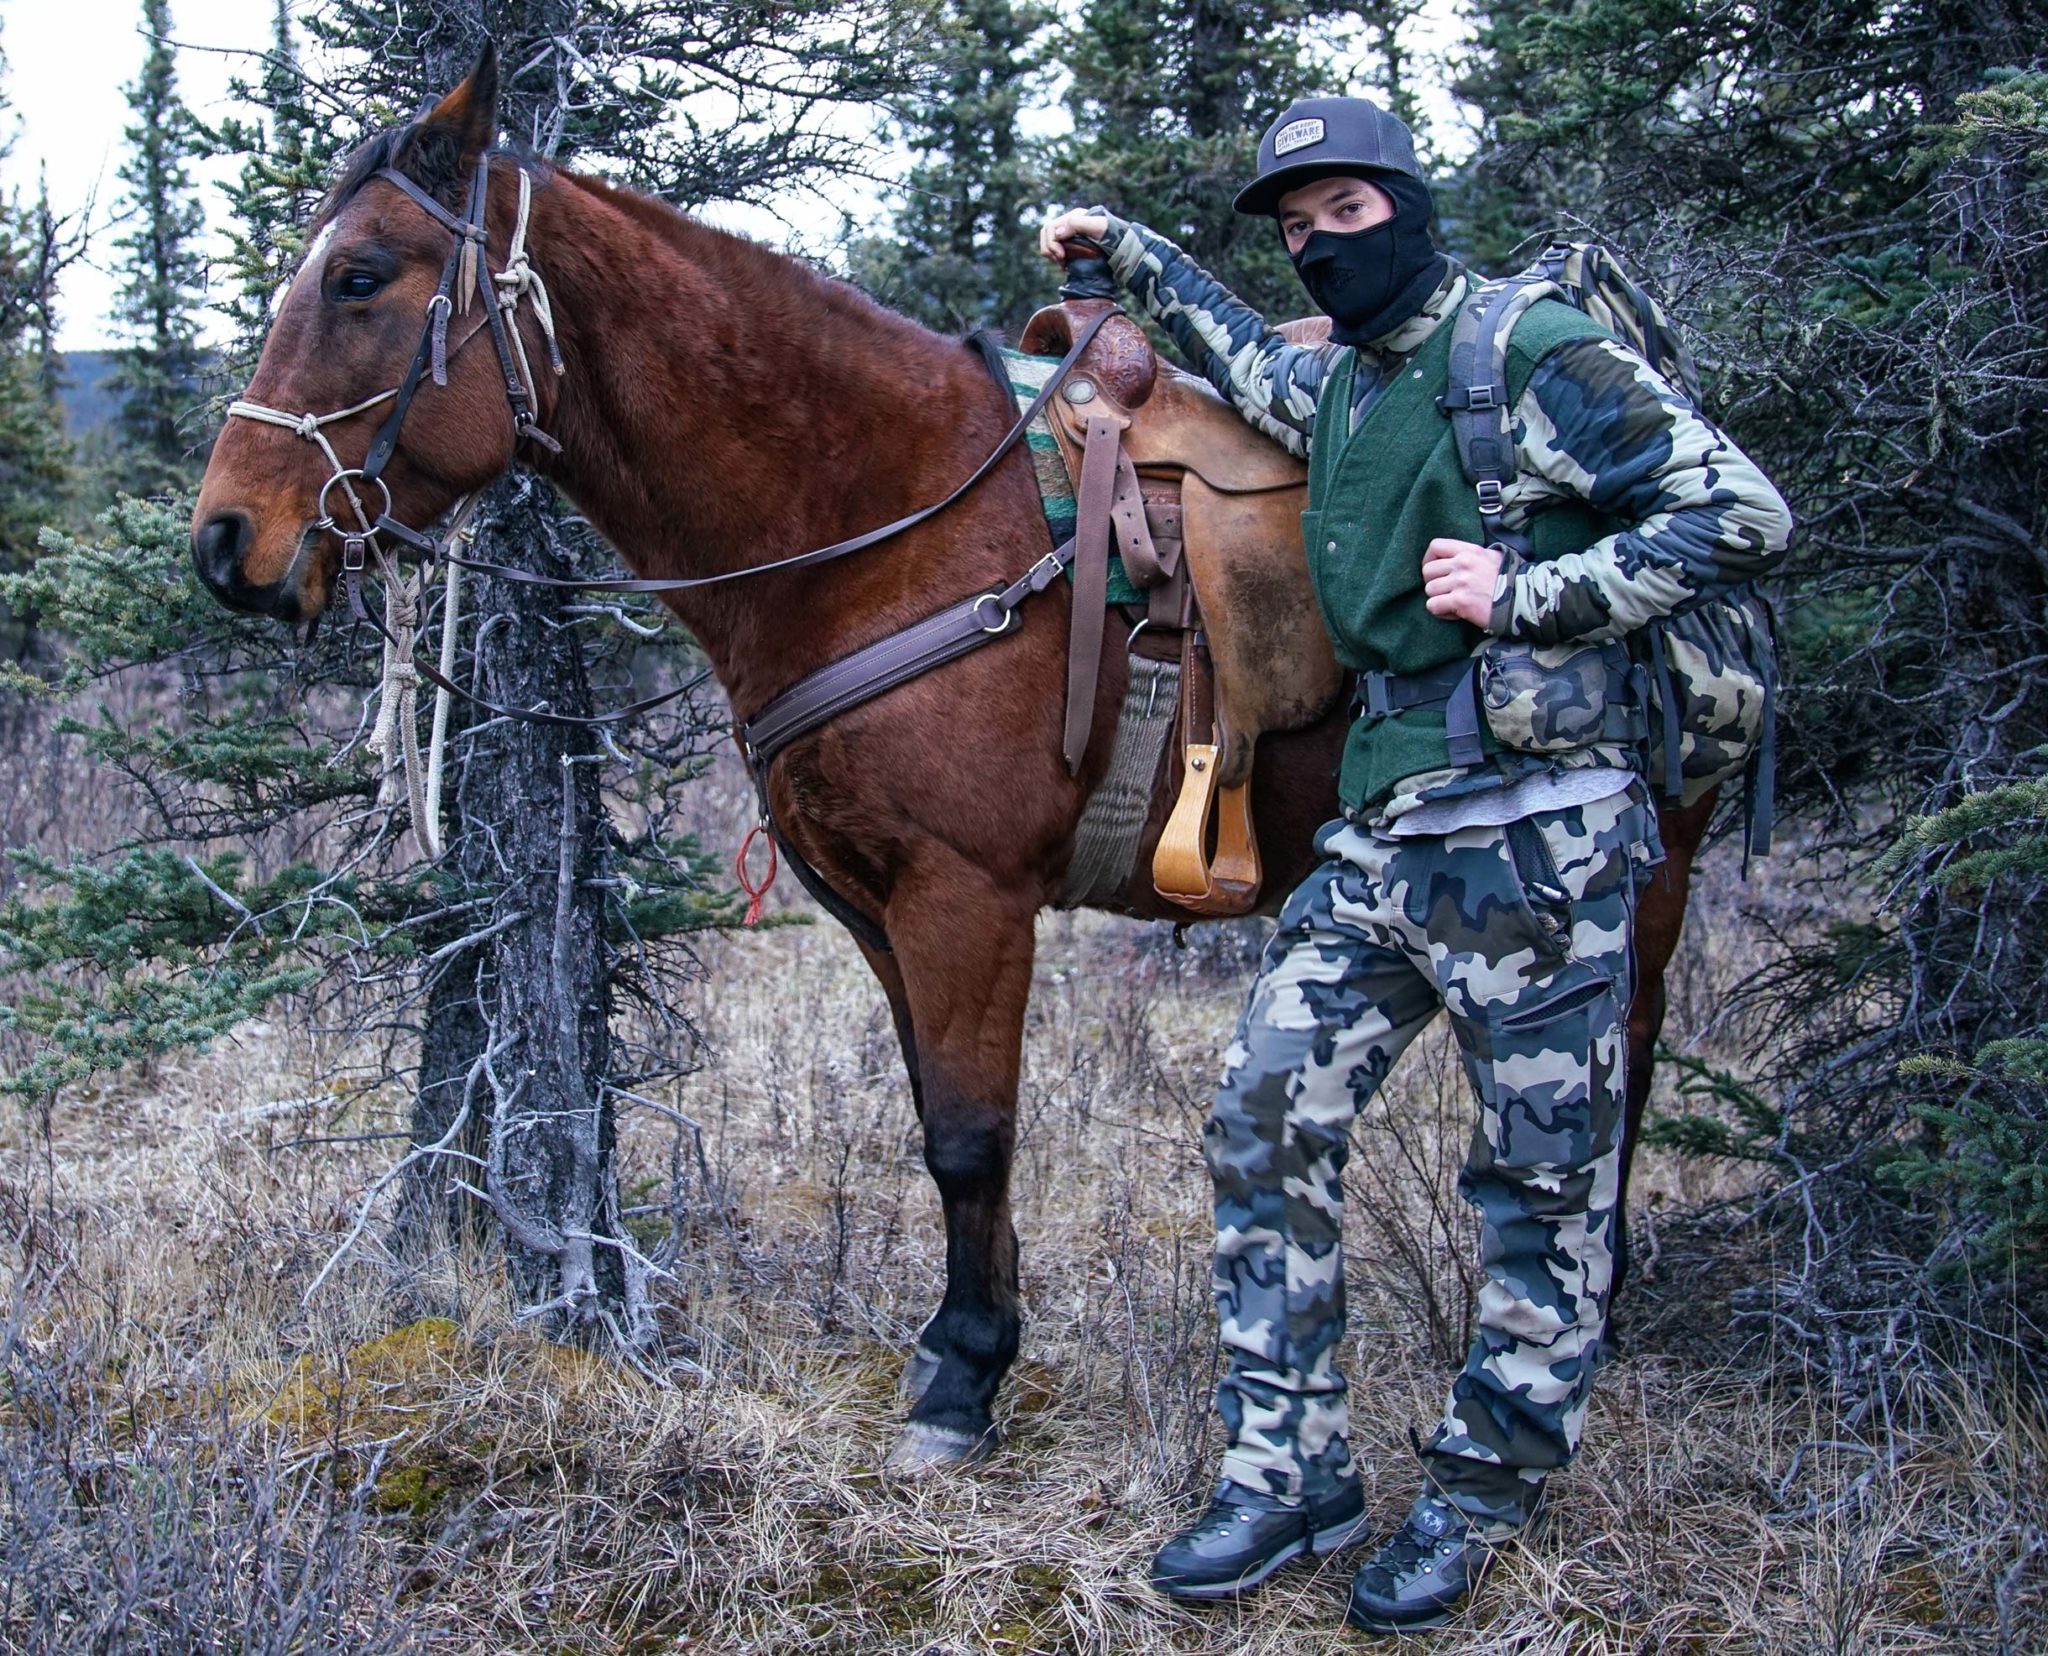
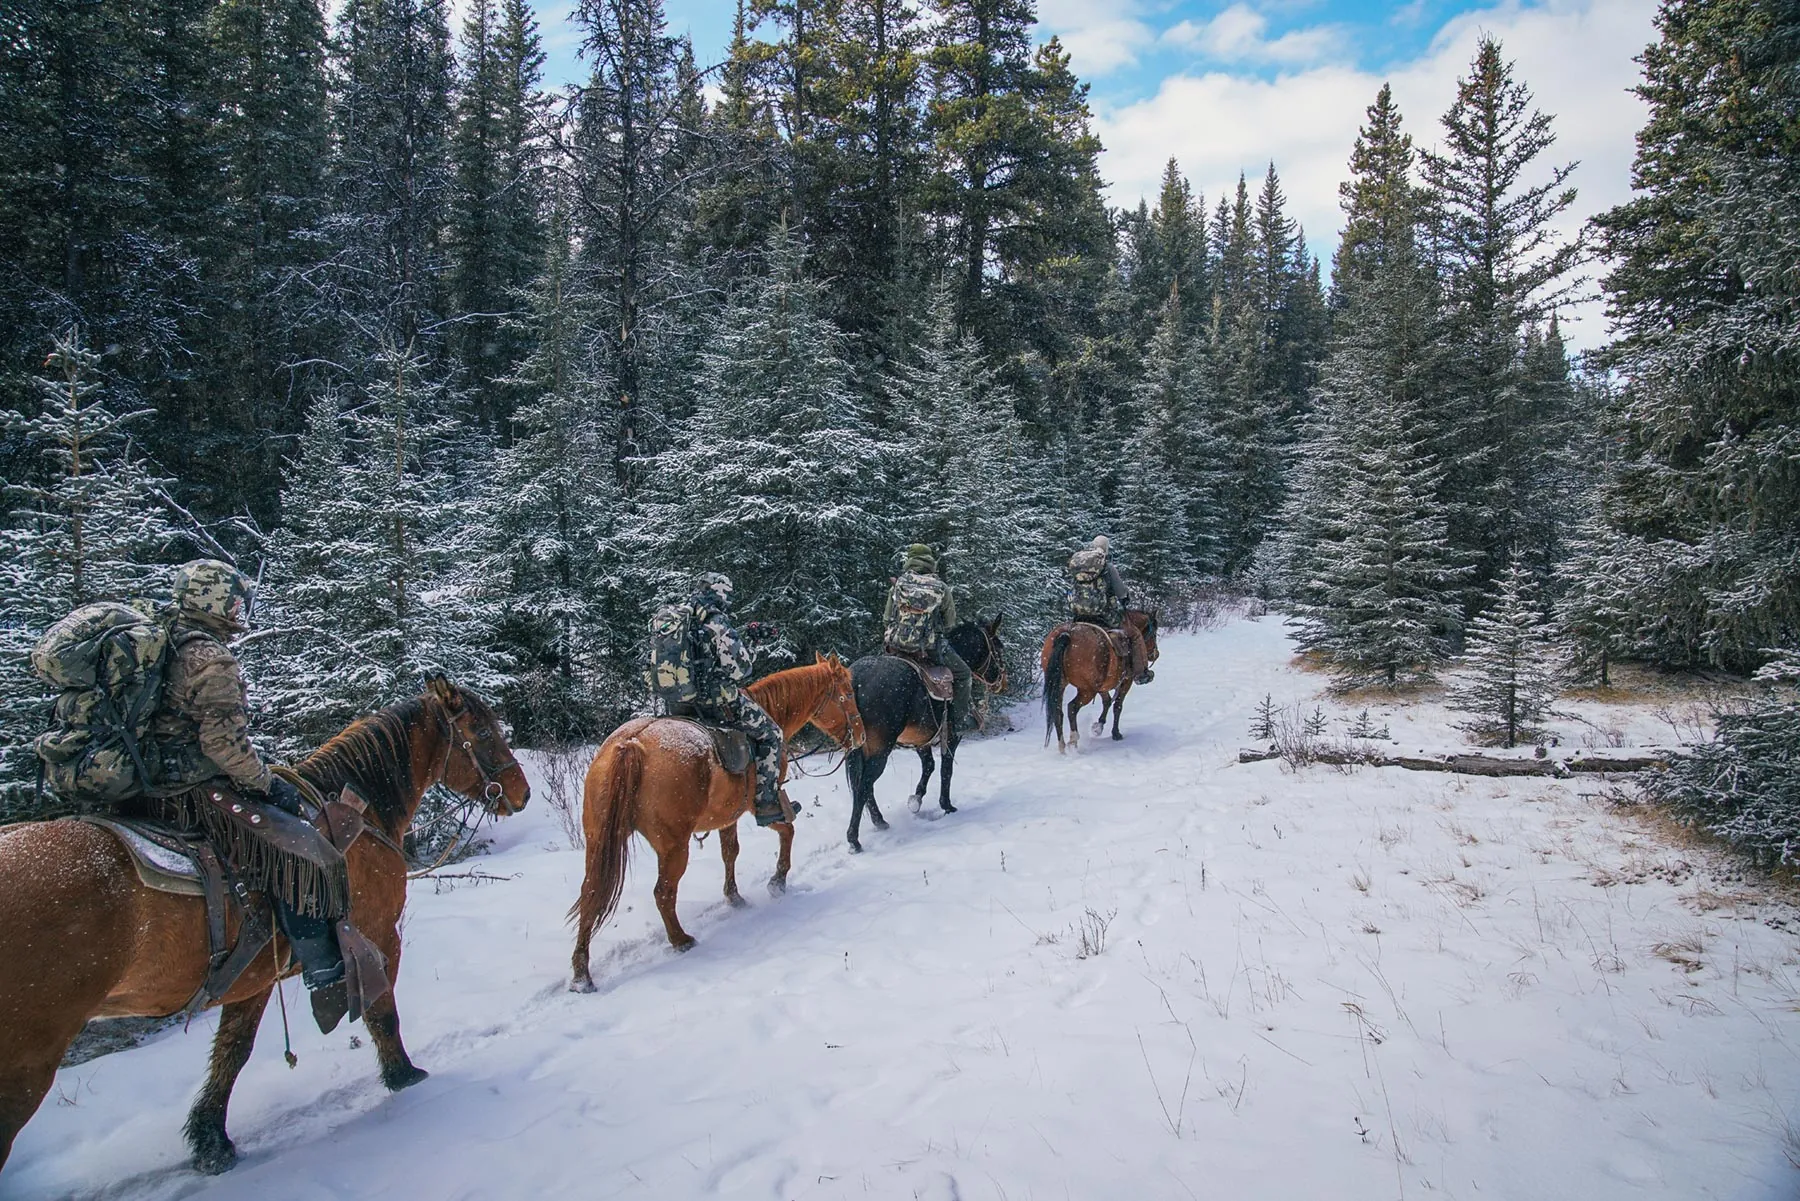
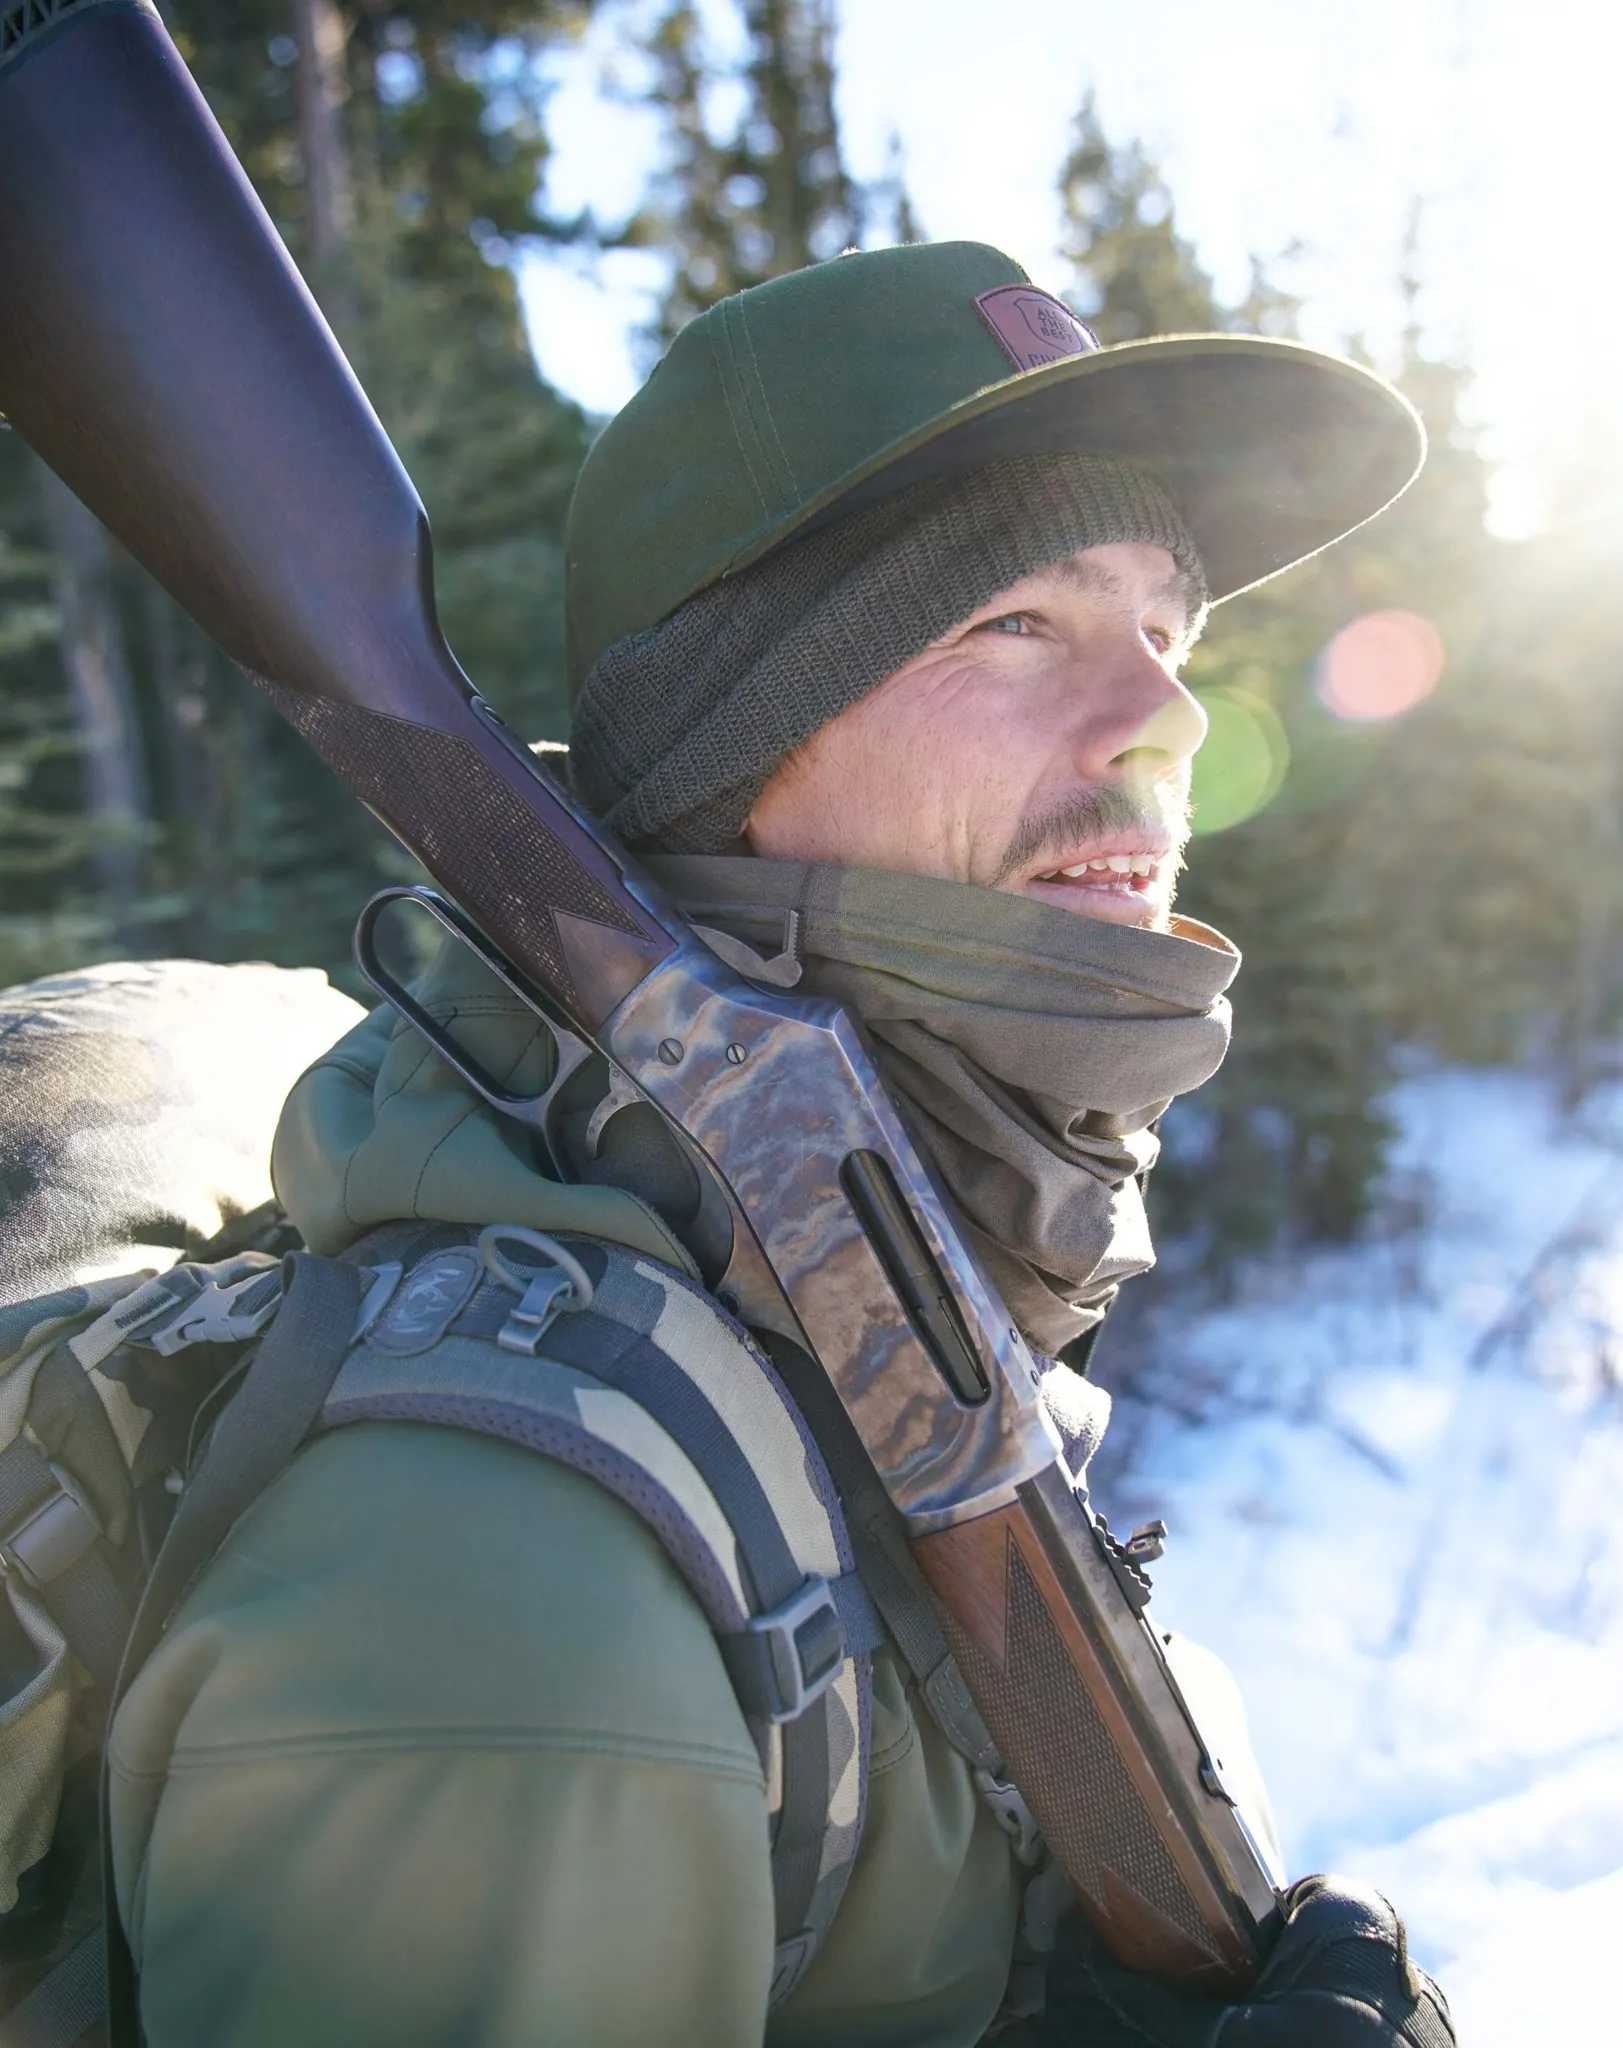
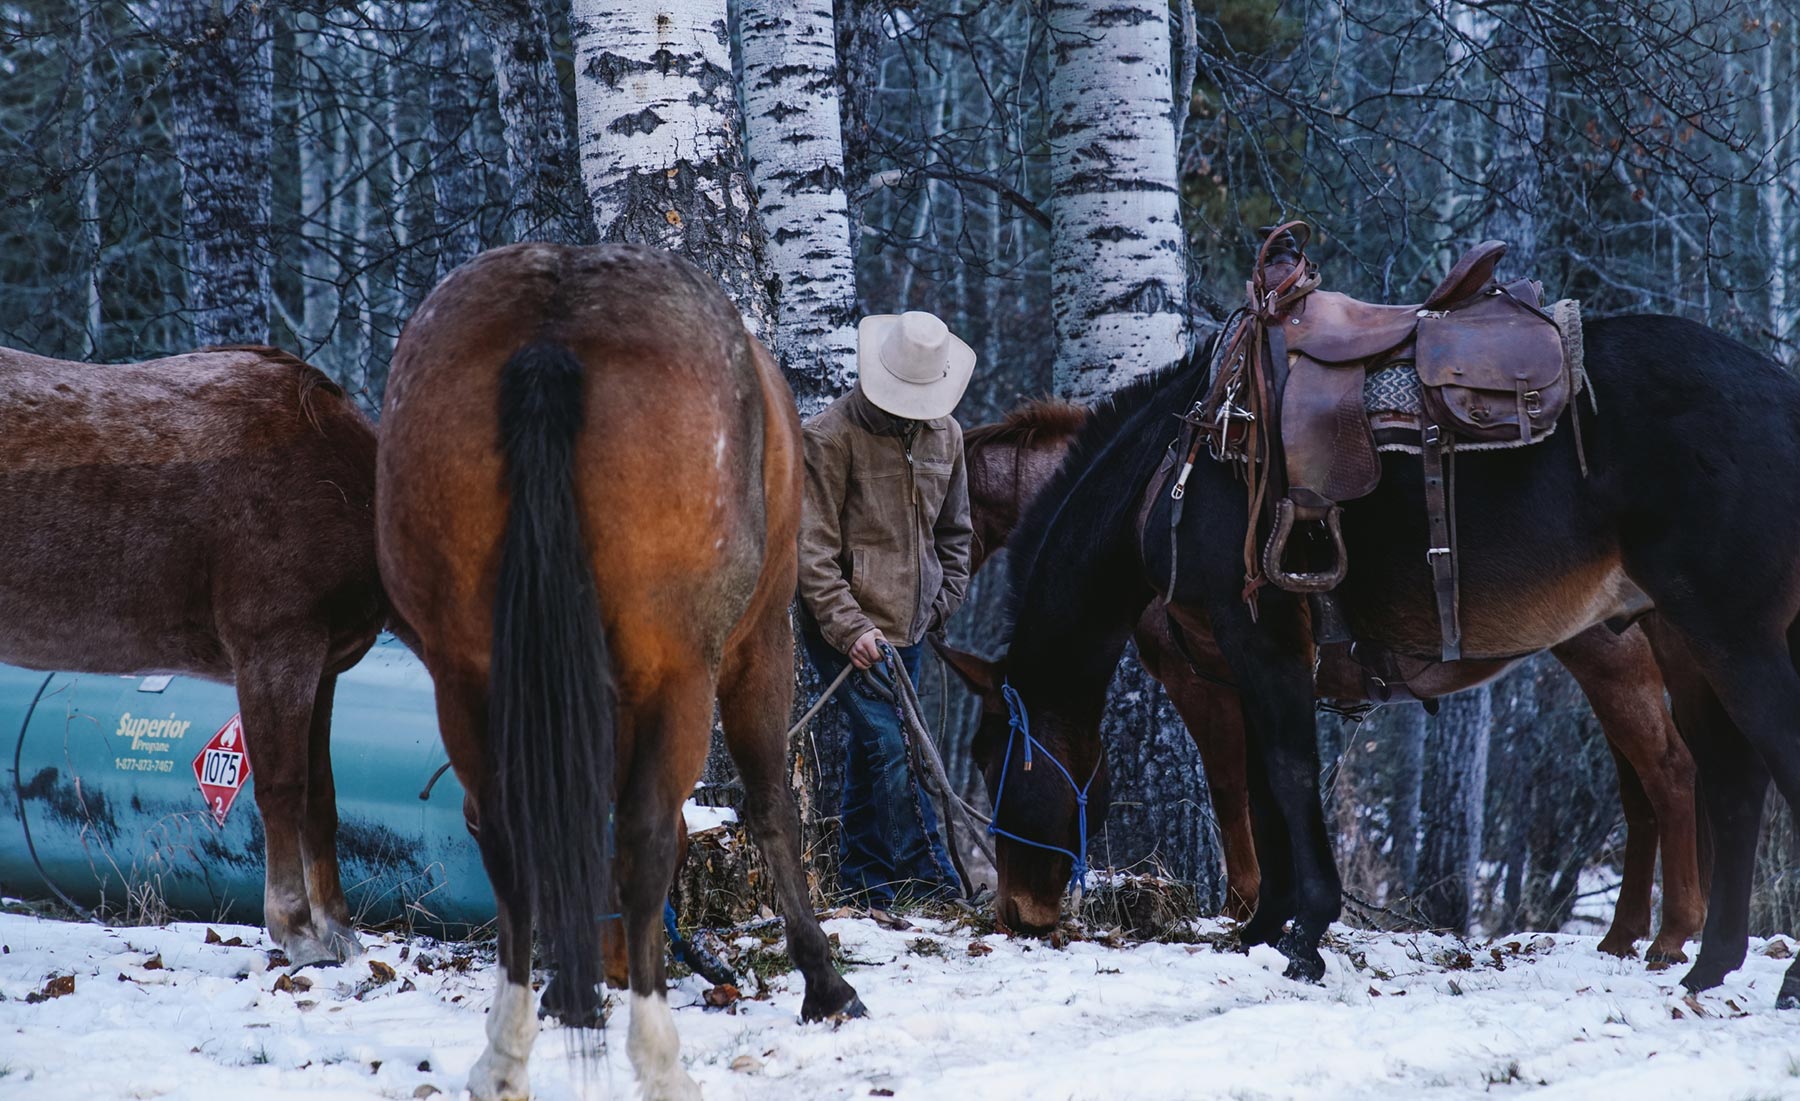
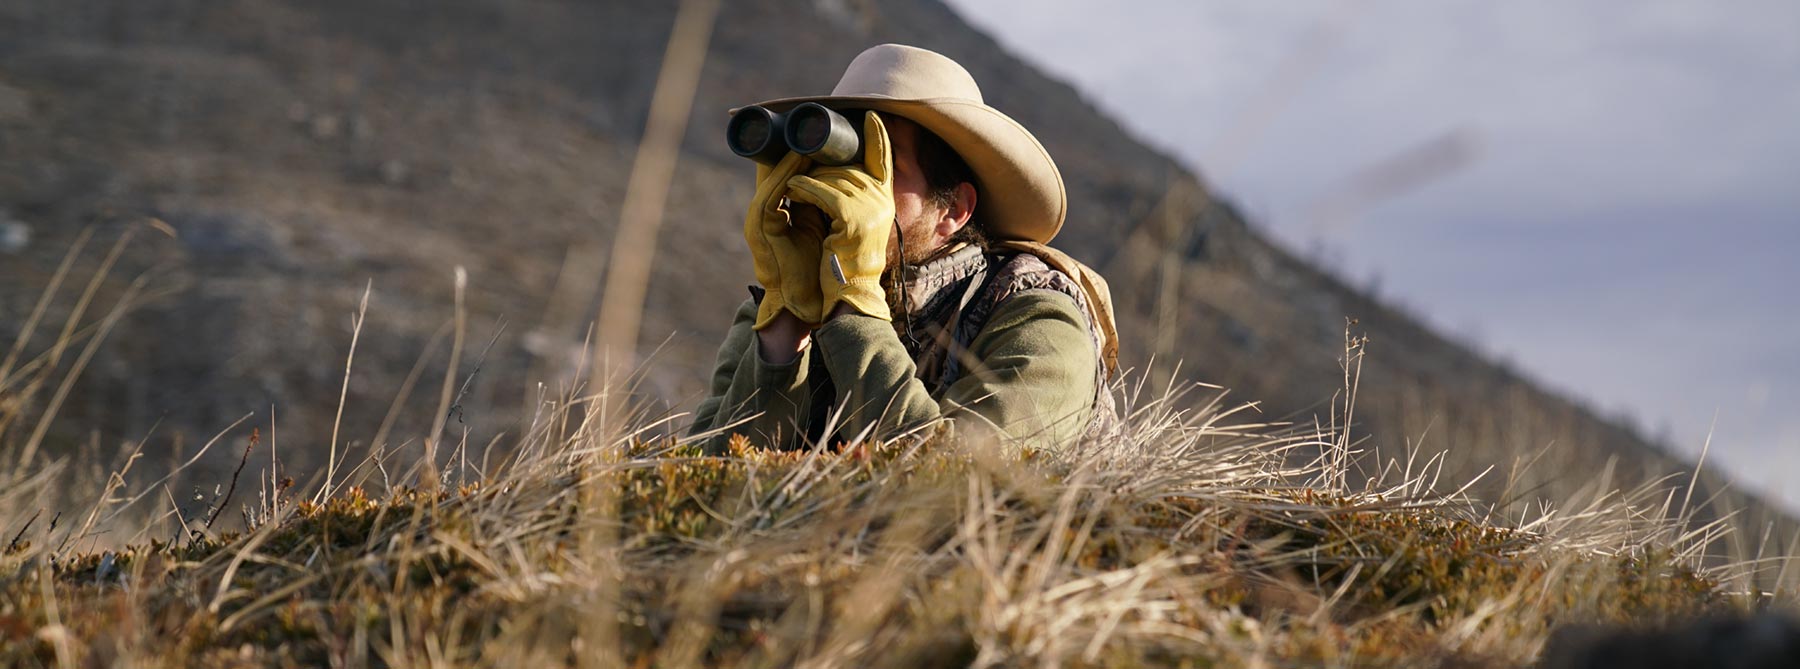
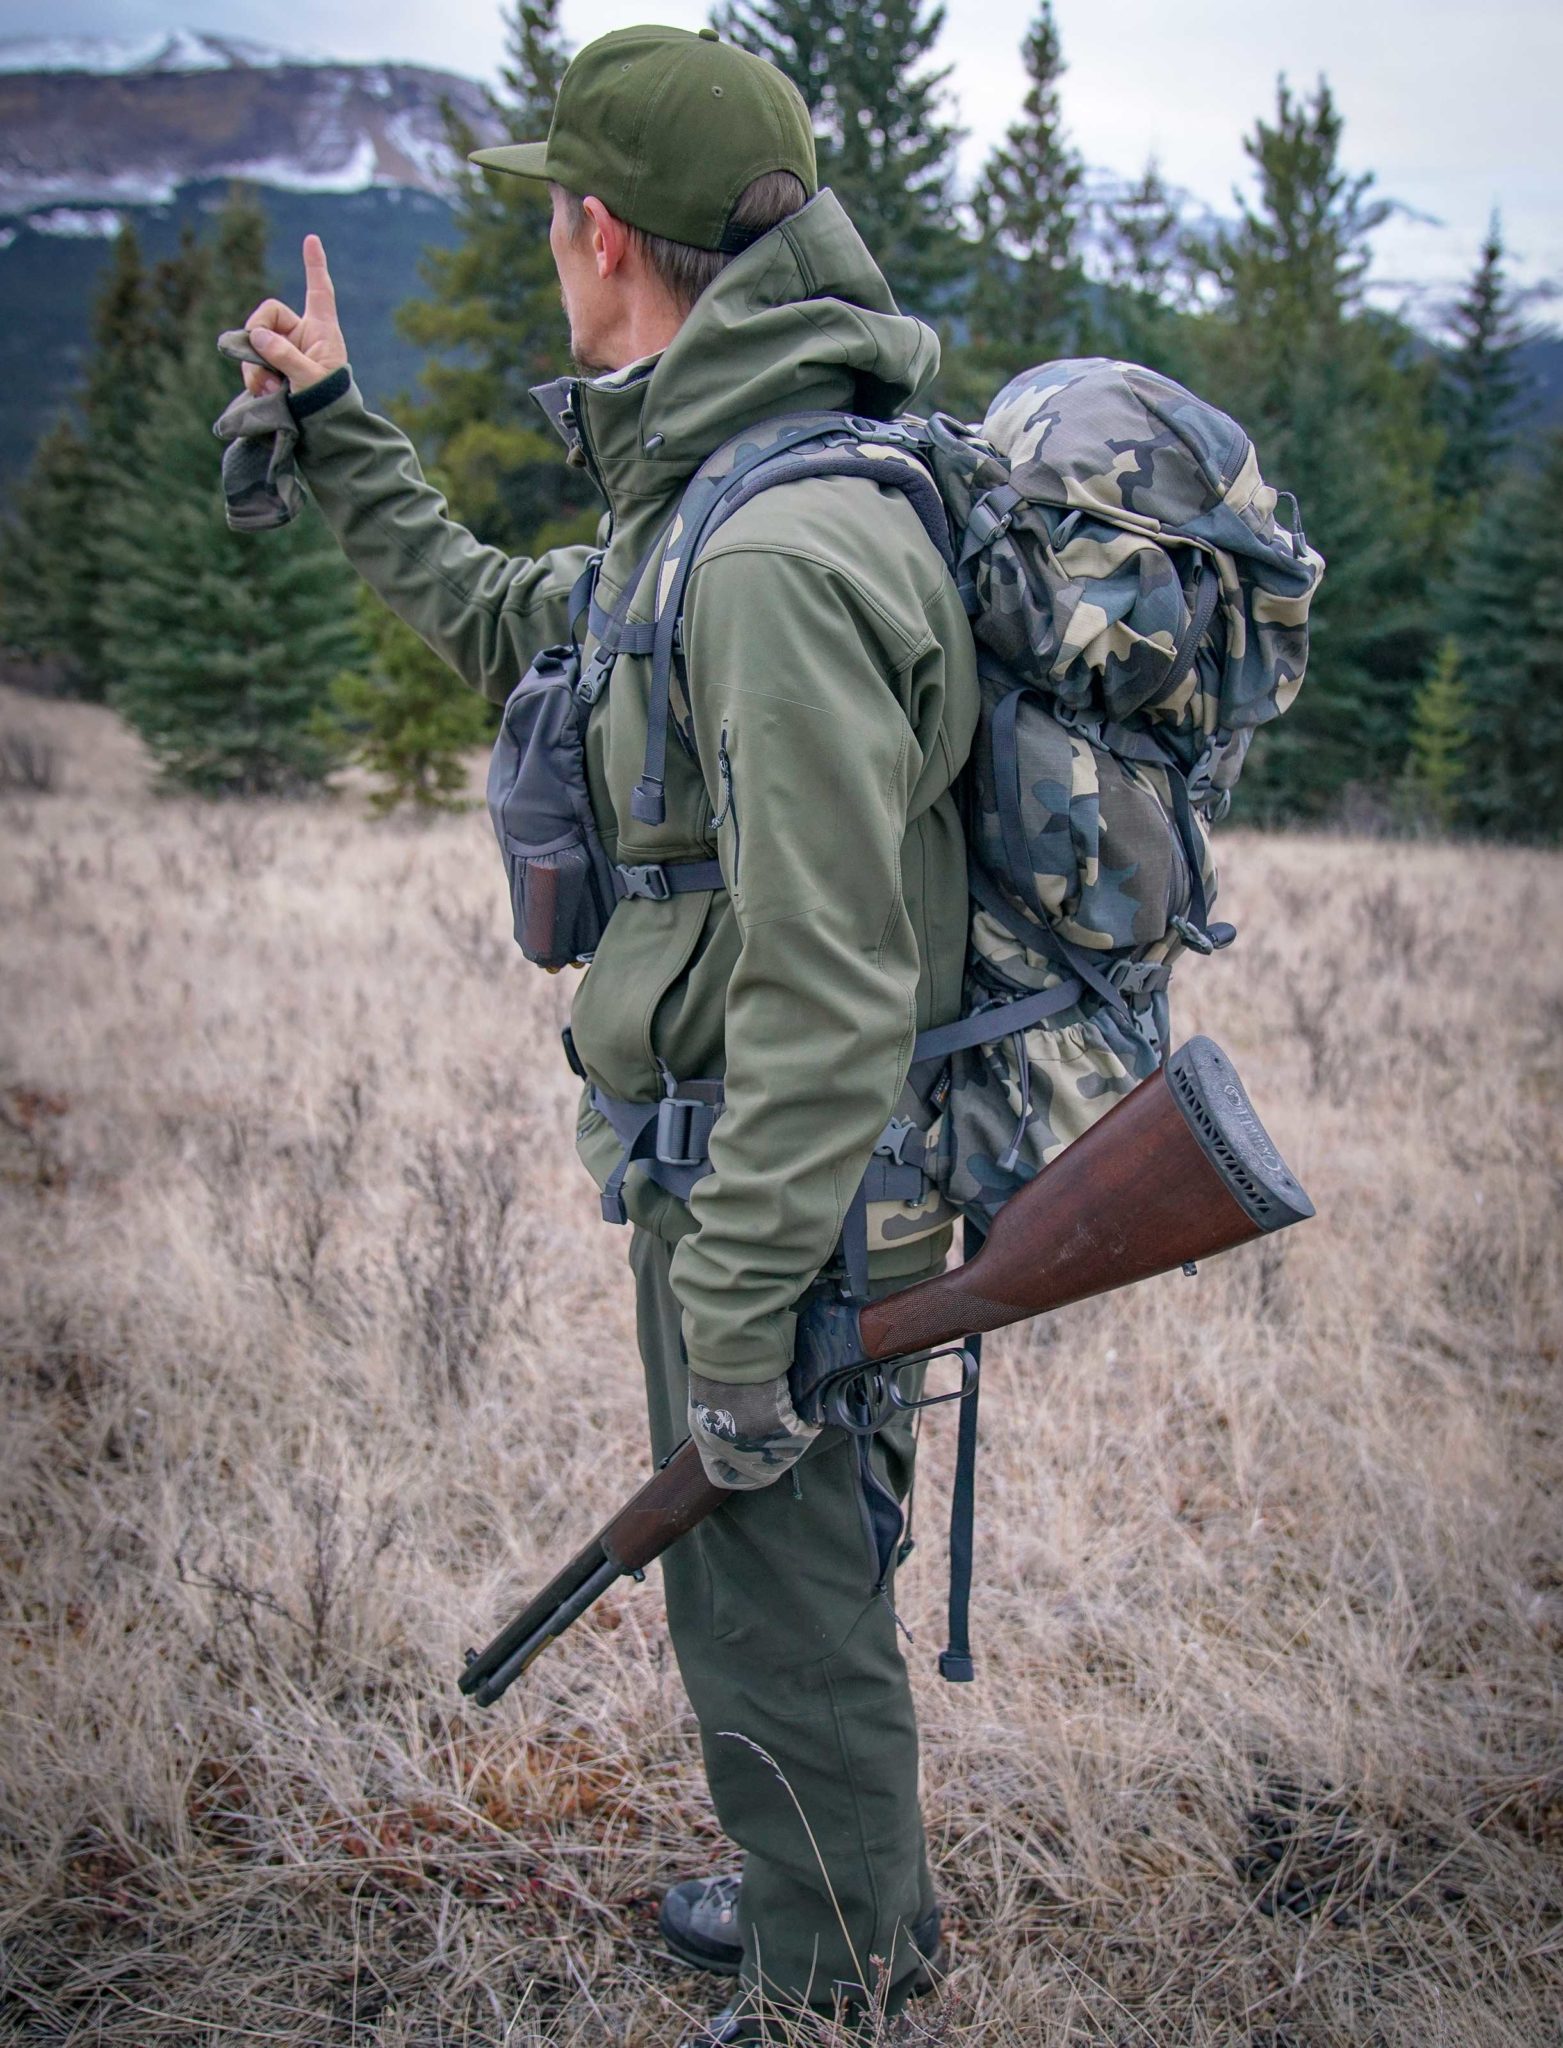
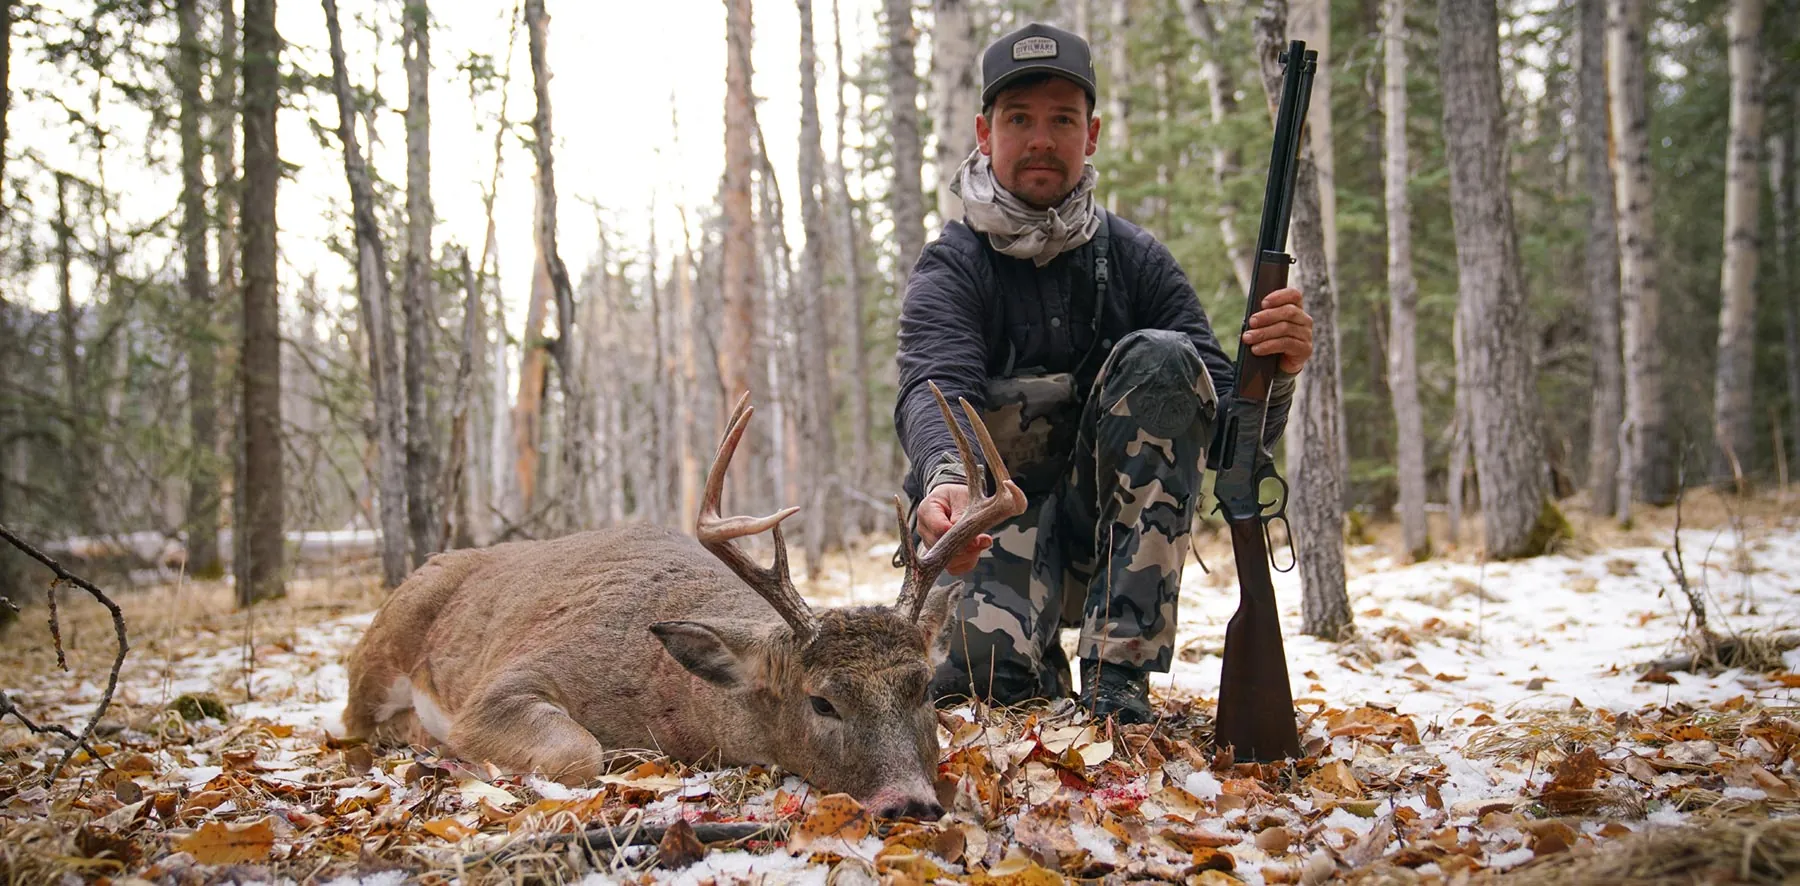
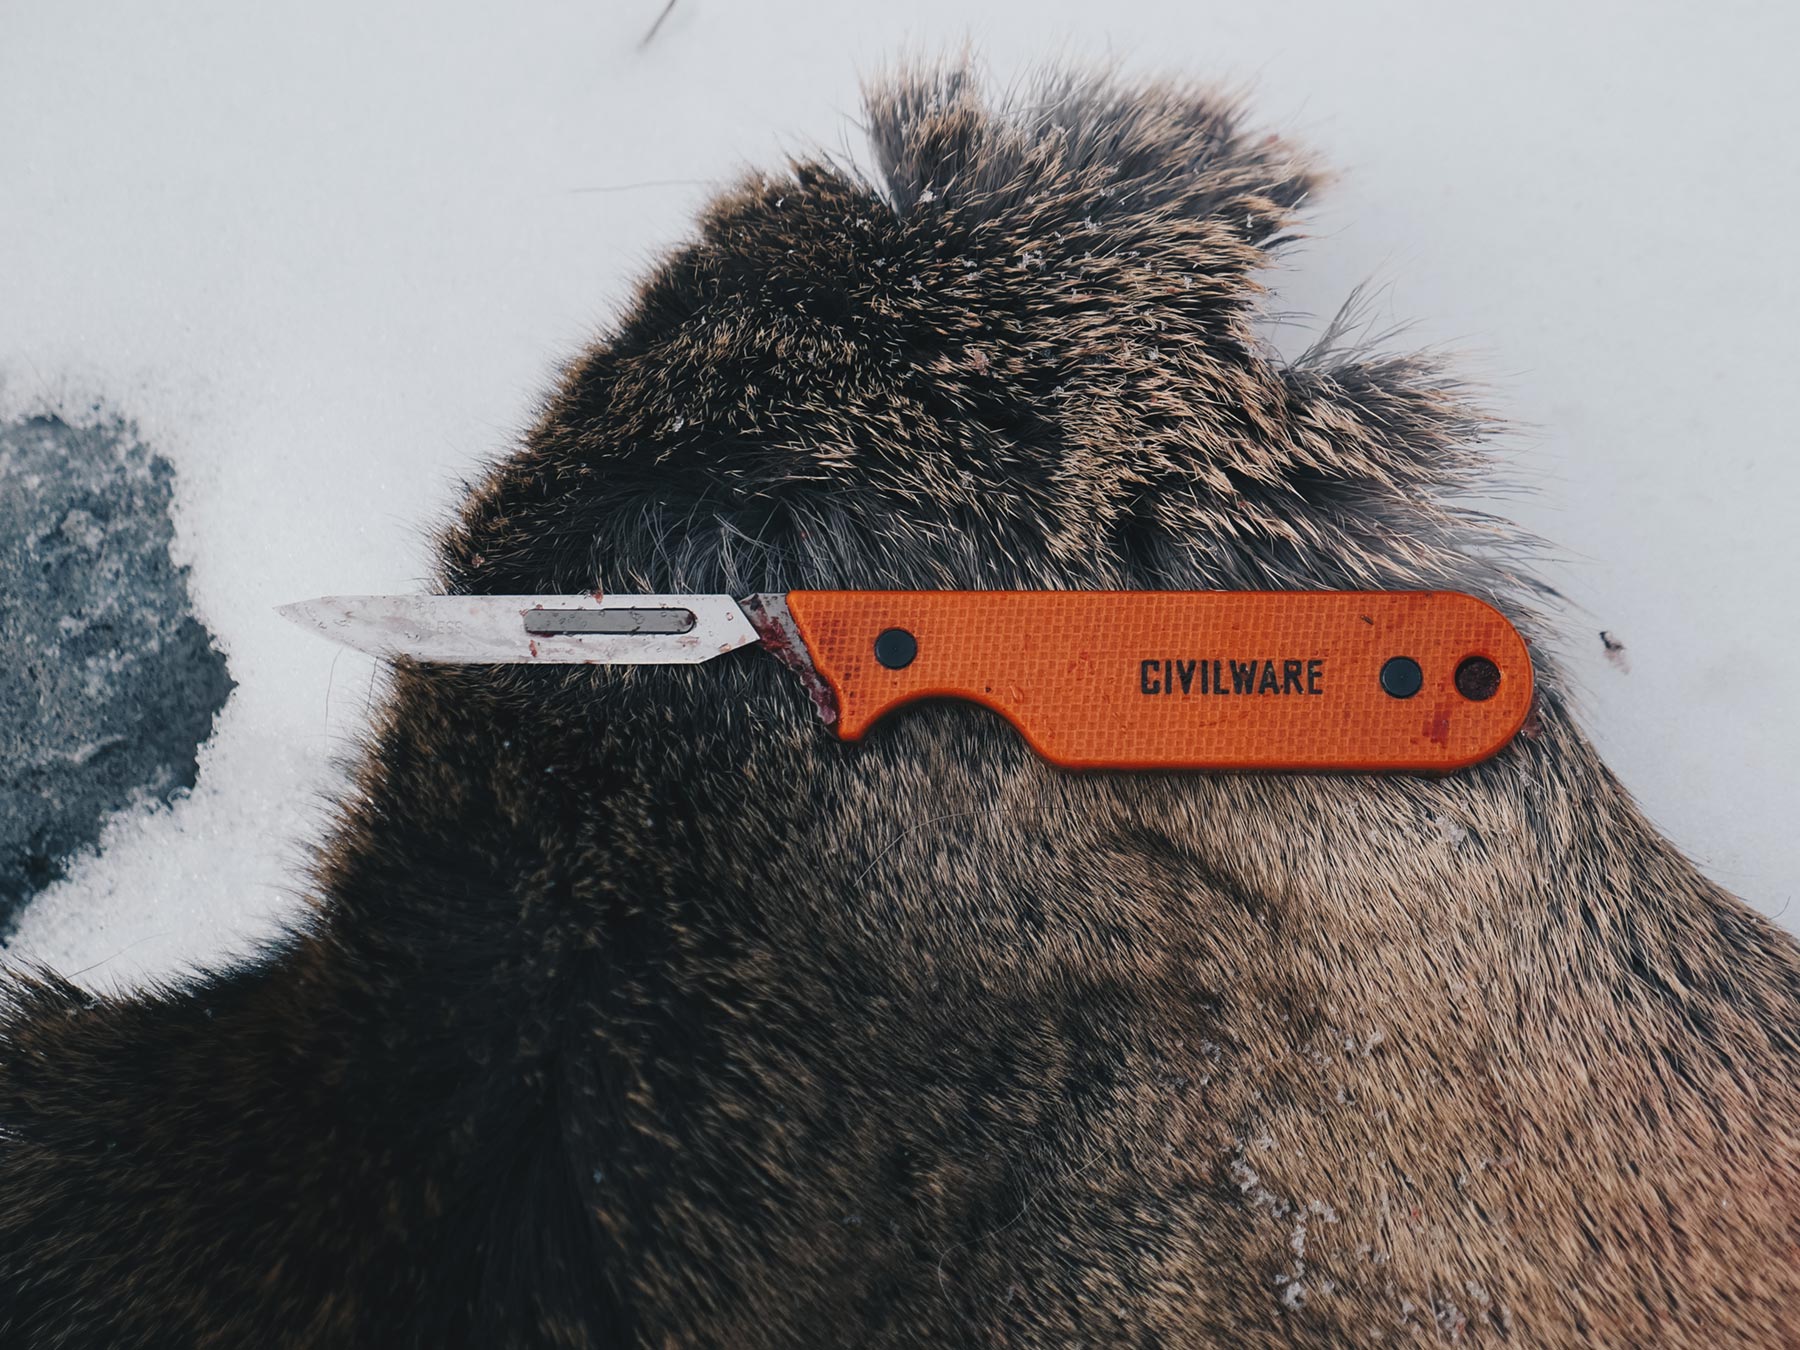
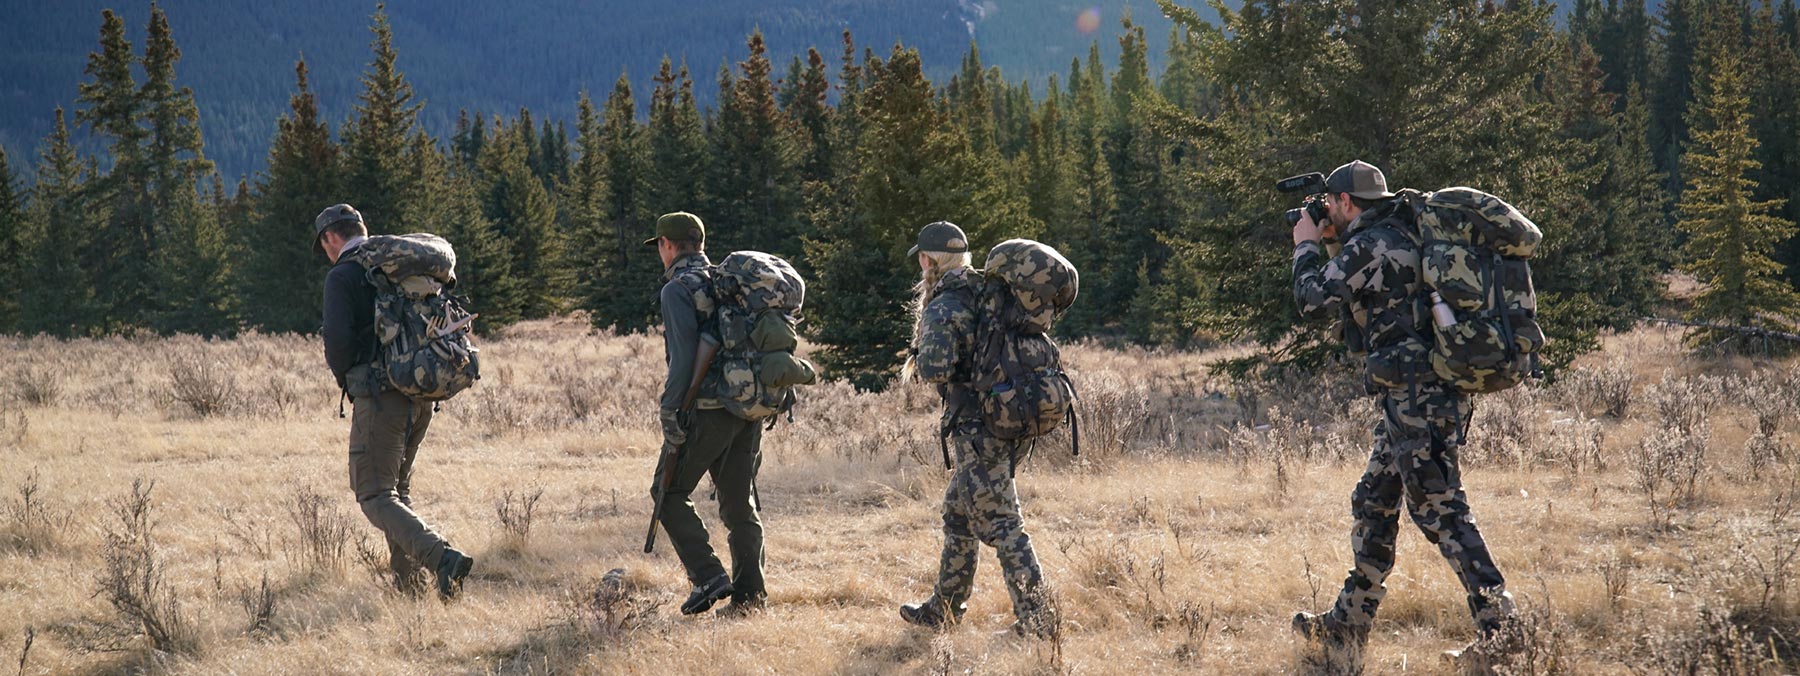
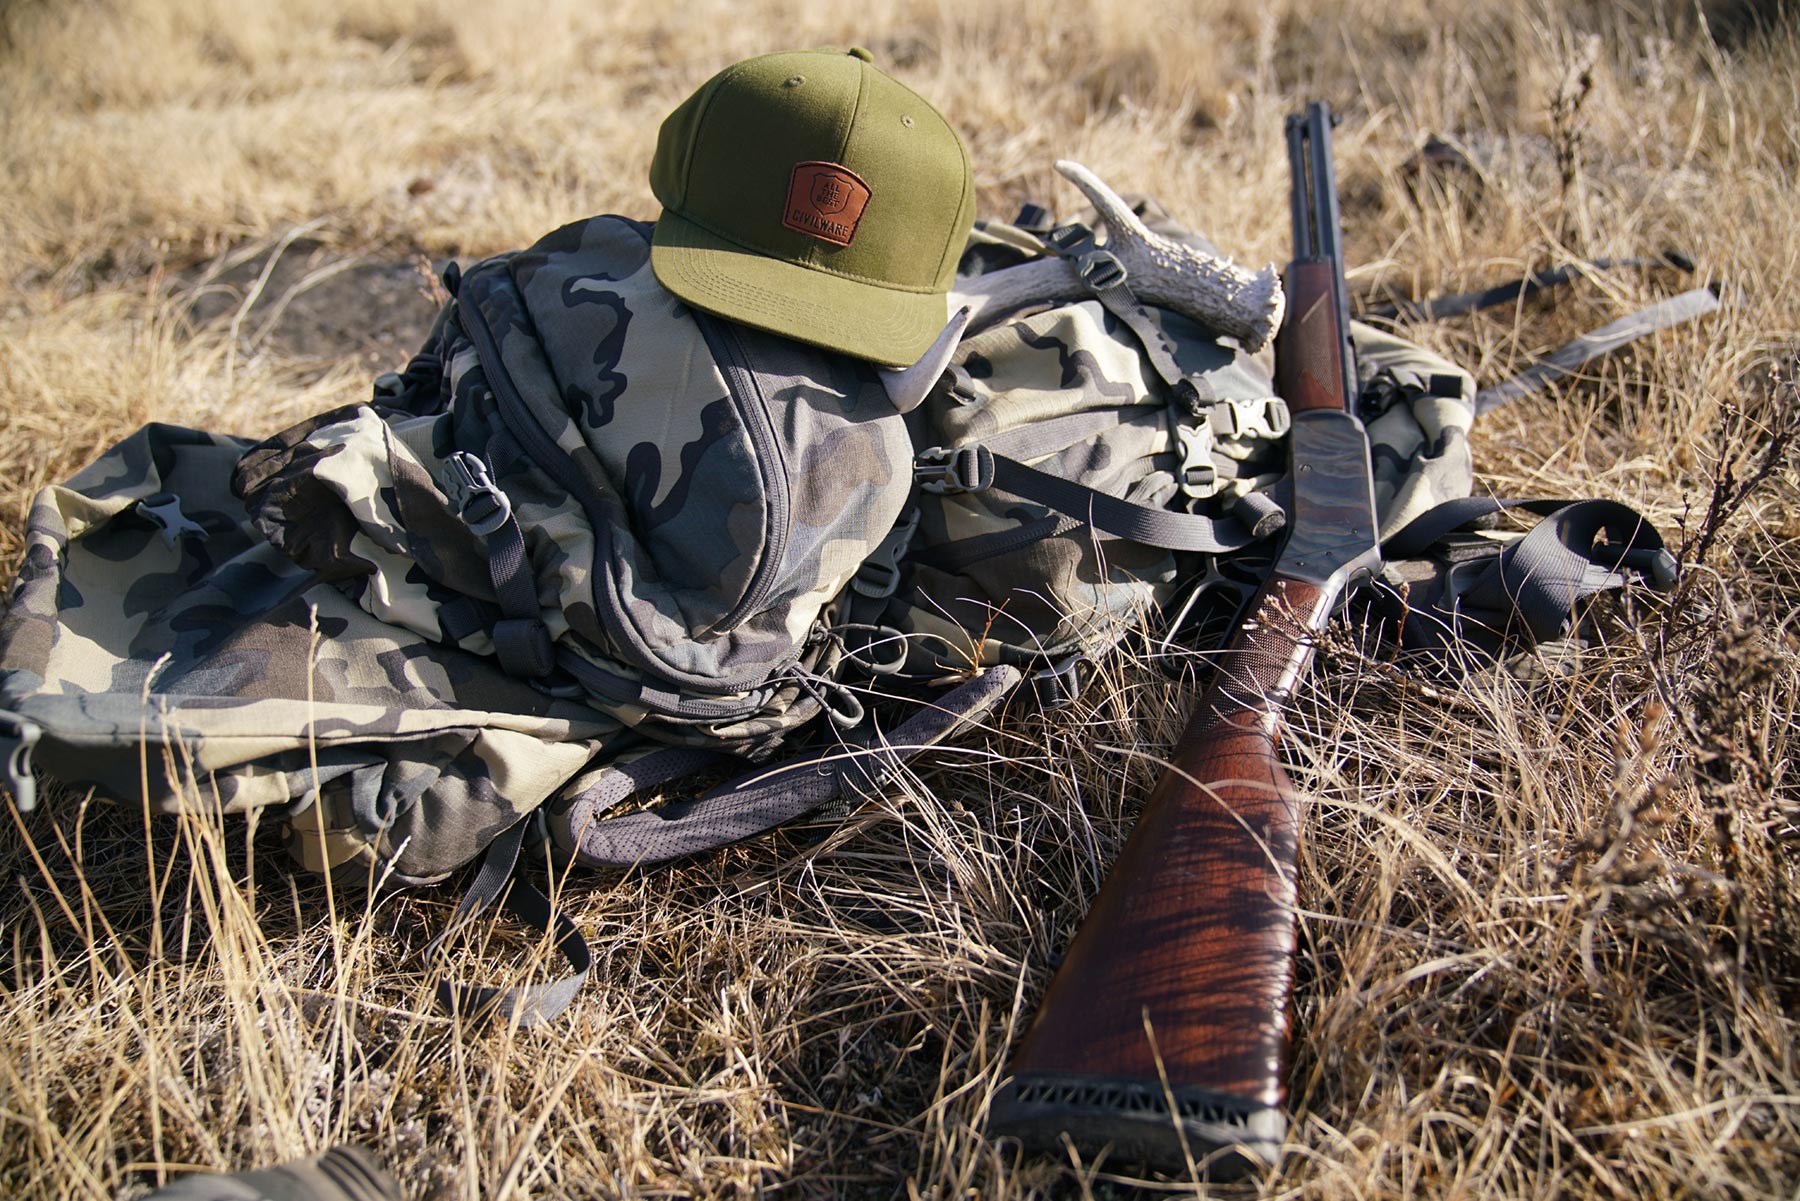
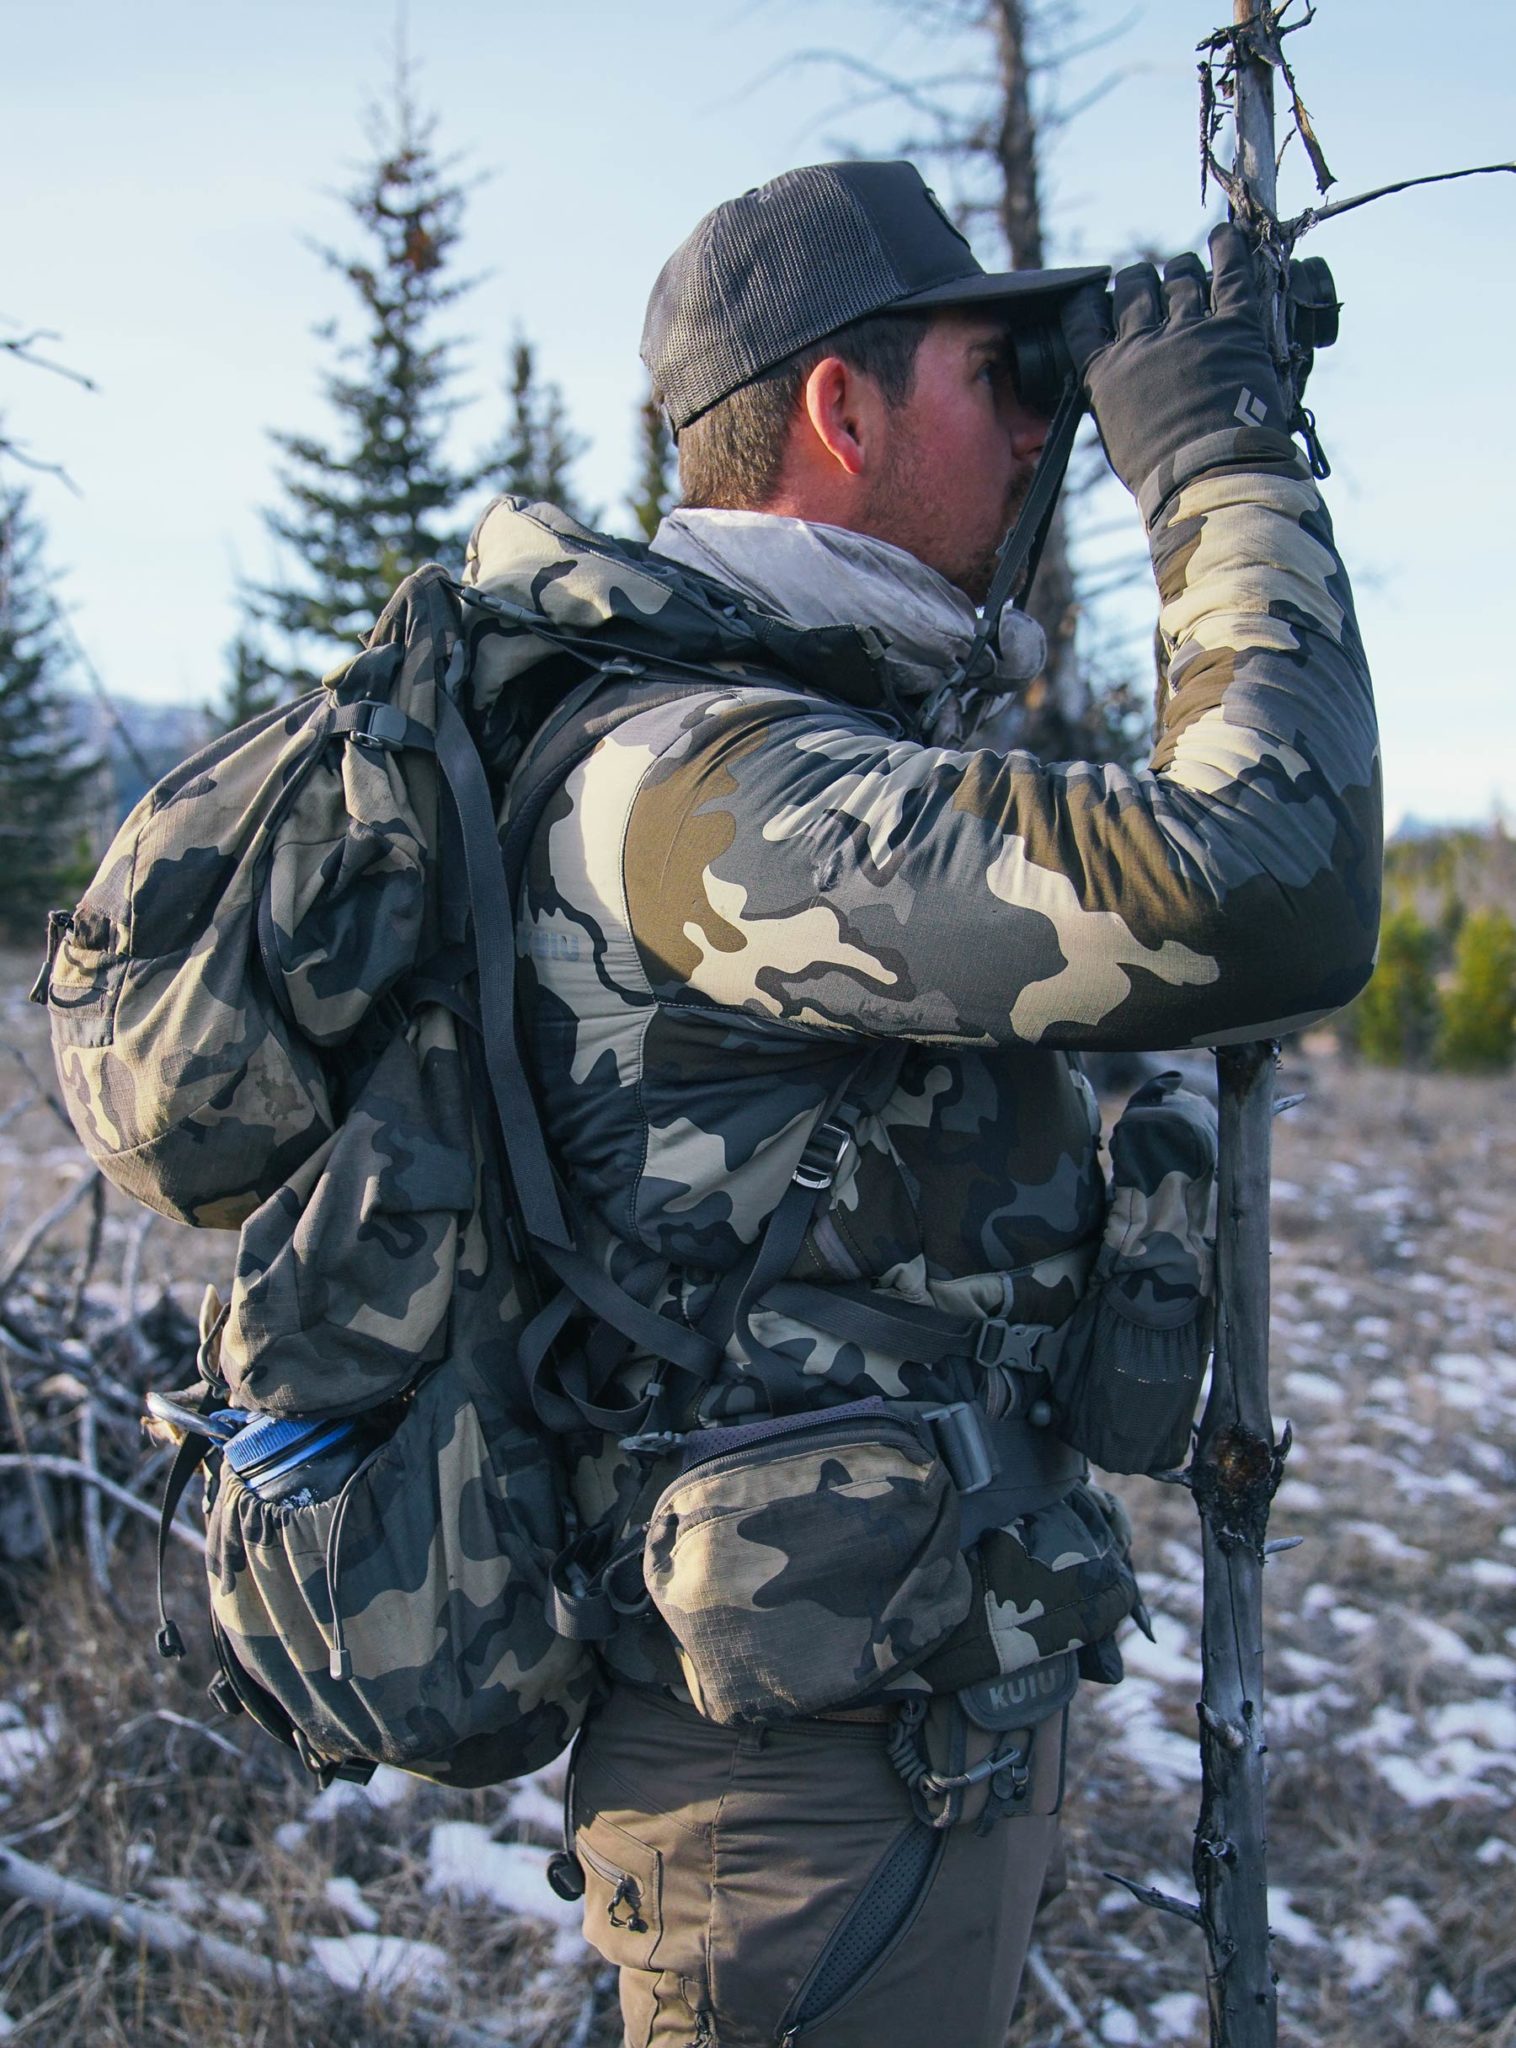
We partnered with CIVILWARE & Kika Outfitters to capture the spirit of a traditional whitetail deer hunt in beautiful Alberta Province, Canada.



Arguably the most well-known 1860’s era Henry rifle is the gold-laden and intricately engraved serial number #6, which is now housed in the Smithsonian National Museum of American History, for this is the rifle that was presented to Abraham Lincoln. Its history, provenance, and spectacular finish earned it a Gold Medal from the NRA’s Collectors Society. This particular rifle wasn’t always meant to be a collector’s piece though. The New Haven Arms Company, more specifically Oliver Winchester, presented this rifle to Abraham Lincoln as more of a nudge and a wink in attempt to influence Lincoln into purchasing them en masse for the war efforts. And while the Henry rifle never saw widespread use during the war, mostly due to its price, serial #6 wasn’t the only attempt at winning a political leader’s influence to sell more rifles.
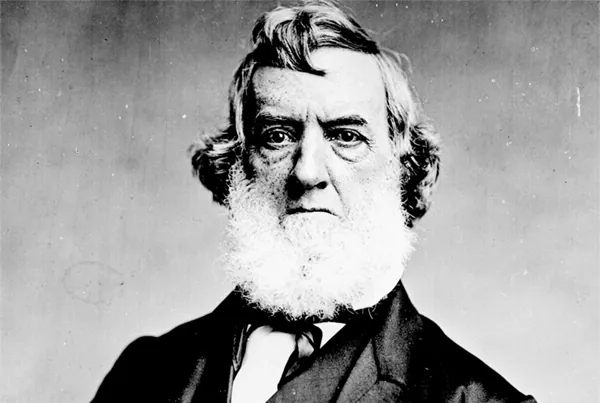 Gideon Welles, who came from a very politically involved family in Connecticut, found himself at the helm of the United States Navy in March 1861. Lincoln bestowed the honor unto Welles due to his fervent support of Lincoln’s run for the presidency in 1860. To curry favor from the new Secretary of the US Navy, and as an act of clever advertising, New Haven Arms Company presented Welles with a Henry rifle bearing serial number #9 in 1862. The silver-plated long gun features vine scrollwork engraving covering the vast majority of the receiver with a small rectangular space in the middle for Gideon Welles’ name and the words, “Secretary Navy.” Only a little over 1,700 Henry rifles ended up being sold to the US Ordnance Department, but the presentation rifles built during this era survive as shining examples of artistic gunsmithing.
To the discerning Henry Repeating Arms fan, Serial #9 may look familiar. And for a good reason. The rifle presented to Welles is the inspiration behind the Henry Silver Eagle, the very first rifle in Henry’s aptly named Silver Series. Despite being two completely different platforms, the contrast of the gleaming silver and the dark walnut combined with the expansive engraving ends up working remarkably well for the modern era Henry Silver Eagle.
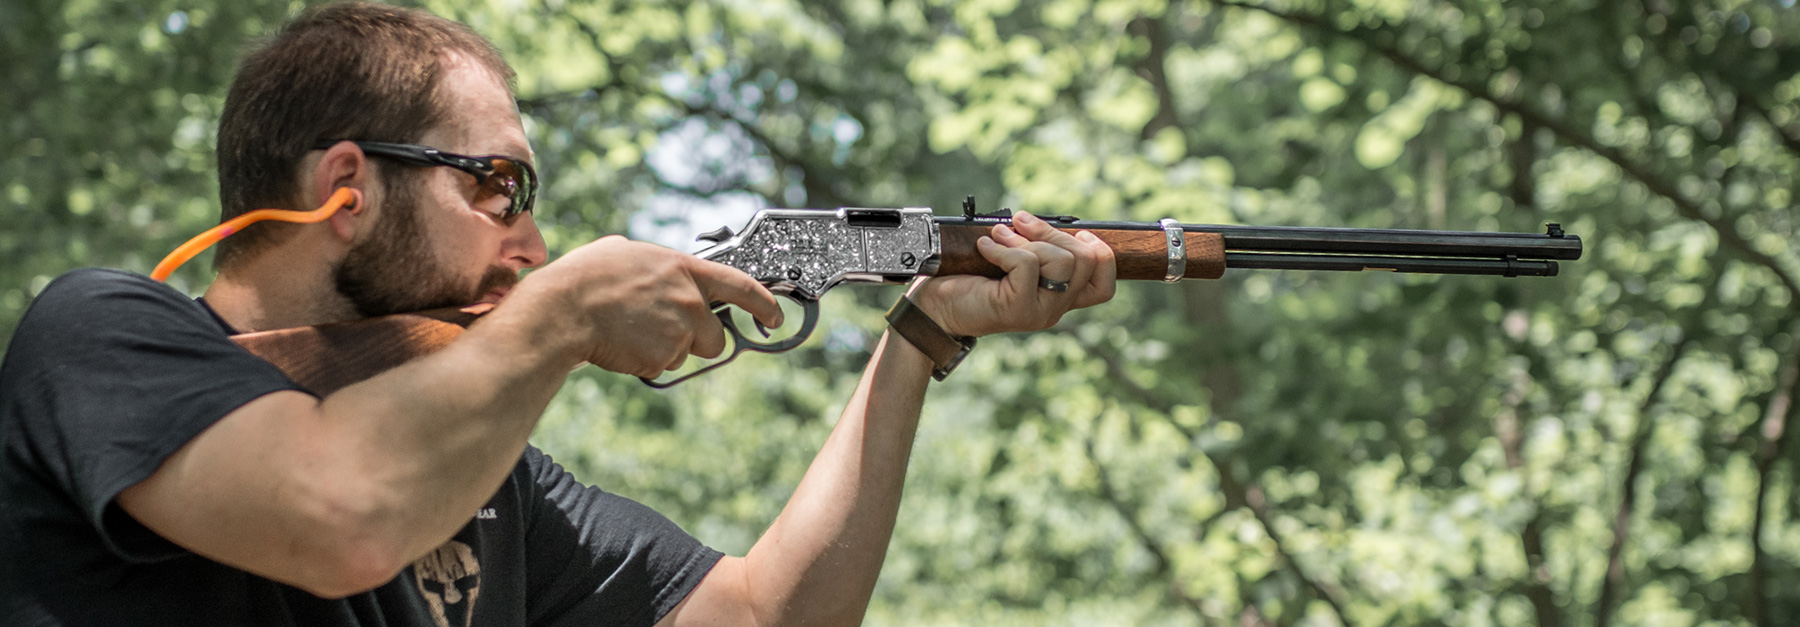
While there will be only one serial #9, which now resides in the Autry Museum of the American West, the spirit of craftsmanship and its undeniable good looks will live on in the hands of thousands across America. Firearms are a lot of different things to a lot of different people. For some, they’re pieces to add to a collection built over a lifetime. For others, they’re a tool used to complete a job, like hunting. But one thing that all firearms have in common is a connection to the past. Shoulder a modern-day Henry Silver Eagle, and you’re connecting yourself not only to a collectible, or a small game getter, or a weekend steel plinker, but you’re also connecting yourself to a moment in history over 150 years ago when Gideon Welles was first handed his Serial #9.